The Ultimate Manual For Role-Based Access Control (RBAC)
Despite the advanced cybersecurity scenario-planning implemented by different organizations, we often overlook some of the simple aspects of data security. In fact, 61% of breaches are linked to compromised user credentials. Role-based access control helps limit both internal and external threats to your systems, networks, and sensitive data.
What is Role-Based Access Control (RBAC) Anyway?
Role-based access control (RBAC), often referred to as role-based security, is an access control method that restricts system access based on authorization levels. RBAC can be an effective way to apply the principle of least privilege.
With RBAC, each user or employee will only have access to data and applications they need to perform their job.
The basic concept of role-based access is simple—the marketing department can’t access accounting data and vice versa. This same concept can be applied to a wide range of business-related systems containing sensitive information.
How Role-Based Access Control (RBAC) Works
Every user or employee within a system will have a designed role. This role ultimately determines their permissions.
Depending on the user role, one person might be able to modify and share a file while another user gets limited to read-only access. Other users might not be able to access the file at all.
With RBAC, low-level employees or third-party contractors won’t have access to sensitive data that isn’t directly related to their jobs.
While the actual application of RBAC will vary from organization to organization, these three main principles remain constant:
- Role Assignment — Users must be given a specific role within the system.
- Role Authorization — A higher authority must authorize each user role. For example, an employee can’t create their own role. They need authorization.
- Permission Authorization — Users can only perform an action if that permission is authorized within their active role.
The benefits of role-based access control speak for themselves. If an employee has their credentials compromised, the hacker wouldn’t have access to your entire network.
RBAC also helps improve your operational efficiencies. It’s a streamlined solution that’s logical and easily repeatable for your entire organization. Rather than having a complex process for requesting access to parts of a system that can create workflow bottlenecks, RBAC allows everyone to work autonomously.
Once implemented, role-based access control also reduces the need for administrative and IT support. Onboarding a third-party user into your system is simple, as they will have predefined roles. If an employee is hired or gets a promotion, it’s easy to add or switch their user role in the system without lots of paperwork or password changes.
RBAC is closely related to two alternatives and variations of access control methods—ACL and ABAC.
- Access Control List (ACL) — An ACL contains a table with permissions for each computing resource. The list tells the operating system which users can access objects and what actions those users can do to an object. The list has an entry for each user directly linked to the security attributes for each object in the system.
- Attribute-Based Access Control (ABAC) — ABAC, also known as policy-based access control, uses a wide variety of attributes to grant access. Examples include location, time, department, user, etc. So a manager might have specific access permissions, but only from inside the building during office hours.
These access control methods can be used jointly with RBAC or as an alternative to it.
Let’s take a closer look at some examples of role-based access control to help you better understand how this works in the real world.
Example #1: WordPress Users
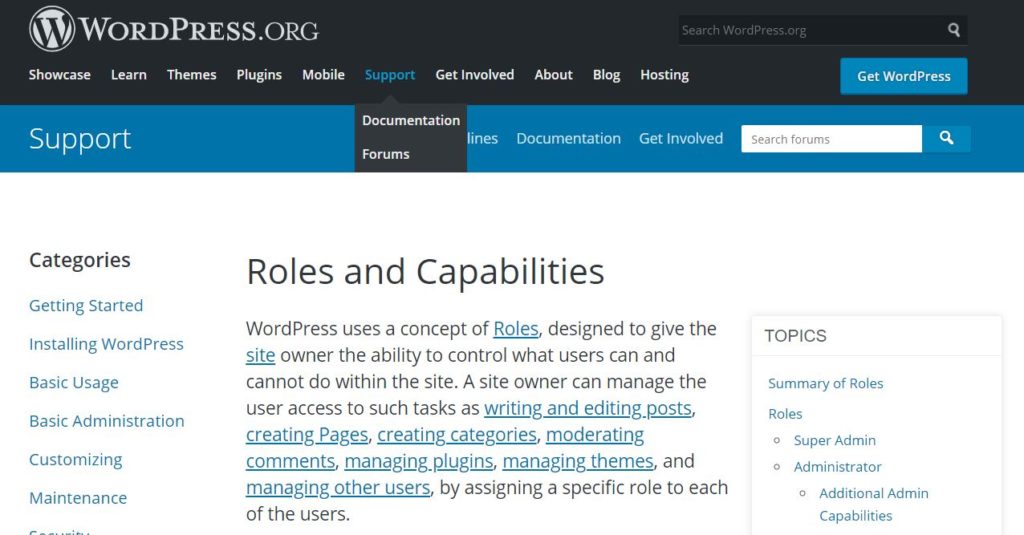
Arguably the best way to illustrate how RBAC works is with WordPress—the world’s most popular CMS. Here’s an overview of how user roles are defined in a default WordPress system:
- Super Admin — Can access all roles and site administrator capabilities.
- Administrator — Can access all admin capabilities within a single WordPress site.
- Editor — Can publish and edit posts, including posts created by other users.
- Contributor — Can write posts but doesn’t have publishing permissions.
- Subscriber — Can read posts but can’t edit or publish them.
These simple WordPress roles ensure users don’t have access to functions outside of their job description.
For example, let’s say you’re running an online publication using many different writers. Those writers don’t need the ability to edit, publish, or delete posts. Their job description ends after the content has been written.
By assigning writers the role of a contributor, it limits what they’ll be able to do on the backend of your WordPress site. But it also improves your operating efficiency, as those contributors can upload and create content directly in your CMS.
If someone hacked their login credentials, a user is disgruntled, or someone made a significant mistake, the amount of damage that could occur due to these scenarios is limited.
Example #2: Regulatory Compliance
Organizations in certain industries must follow specific data security protocols to remain compliant.
One great example to illustrate this point is the Sarbanes-Oxley (SOX) Act. Enforced by the Securities and Exchange Commission (SEC), SOX establishes rules for auditor independence, oversight, and fraud accountability for public companies.
For businesses that need to remain compliant with SOX, applying RBAC to financial data will help limit who can access and change financial records.
HIPAA (Health Insurance Portability and Accountability) compliance is another example and potential use case for role-based access control. To protect patient information in the healthcare field, only specific user roles can access, manipulate, and share information.
A healthcare facility could use RBAC to ensure receptionists don’t have access to patient medical records. This permission would be limited to doctors and nurses directly caring for that patient.
Example #3: Cross-Department Access Control
A broader example of role-based access control can be applied to any organization with multiple departments. While there might be some overlap in terms of what teams need to do their jobs, generally speaking, users in different departments don’t need access to the same information.
In addition to access levels within a specific system, you could restrict certain software altogether based on department.
For example, while your IT department and software engineers might need access to AWS and GitHub, your finance department or marketing team shouldn’t be able to use those tools.
Your accounting team doesn’t need to access Google Analytics or Facebook Ads—these tools are for the marketing department. Conversely, marketers don’t need access to Xero or ADP.
In some cases, a manager or supervisor might need to access a file or database from a different department. But with role-based access control, you could limit that access to just read-only, without the ability to share, edit, or modify in any way.
How to Get Started With Role-Based Access Control
As you can see, there are many ways that role-based access control can be applied to different organizations. Regardless of how or why you’ll be using RBAC, these are the specific and tactical steps you must take to get started:
Step 1: Run an Inventory and Analysis of Your Business Systems
Before you dive into the technical aspects of role-based access control, take a step back and identify your needs.
What resources need to be protected? Examples include content management systems, servers, email software, CRMs, cloud applications, etc.
It makes sense for organizations with many resources, networks, and users to roll out RBAC in phases. So you’ll need to prioritize which systems should be protected first.
Lots of times, it’s easy to prioritize simply by asking which resources contain the most sensitive data. Or what potential threat could cause the most damage today if unprotected. You should consider regulatory requirements here as well, as those should also be a top priority.
If you’re having trouble identifying potential threats, run an internal audit on these systems to find security gaps.
Step 2: Assess Your Workforce and Create User Roles
Now you need to group user roles in your organization. Again, it’s much easier to implement RBAC if you start with just one department or system.
For example, a mid-size organization with 200 employees across three locations might decide to start with the marketing department at one office, as this team has access to customer data.
It helps to divide your employees into groups instead of customizing each individual user role based on the employee. This creates too much confusion, and it’s not easily repeatable as you add new people to your team.
Avoid creating too many roles, as it ultimately defeats the purpose of RBAC and turns into user-based access control instead.
The social media team doesn’t need the same access as the marketing analysts. Creative teams won’t be performing the same duties as the marketing director, so the roles would need to change accordingly.
While the process might seem a bit overwhelming, the most straightforward approach is asking the question—what does this user group need to do their jobs?
Anything that falls outside the scope of their day-to-day job role would require limited or restricted access.
The most challenging part of this process occurs when you reach role-specific exceptions or unique scenarios. For example, what role do you assign an assistant who performs tasks on behalf of a manager? Does the security team need access to all of the data that they’re securing?
These types of questions are tough to answer. But generally speaking, it’s in your best interest to roll out a strict role-based access control system. In this case, the assistant would not have the same access as the manager who they’re assisting.
This might force certain operational processes and workflows to change. But it’s better to be strict when you’re implementing the policy, as opposed to applying “loose” user roles.
Once you start making exceptions or one-off changes to the rule, your role-based access control system will begin to unravel.
Step 3: Write a Formal Role-Based Access Control Policy
Now you need to take the information from step one and combine it with the roles in step two to create a formal policy. This documentation will explain the functions and resources required to do each job in the user group.
Formalizing the RBAC policy ensures that the system is implemented company-wide across all systems.
You’ll need to create some sort of manual or training materials for your existing staff to understand the changes that are being implemented. You should also have resources for new hires as they’re onboarded to your system.
It’s important to understand that some roles will have the same access needs. So you don’t need to restrict everything by user, department, or group.
Refer back to the simple WordPress example we discussed earlier. Even though editors can publish posts and contributors cannot, an editor can still create and write a new post.
These resource and action overlaps can be written into your RBAC policy.
Step 4: Assign Users to Roles
Once you’ve done all the preliminary legwork, it’s time to officially implement the policy. Start adding users into the groups that you’ve defined in step two and formalized in step three.
Things might be a little different for your staff as they get used to the new system. However, if you’ve planned everything correctly, this shouldn’t impact their job duties.
Continue to roll out your RBAC strategy with different user groups and departments.
You should also set up a process so that new users can be assigned to their roles quickly without too many manual steps or actions. Define the process for changing user roles as a person’s duties, responsibilities, or position changes in the organization.
Step 5: Audit and Adapt
RBAC is not a one-and-done process.
You should periodically audit the access control system to ensure the permissions accurately reflect the job duty. For example, you might determine that a role has unnecessary access to a particular resource. Simply adjust those permissions after the audit.
Collect feedback from your staff as well. See if there are any pain points or workflow restrictions that have changed after implementing RBAC.
If a specific user group constantly needs to request access to a file that they don’t have permission for, you could decide to grant access to that entire user group.
Just always remember the reason for implementing RBAC in the first place—data security. If you frame all of your decisions around this concept, it should be easy to achieve.
How to protect your data with real-time access control
Nira is a real-time access control system that provides visibility and management over who has access to company documents in Google Workspace, with more integrations coming soon.
Contact us for a demo, and we’ll review your current setup or help you implement a real-time access control system for the data you already have.

