The Step-by-Step Guide to Setting Up G Suite MX Records

Here’s everything you need to set up your MX records and link your G Suite email inbox to your domain.
First, if you’ve bought your domain through Google while signing up for G Suite, you can stop reading here. Google sets up the MX records for you.
But if you got your domain elsewhere, you’ll need to set your MX records on your domain correctly in order for G Suite to work with your domain. Otherwise, your domain won’t send email to G Suite.
Before we start looking at how to do this, though, let’s cover some basics.
What are MX records and why are they important?
Mail Exchange (MX) records are used to direct your incoming email to the right server. They’re part of the Domain Name System (DNS), which changes textual names into IP addresses.
If you use a standard consumer webmail provider like somebody@yahool.com, you don’t need to deal with them. Your webmail provider handles all that. But you will need them if you want to use your G Suite business email.
MX records make sure that email sent to yourdomain.com end up at the servers for G Suite. Then when you log into your G Suite account, you’ll see those emails in your inbox.
MX records have two parts: a priority and a domain. They come in this format:

It’s standard practice to have multiple MX records in case one of them doesn’t work for some reason.
And the number is the priority. this tells the servers which MX record should be used first. Lower numbers have the higher priority. If two MX records have the same priority, one will be chosen at random.
The text is the destination for incoming emails, the email server you’re using to host your account.
The G Suite MX Record Values
G Suite uses these record values:
|
Time to Live |
Record Type |
Priority |
Value |
|
3600 |
MX |
1 |
ASPMX.L.GOOGLE.COM. |
|
3600 |
MX |
5 |
ALT1.ASPMX.L.GOOGLE.COM. |
|
3600 |
MX |
5 |
ALT2.ASPMX.L.GOOGLE.COM. |
|
3600 |
MX |
10 |
ALT3.ASPMX.L.GOOGLE.COM. |
|
3600 |
MX |
10 |
ALT4.ASPMX.L.GOOGLE.COM. |
The ‘Time to Live’ value tells the server how long to wait, in seconds, before changes to the records go into effect. After you set your MX records, and after they go into effect, it’s a good idea to change this number to 3600 seconds which is one hour.
Your record values might look different from these, because different hosts have different rules for laying out priority values. We’ll look at that under the guides for specific domains, below. Whatever system your host uses, ‘ASPMX.L.GOOGLE.COM.’ must be the top priority.
Why are multiple servers included in G Suite MX Records?
MX records can point to multiple servers. Google uses five, which allows for periodic software updates and downtime on the main server without interrupting email delivery.
Setting up G Suite MX Records
Each domain registrar has a slightly different process for changing MX records. But it’s always the same basic process.
If you have a team and you’re already receiving email on your mail server, make sure all your team members have been added as G Suite users before you configure your MX records to redirect your email to Gmail. You can do this individually under the Users tab in your Google Admin dashboard, or by uploading a CSV file.
You may also need to verify your domain if you haven’t already done so. This can be done with MX records themselves, but can also be done with HTML tags or a TXT record.
Step 1: Sign in
The first thing to do is sign into your domain account at your domain host. This is probably one of the big ones like GoDaddy, 1&1, Squarespace, or Hostgator. If so, we’ve got you covered: check out our detailed guides below. If not, Google’s guide is here, with guides for many hosts.
What if you don’t know who your host is? First, check your bank statements or email receipts and find your host that way. Some registrars charge annually so you might have to go back aways.
You can also do a Whois Lookup on your own domain. The search results will show you who hosts your domain.
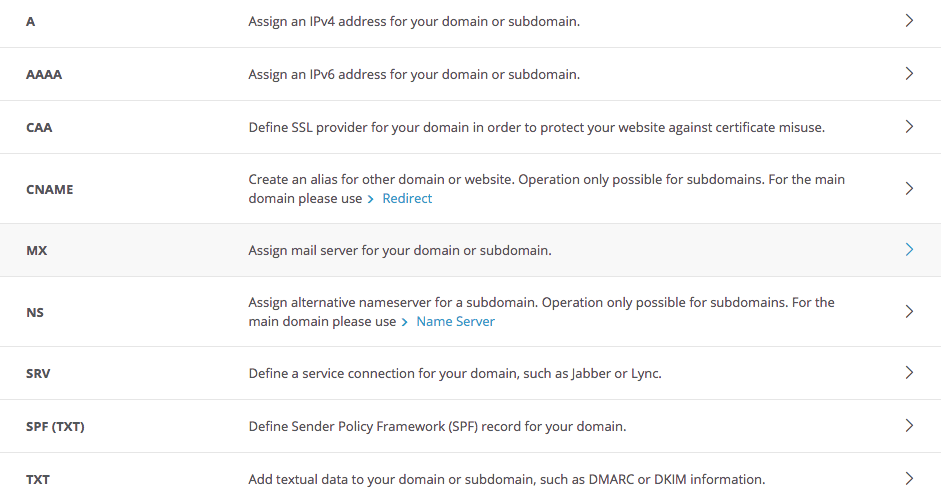
Step 2: Go to Your MX Records
These might be under “Email,” “DNS Settings,” or “Advanced Settings” depending on your host.
Delete the Existing MX Records
Delete all the existing MX records. Sometimes you can’t delete them. if that’s the case, change their priority number to 20 or higher.
Step 3: Add New MX Records for Google Servers
Add the MX records for Google’s email servers. If your domain registrar limits the number of records you can add, just add the first two. Copy-paste them from here:
|
Priority |
Record |
|
1 |
ASPMX.L.GOOGLE.COM. |
|
5 |
ALT1.ASPMX.L.GOOGLE.COM. |
|
5 |
ALT2.ASPMX.L.GOOGLE.COM. |
|
10 |
ALT3.ASPMX.L.GOOGLE.COM. |
|
10 |
ALT4.ASPMX.L.GOOGLE.COM. |
Setting up G Suite MX Records for GoDaddy
If you don’t already have it open, sign in to the G Suite Setup Wizard, under Domains in your Google Admin Dashboard.
Then, in another browser window, go to the GoDaddy website and enter the user name or customer number and the password you created when you first bought your GoDaddy domain. Click sign in.
If you’ve lost some of your information, you can retrieve your username here and your password here.
On the GoDaddy My Products page, choose DNS next to the domain you want to verify.
Click the Edit icon next to the existing MX records and choose the Trash icon to delete them. Choose Delete to confirm in the confirmation window.
Do this with all existing MX records, until you’ve deleted them all.
Add the MX records for Google, from the table above. Just copy and paste them.
Setting up G Suite MX Records for Hostgator
If you aren’t already in the Setup Wizard, open it by going to Domains in your Google Admin dashboard, then open a new tab and sign into your Hostgator account. Click Customer Login, then, under Choose Your Login, select Portal Login. Enter the email address you used when you signed up with HostGator, then click Next and enter your password. If you can’t remember your Hostgator password you can recover it here.
Click login, and go to your DNS records. In Hostgator, these are under Control Panel.
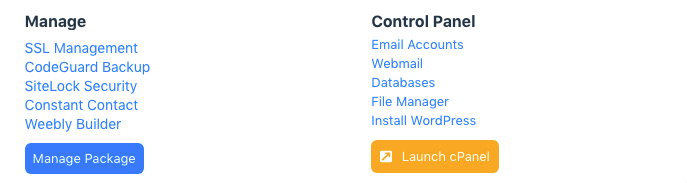
Click Launch cPanel, and scroll down to the Domain editor to Advanced Zone Editor.
Next, go to the Email section and click MX Entry.
You’ll need to delete the existing MX records. Click Remove next to each existing MX record, then Delete to confirm that you want to remove it.
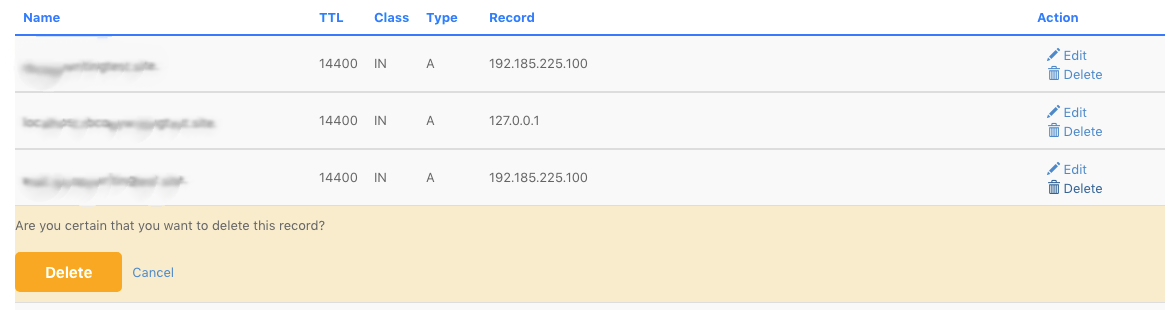
Remember to delete all your existing MX records, then replace them with the Google ones. Copy and paste the ones from the table above, but remove the period at the end, so the first one reads ASPMX.L.GOOGLE.COM rather than ASPMX.L.GOOGLE.COM. for instance.
Click Add New Record for each until you have all five G Suite MX records.
Setting up G Suite MX Records for 1&1
Open the G Suite Setup Wizard from your Google Admin Dashboard and go to Domains, then open a new window and go to 1&1 IONOS. Sign in with your Customer ID and password; if you forgot your account information you can reset your password here, or contact 1&1 customer support here.
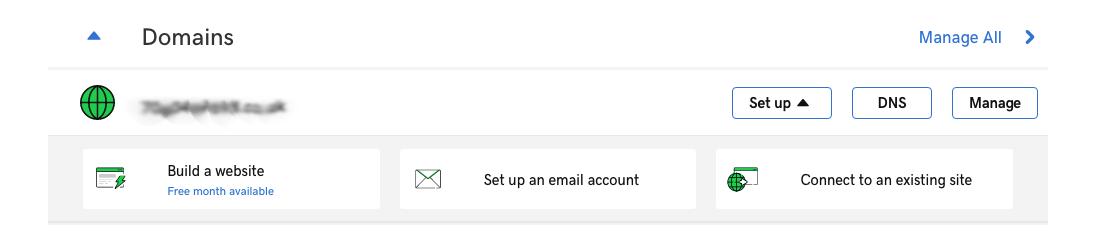
Go to Your Domain, then Manage Domain, and choose the DNS tab.
You’ll need to delete your existing MX records. To do that, click the Actions icon and select Delete Record. Do this for all your existing MX records.
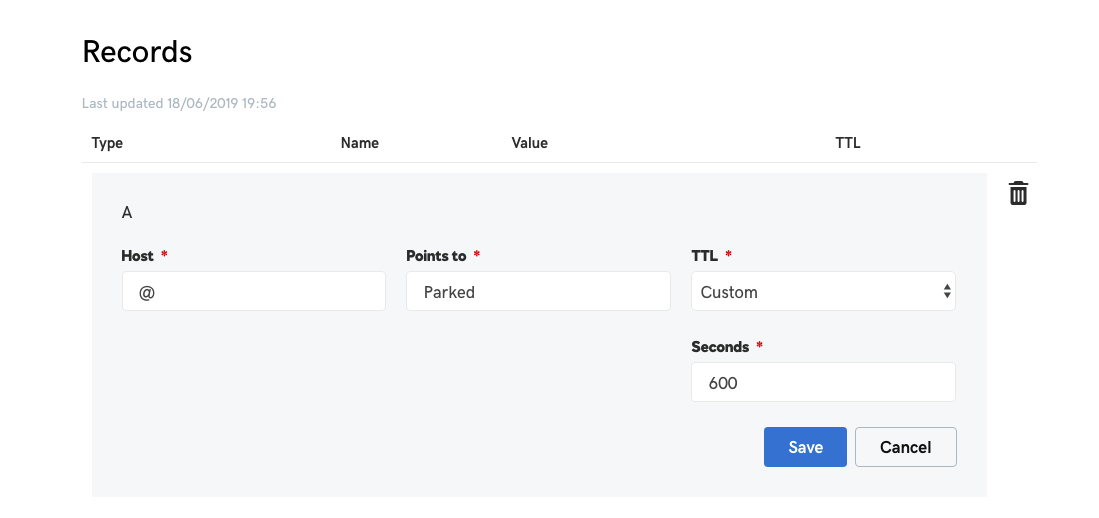
The next thing to do is add the G Suite records. You can do that by clicking on Add Record above the DNS Records table and choosing MX from the list of options.
The MX record text goes in the Points To field. These can be copy-pasted from the table above but you should remove the periods.
Repeat until all five G Suite MX records are added.
Setting up G Suite MX Records for Squarespace
If you’re not already in the G Suite Setup Wizard, open in from Domains in your Google Admin dashboard, then open a new browser window and sign in to Squarespace with the email address and password you used to set up your Squarespace account. If you can’t find them, contact Squarespace support here.
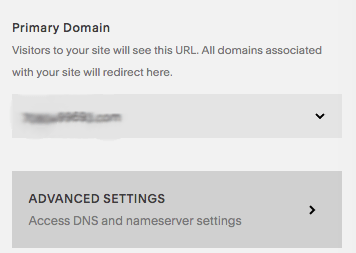
Find your Squarespace DNS settings under Domains>Advanced Settings.
Hover over your existing MX records to bring up the delete icon.
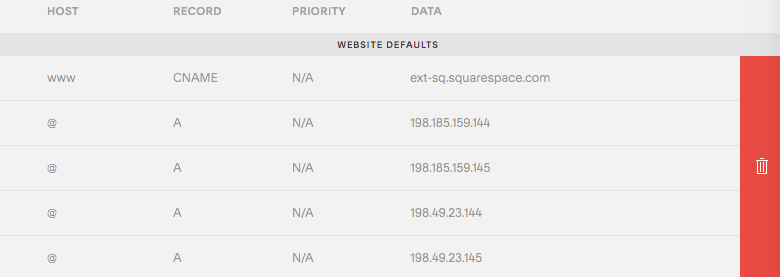
From there, click delete to delete all your existing MX records. Replace them with the G Suite MX records.
How to Verify G Suite MX records
After you confirm your new MX records with your host, go back to the Setup Wizard in the previous window and click through the confirmation steps, to trigger the Wizard to start looking for your new MX records.
Updating them can take several hours, so you’ll want to keep using your previous domain email provider until they switch over. But it shouldn’t be much more than that. If it seems to be taking more than a few hours, double-check the MX records you’ve entered to ensure they’re accurate. If they are, contact Google support. There’s a chat support option for all G Suite users that’s fast and efficient; you’ll find it on your Google Admin dashboard.
Conclusion
Once your MX records are set up, you should begin receiving email to your Gmail within a few hours. Now you can track emails with Gmail add-ons, integrate them with G Suite-friendly sales, marketing and productivity tools, and schedule appointments and calls direct from email into Calendar. You can also take advantage of G Suite’s admin functions to run your organization more efficiently from a central dashboard.

