5 Easy Steps to Add a Signature to Outlook
Adding a personal signature to email messages makes your emails look more professional and personalized. This, in turn, will help you make a solid first impression on the recipient.
Moreover, Microsoft Outlook lets you make your email signature as unique as you want, allowing you to include text, images, logo, electronic business cards, or even an image of your actual handwritten signature.
You can also add information like your full name, title, email address, and phone number to your email signature if you want.
Basically, there are options aplenty when it comes to designing your email signature.
In this article, we’ll give you step-by-step instructions on how you can create a professional-looking email signature in Microsoft Outlook. We’ll also touch bases on where your Outlook signatures are stored – on Mac and Windows both – and how you can edit your signature if needed.
So let’s ‘sign’ right in!
How to Add a Signature to Outlook
Before you can insert a signature into your email copy, you have to create it first and then save it. Read on as we tell you how:
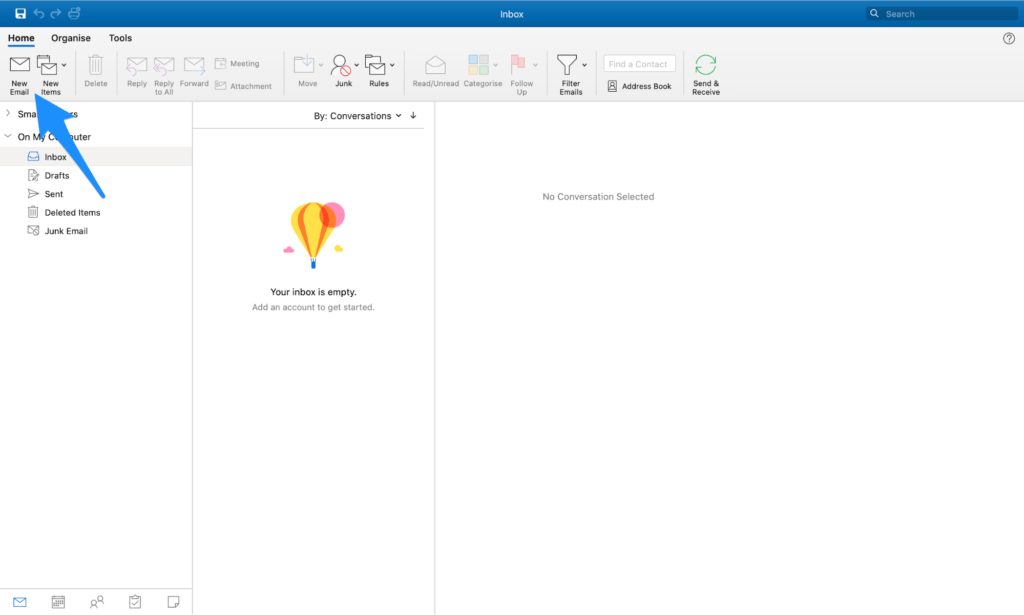
Step #1 Open New Email message.
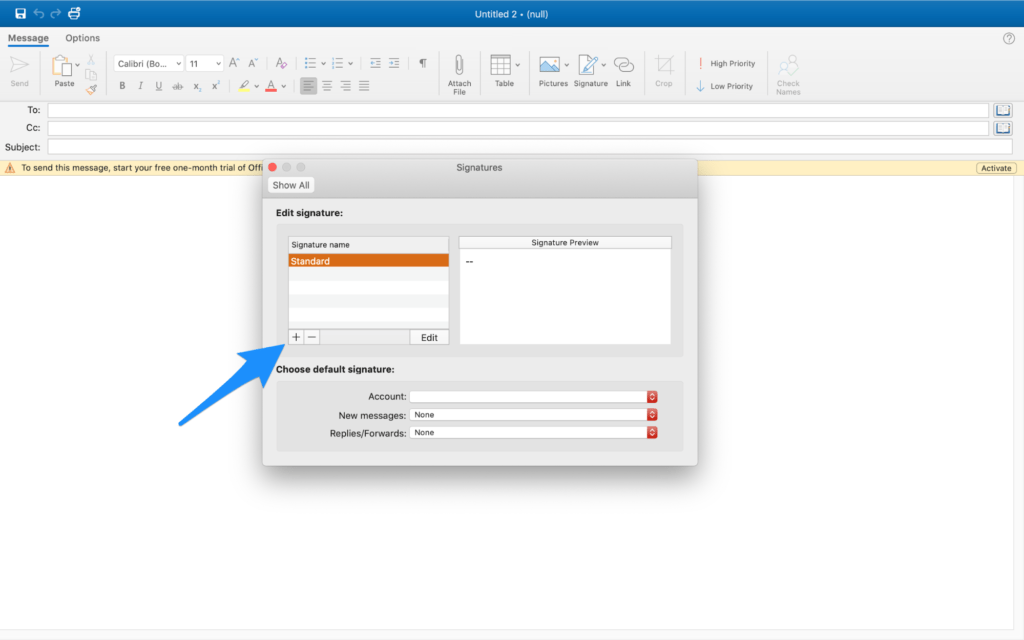
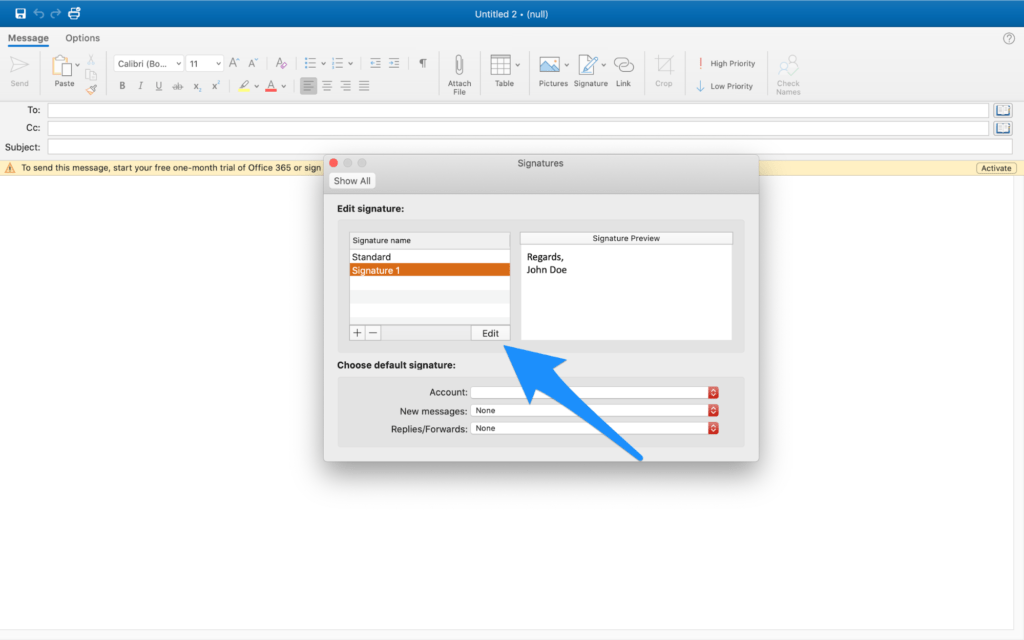
Step #2 A new dialogue box will appear. Go to the Message menu, and select Signature, and then Edit Signatures.

Step #3 In the Signatures box, you’ll see the standard signature of Microsoft Outlook. But since we want you to add a new signature, you have to click on the ‘+’ icon.
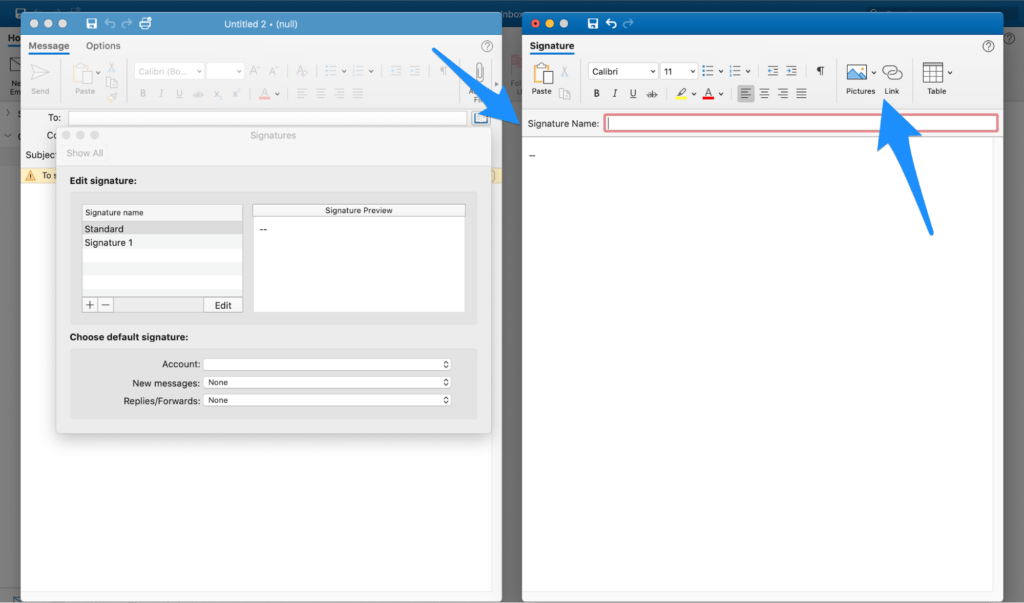
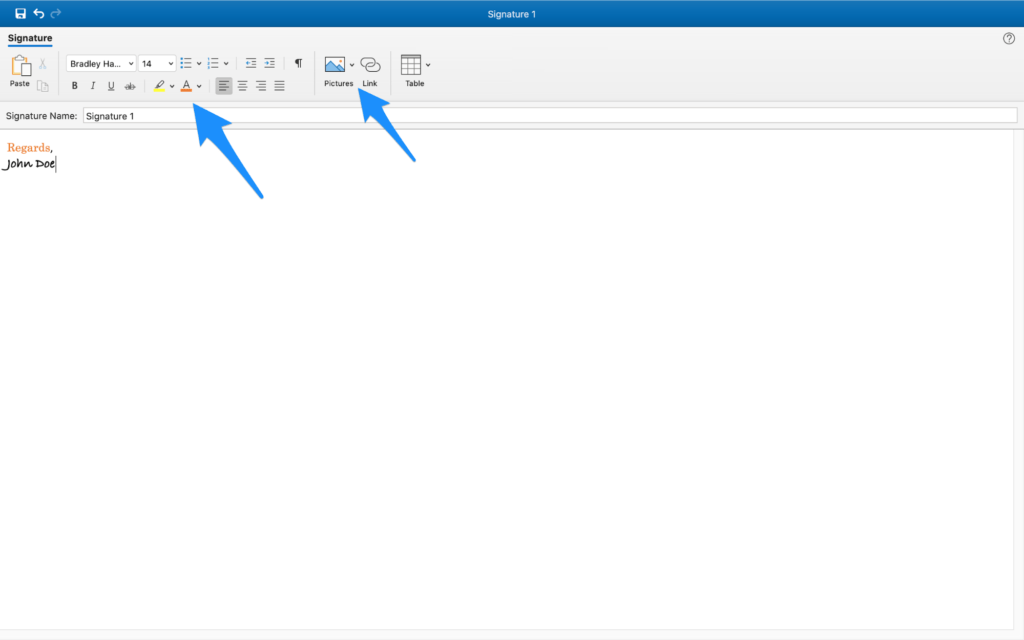
Step #4 An untitled box will appear where you will have to fill in the Signature Name as well as the text of your desired signature.
As you can see from the image below, you’ll find several options on the navigation tab too that include Pictures, the font style box, and a Link icon that can be handy to direct your email recipients to your website or blog.
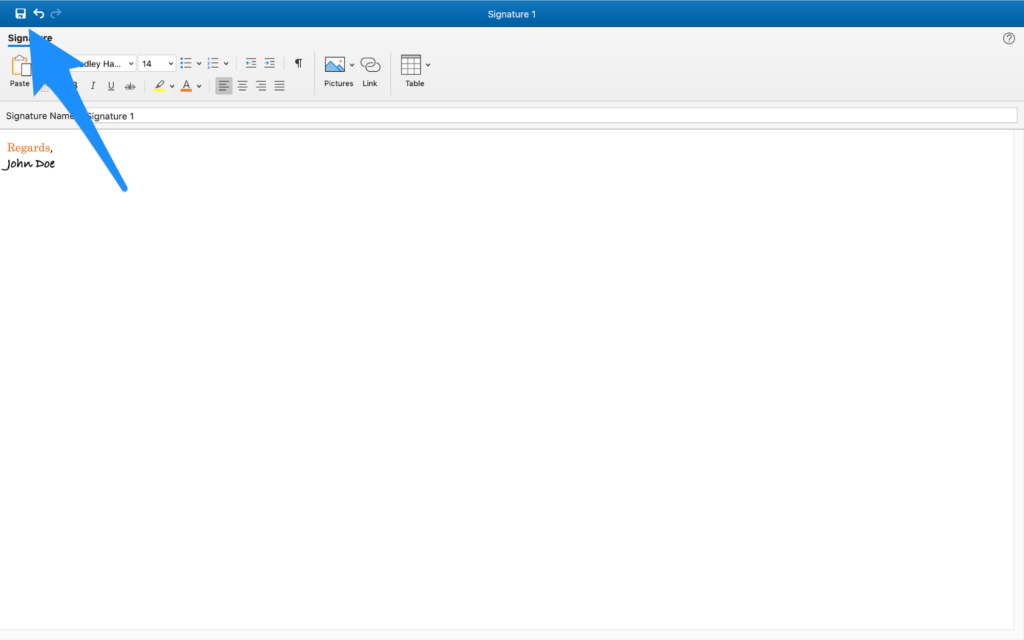
Step #5 After adding your signature and naming it, click on the Save button icon located at the topmost corner of the dialogue box.
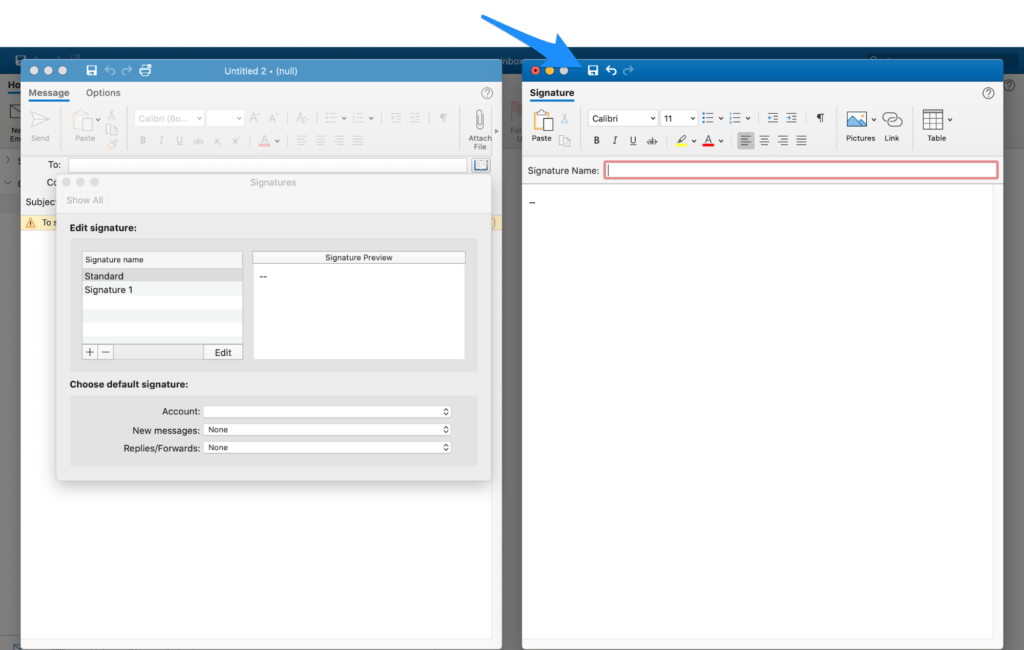
Once you save the signature, you’ll then find two options under the Signature tab: the standard signature and the new signature you just created.

You can choose the new signature to insert in your email message.
And that’s it!
You now have your brand new signature ready to use. While we’ve kept the signature basic for simplicity purposes, you can make it as fancy as you want.
Add images, play around with the fonts, or add links – whatever you want!
Where Outlook Signatures Are Stored
With your brand-new email signature ready to use, we thought it would be helpful for you to know where your Outlook signatures are stored on your device.
Knowing this information can be handy to import or export, as well as copy email signatures from Outlook.
Where Are Your Outlook Signatures Stored in Windows?
To know the location of Outlook email signature files on your Windows computer, you just need to insert this straightforward link:
%userprofile%\AppData\Roaming\Microsoft\Signatures
To get to this location, though, you’ll have to do a little browsing on your computer.
Enter this link in the address box at the top of your PC dialogue box and then press the Enter key.
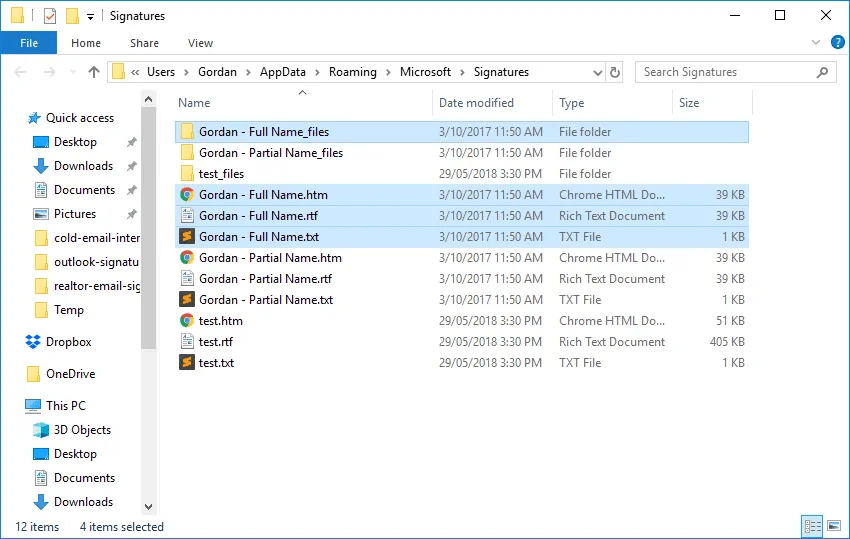
Image Source: Gimmio
Remember, every one of your saved Outlook email signatures will be stored in files that have the following three extensions: .htm, .rtf, and .txt. You’ll also find a folder with the name of your email signature stored on your computer.
Why do you ask? You see, the %userprofile% part of the link is actually a system-wide variable, which enables you to go directly to the profile of the user who is logged in.
Where Are Your Outlook Signatures Stored in Mac?
No, we haven’t forgotten Apple loyalists!
When compared to Windows, finding the location of your outlook signatures is a little bit trickier but isn’t that the case always?
Here’s what you need to do to find where your email signatures are stored on your Mac:
Step #1 You have to first find the new signature file in your library folder. So open Finder on your Mac.
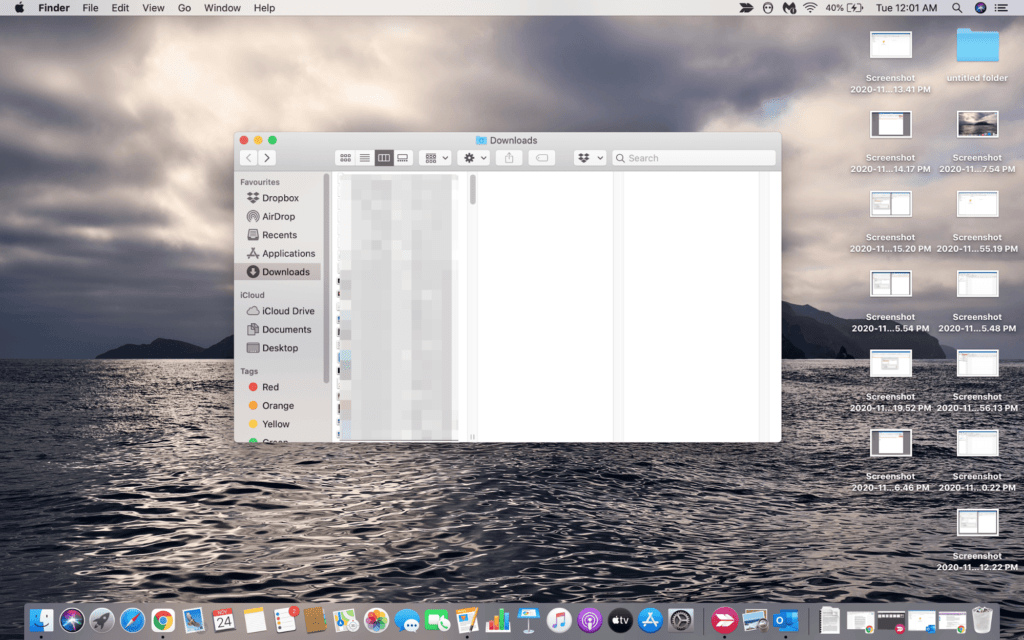
Step #2 Click on the Go menu right at the top of your computer screen. Once you hold the Option key down, you’ll immediately see the Library folder.

Step #3 Select the Library folder, and navigate to any one of the following:
- If you’re using iCloud:
Go to ~/Library/Mobile Documents/com~apple~mail/Data/MailData/Signatures/ - If not using iCloud:
Go to ~/Library/Mail/V2/MailData/Signatures/ or ~/Library/Mail/V3/MailData/Signatures/ if you are using El Capitan already

Once you finally reached the Signatures folder, you’ll be able to recognize the signature you had saved by sorting your files according to Date Modified.
How to Edit Your Signature
Next up, we’ll discuss how you can edit your email signature in Microsoft Outlook. Let’s take a quick look at all the three listed methods:
Method 1: Editing Your Email Signature on the Microsoft Outlook Website
In this case, you don’t have to download any app and can change your signature by opening Outlook directly on your web browser.
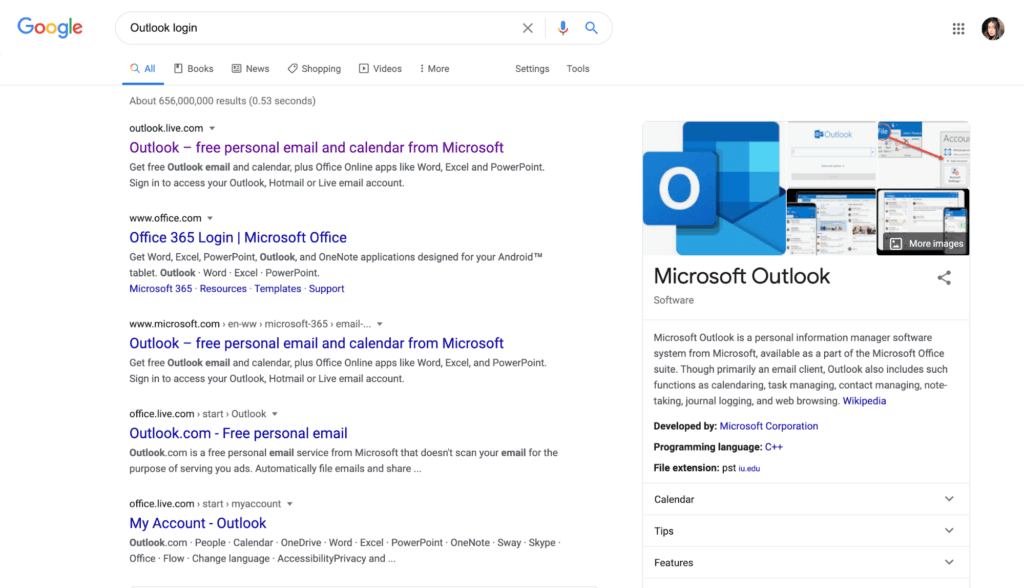
Step #1 Search for ‘Outlook login’ on your web browser and log in to your account by adding your credentials.
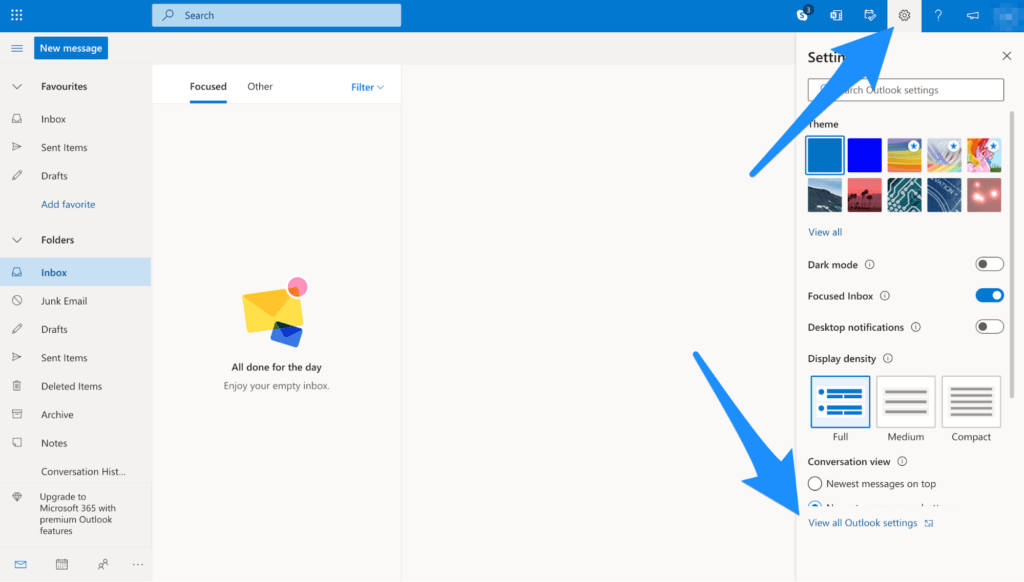
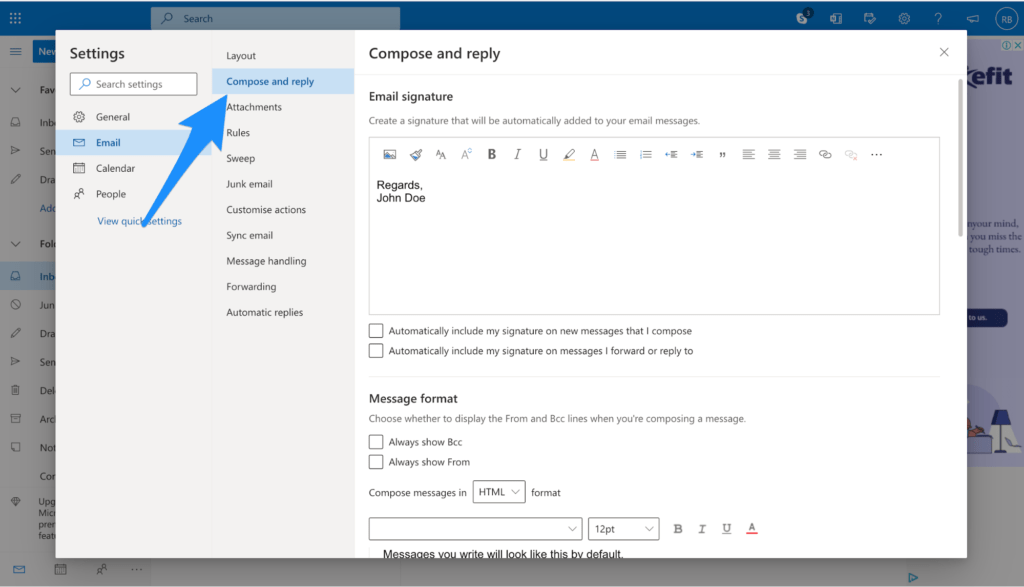
Step #2 Click on the Settings icon at the top right-hand corner of the screen and click on View all Outlook settings.
Step #3 Select the Compose and reply tab. You‘ll find your email signature there if you’ve previously saved it – this is where you start editing your signature.
Step #4 As you can see, there are plenty of customization options similar to when you had first created your email signature.
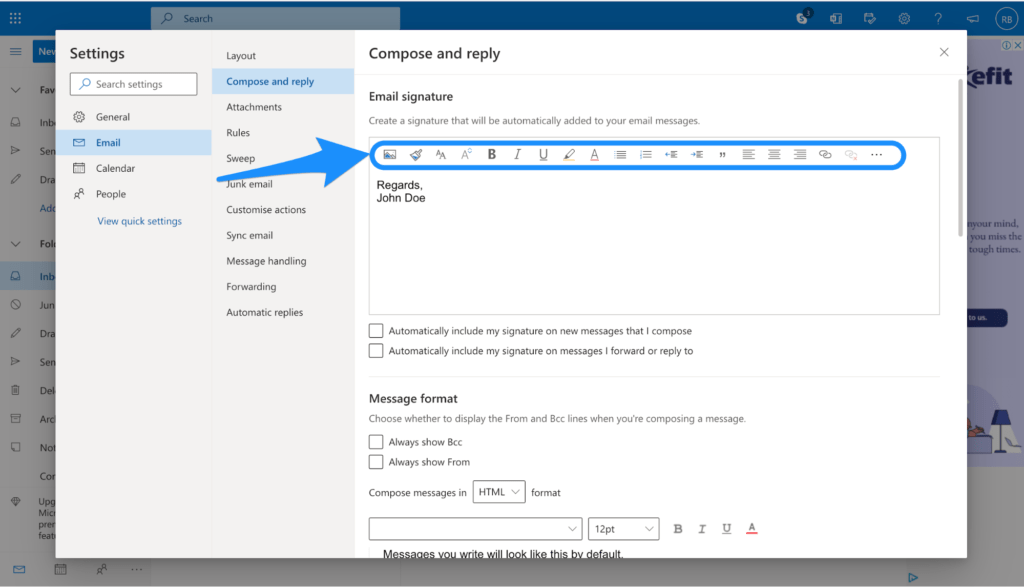
If you want to add a picture or a link, you can use the relevant icons to do so. You can also format the signature by changing the font, making it bold or italic, and so on. You have the option to increase and decrease the size of the font as well.
Step #5 After customizing your signature as per your liking, you then have to select the Save option.
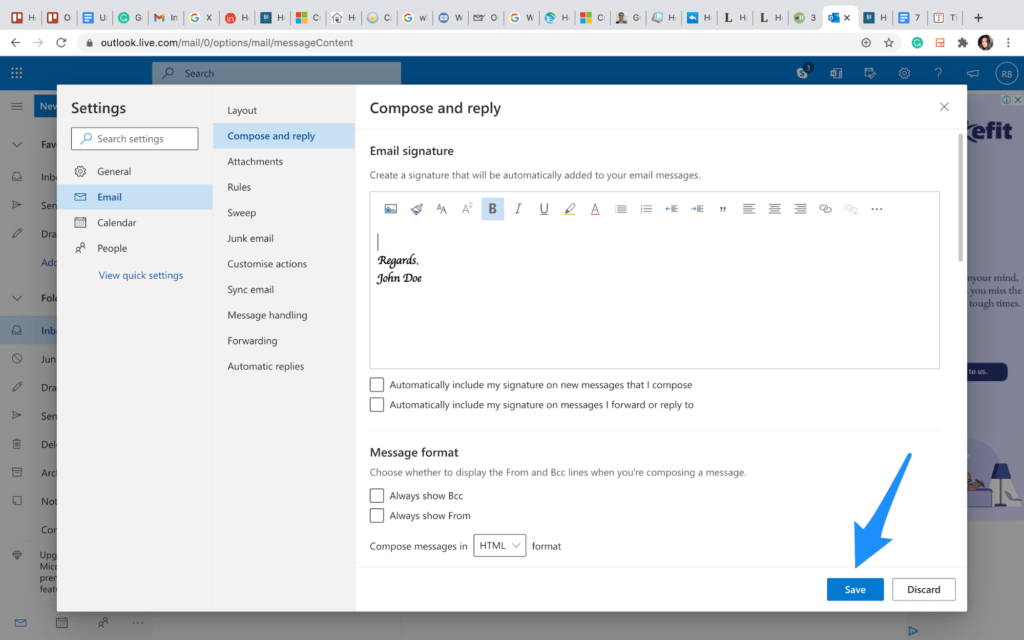
Voila! Your new and improved Outlook email signature is now ready for use.
Method 2: Editing Your Email Signature on Desktop
Here, you’ll have to first download the desktop app of Microsoft Outlook before proceeding to the next steps.
Once you’ve set everything up, follow the instructions given below:
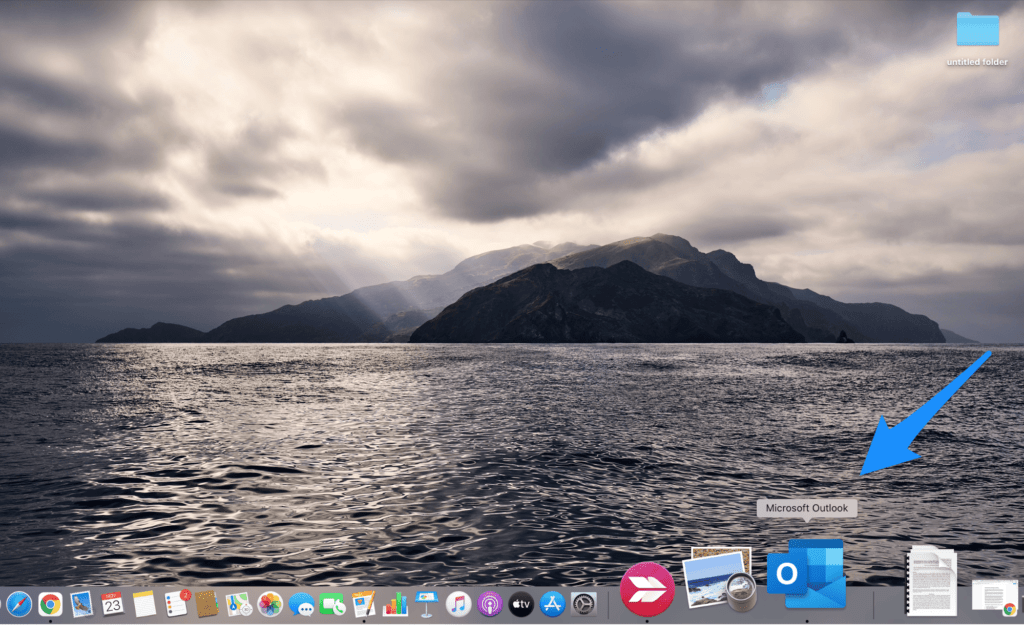
Step #1 Open the Microsoft Outlook app on your desktop.
Step #2 Click on New Email once the Inbox dialogue box opens.
Step #3 A new dialogue box will appear. Go to the Message menu, and select Signature, and then Edit Signatures.
Step #4 Choose the email signature you want to edit and click on the Edit option.
Step #5 You’ll find all kinds of customization options available to you just like when you had first created your email signature – all you need to do is select the icons you like to modify your signature.
If you want to add a picture or a link, just select their respective icons. Likewise, you can also format your signature by changing the font, making it bold or italic, changing the text color, and so on. Increasing or decreasing the signature’s font size is also a choice!
Step #6 After customizing your signature just how you like it, click on Save.
Changing email signatures on laptops and PCs can be particularly convenient for office-goers since most of the work is carried out on the desktop.
Method 3: Editing Your Email Signature on Your Mobile Phone
Considering the growing dependence on our cell phones, we know we should discuss how you can edit your email signature using your mobile device.
Here are the following steps that you need to follow:
Step #1 If you don’t have the Microsoft Outlook application on your phone, download it.

Once the downloading has finished, open the app and enter your credentials to log into your account.
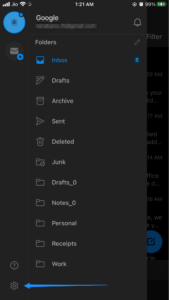
Step #2 Select the three horizontal lines located on the top left-hand side of your mobile screen.
Step #3 A drop-down menu will appear. Here, you have to tap on the Settings icon, which is a gear-shaped icon on the bottom-left edge of the screen.
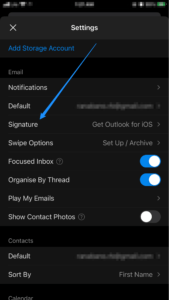
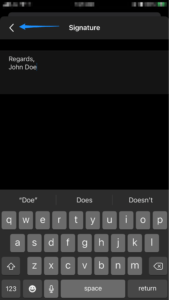
Step #4 Tap on the signature option in the lower half of the Settings menu page.
Step #5 Make the required changes to your current signature once it opens.
Remember, you cannot add any imagery or link like you could in the above two methods, and neither can you change the formatting on the text. You can only change the text.
Step #6 Tap on the Back sign (it will be ‘<‘ for iPhone users and an Arrow Sign for Android users).
There! Your brand-new signature is now ready for use.
Wasn’t that super convenient?
Summing Up
Adding an email signature has become mandatory in today’s time, especially if you want to look like a true professional.
Moreover, it shows the recipient that you’ve taken the initiative to personalize your emails by adding a personal touch – no matter how small it might be. The fact that creating and editing an email signature in Microsoft Outlook is so incredibly easy makes it even more worth it.
With minimal effort, you can work wonders for your business. It’s #Win if you ask us!

