The Ultimate Manual For Nmap Vulnerability Scanning
If you’re concerned about cybersecurity and are interested in securing your network using Nmap vulnerability scanning, this article is for you.
Nmap is a powerful tool used by network administrators, penetration testers, and ethical hackers for network scanning and monitoring.
Let’s dive in deeper to learn more about how you can use Nmap for vulnerability scanning.
What is Nmap Vulnerability Scanning Anyway?
In cybersecurity terms, a vulnerability is a weakness or loophole left in software code that allows attackers to infiltrate a system and run malicious code or install malware.
Such an intrusion, when successful, can allow bad actors to steal or destroy data, take over systems and accounts, and execute unauthorized actions on behalf of the compromised user.
Nmap Vulnerability Scanning
Nmap vulnerability scanning is the process of using Nmap to scan for and identify known vulnerabilities. Even though Nmap isn’t primarily a vulnerability scanner, the tool’s robust script library makes it possible for cybersecurity professionals to use it for this purpose effectively.
Objectives of Nmap Vulnerability Scanning
As an ethical hacker or a penetration tester, the goal of Nmap vulnerability scanning is to gather information about a target host, system, network, or an information technology asset, test it for weaknesses, attempt to exploit those weaknesses, and report on the findings so appropriate security measures can be taken to eliminate any reported problems.
Nmap vulnerability scanning may also be conducted to check the effectiveness of an organization’s security policy, adherence to compliance regulations, company-wide awareness of security measures, and the ability of an organization to flag and respond to security threats and violations.
How Nmap Vulnerability Scanning Works
Background
In 2013, US officials acknowledged that cyber-attacks have become a bigger threat than terrorism. Attackers can use vulnerabilities in software code to disrupt computer networks, steal or destroy data, and take over systems and accounts.
With increasing reliance on digitization globally, such attacks can lead to major infrastructure problems for countries, be it power, transportation, agriculture, media, finance, or defense.
In 2021 alone, nearly 22,000 cybersecurity vulnerabilities were published, the highest number ever recorded in a year. This underscores the need for better awareness for individuals and businesses on staying safe online and effectively deploying the necessary cybersecurity tools available today.
This is Where Nmap Comes In
Nmap, also called Network Mapper, is a network scanner created by Gordon Lyon in September 1997. It is a command-line tool, initially developed for Linux but is now available on other operating systems including Windows, macOS, and BSD.
Nmap can probe networks in a variety of ways, such as detecting hosts, services, operating systems, etc by sending IP packets and analyzing the responses.
What Can Nmap Do?
Here’s a quick look at what Nmap is capable of:
Scan Active IPs
Get detailed reporting on every IP on your network to figure out if a certain IP address is compromised and needs further investigation. Nmap can flag compromised IPs and report on whether they’re being used by a legitimate network service or a hacker.
Scan Your Entire Network
Nmap can help you visualize and map out your entire local network. It can also show you a list of active live hosts, available ports, and the operating systems running on every device connected.
Scan for Vulnerabilities
In addition to a number of network scanning functions, Nmap can also be used to identify vulnerabilities in your network. The tool gives you a front-row view of what attackers would see if they attempt to infiltrate your network defenses. This can help you prepare better for any future cybersecurity threats.
Visualize Your Network
Nmap is a command-line tool. But it has a graphical user interface called Zenmap that can help you visually map your network so you can understand it better and prepare reports that are easier to understand.
Nmap Commands
The default command format for Nmap is:
nmap [Scan Type(s)] [Options] {target specification}
You can simply write “nmap” and press enter at the command prompt for detailed instructions on each scan type and the options that can be used with them.
Here’s a quick summary of some common commands you can try when using Nmap:
Ping Scanning
A ping scan can return information on every IP active on your target network.
You can use the following command to run a basic ping scan:
- nmap scanme.nmap.org
The result should look something like this:
nmap 192.168.18.7
Starting Nmap 7.92 ( https://nmap.org ) at 2022-04-26 17:19
Nmap scan report for 192.168.18.7
Host is up (0.00082s latency).
Not shown: 996 closed tcp ports (reset)
PORT STATE SERVICE
135/tcp open msrpc
139/tcp open netbios-ssn
445/tcp open microsoft-ds
5357/tcp open wsdapi
Nmap done: 1 IP address (1 host up) scanned in 0.59 seconds
Note: Port scanning can sometimes get you in trouble with the law or your employer. So, it’s safer to use the “-sn” parameter to disable port scanning when running a ping request.
Scan for Open Ports
Where port scanning is safe, there are numerous ways to do so. The differences among the various kinds of port scans are determined by whether you want to cover TCP or UDP ports and if they’re on a TCP connection.
For example, if you run a TCP Connect scan, Nmap is going to query every host on the network and request a response. On the other hand, the UDP scan would send UDP packets to scan DNS, SNMP, and DHCP ports to achieve the same result.
Let’s have a look at the different port scanning commands and options below.
Use the -p parameter to run a scan for a specific port:
nmap -p 973 scanme.nmap.org
Use a TCP connection to scan for a particular connection type—provided you specify the type of port:
nmap -p T:7777,973 scanme.nmap.org
You can scan a range of ports using hyphens:
nmap -p 76–973 scanme.nmap.org
Use the -top-ports parameter to specify the top n ports to scan:
nmap –top-ports 10 scanme.nmap.org
Scan Hosts
Get detailed information on a certain host or a full range of IP addresses. Furthermore, get useful information about latency, MAC addresses, and descriptions linked to these addresses. This is a quick and easy way to identify and disconnect suspicious hosts from your network.
Run the following command to execute host scanning:
To scan multiple hosts simultaneously, simply write the host addresses one after the other with a space in between as shown below:
nmap 192.168.1.1 192.168.0.2 192.168.1.2
You can also scan the full subnet range using the asterisk (*) wildcard:
nmap 192.168.1.*
To scan particular subnets, simply type them out and separate them with commas:
nmap 192.164.0.1,2,3,4
You can tell Nmap to scan a full range of IPs by using a hyphen:
nmap 192.164.0.0–255
The same rules apply to hostnames. Just replace the IPs with hostnames and you’re good to go.
Identify Operating Systems
One of the most powerful abilities of Nmap is to run scans to identify what operating system is the target running. Every OS has its own set of vulnerabilities, so having this information forms an important part of the puzzle.
Nmap identifies operating systems by sending TCP and UDP packets to a certain port, analyzing the response, and comparing that response with its OS database.
You can run an OS scan by typing:
nmap -sV scanme.nmap.org
It’s important to note that OS detection isn’t always 100% accurate. It’s only one piece of the puzzle that needs to be seen in the context of other relevant information obtained about the target.
Stealth Scanning
Stealth scans are executed to avoid detection by firewalls and security systems. This is achieved by avoiding a 3-way handshake between the systems. Nmap sends a SYN packet and analyzes the response from the target. If it also responds with SYN or ACK, that’s an indication that the part is open and a TCP connection can be established.
Use the following command to run a stealth scan:
nmap -sS scanme.nmap.org
Scan Commonly Used Ports
This command scans several “most commonly used” ports of a target.
To execute this command, enter the following:
nmap –top-ports n scanme.nmap.org
Where n is the number of ports you’d like to scan.
Output to a File
Sometimes, you’d want to share a log of the results you get from your scans instead of saving screenshots. Nmap allows you to save your scan results to several file formats.
Use the following parameters:
To save the results to a text file: -oN output.txt
To save the results to an XML file: -oX output.xml
Using Nmap for Vulnerability Scanning
As discussed earlier, the primary function of Nmap is not to scan for vulnerabilities. But the tool can be supercharged using scripts to obtain even more information on a target. Vulnerability detection is one such feature that is enabled via the Nmap Scripting Engine.
Nmap Scripting Engine
The Nmap Scripting Engine or NSE is an incredible Nmap feature. It’s a suite of scripts that you can use to find security weaknesses in your system. In addition, you can also write NSE scripts yourself using the Lua programming language to shape Nmap’s behavior according to your needs.
Nmap Vulnerability Scanning Scripts
Nmap vulnerability scanning scripts are sets of instructions for Nmap for particular use cases. These scripts form the basis of what we know as the Nmap Scripting Engine. Nmap vulnerability scanning scripts, combined with Nmap commands, can detect Common Vulnerabilities and Exposures or CVEs on your target network.
Three of the most popular scripts for Nmap vulnerability scanning are vuln, vulscan, and nmap-vulners. These scripts help to identify and retrieve information on countless CVEs every year and make Nmap a robust vulnerability scanner.
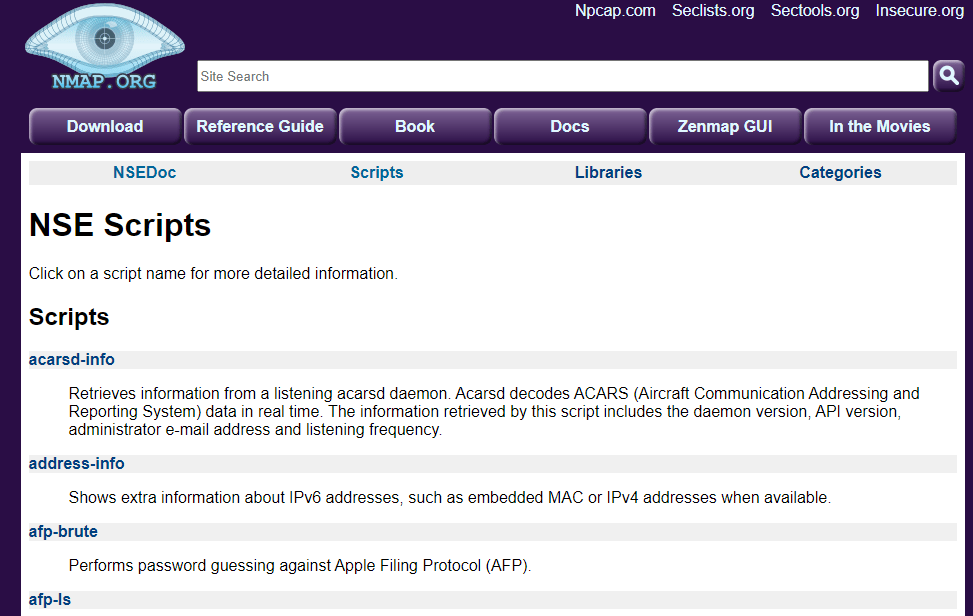
Visit the NSE Scripts page to browse and download more scripts.
Example #1: Using the Vulscan Script for Vulnerability Scanning
Vulscan has a set of comprehensive CVE databases that it queries when required. These databases are all hosted on the client’s system and include the following files:
- Osvdb.csv
- Securitytracker.csv
- Openvas.csv
- Exploitdb.csv
- Xforce.csv
- Securityfocus.csv
- Cve.csv
- Scipvuldb.csv
Once installed, the vulscan script for Nmap can be activated using the following command:
- nmap -sV –script=vulscan/vulscan.nse www.example.com
Note: www.example.com is your target host.
Please allow some time for the scan to be completed. The result of the activity should look something like this:
nmap -sV –script=vulscan/vulscan.nse 192.168.1.105
Starting Nmap 7.70 ( https://nmap.org ) at 2022-04-24 11:24 -03
Nmap scan report for 192.168.1.105 (192.168.1.105)
Host is up (0.000061s latency).
Not shown: 999 closed ports
PORT STATE SERVICE VERSION
53/tcp open domain dnsmasq 2.80
| vulscan: VulDB – https://vuldb.com:
| [49778] Thekelleys dnsmasq up to 2.32 tftp.c tftp_request memory corruption
| [43410] The Kelleys dnsmasq 2.43 Crash denial of service
| [43287] Thekelleys dnsmasq 2.25 Crash denial of service
| MITRE CVE – https://cve.mitre.org:
| [CVE-2013-0198] Dnsmasq before 2.66test2, when used with certain libvirt configurations, replies to queries from prohibited interfaces, which allows remote attackers to cause a denial of service (traffic amplification) via spoofed TCP based DNS queries. NOTE: this vulnerability exists because of an incomplete fix for CVE-2012-3411.
| [CVE-2012-3411] Dnsmasq before 2.63test1, when used with certain libvirt configurations, replies to requests from prohibited interfaces, which allows remote attackers to cause a denial of service (traffic amplification) via a spoofed DNS query.
| [CVE-2009-2958] The tftp_request function in tftp.c in dnsmasq before 2.50, when –enable-tftp is used, allows remote attackers to cause a denial of service (NULL pointer dereference and daemon crash) via a TFTP read (aka RRQ) request with a malformed blksize option.
| SecurityFocus – https://www.securityfocus.com/bid/:
| [31017] Dnsmasq DCHP Lease Multiple Remote Denial Of Service Vulnerabilities
| [17662] DNSmasq Broadcast Reply Denial Of Service Vulnerability
| [12897] Dnsmasq Multiple Remote Vulnerabilities
Nmap done: 1 IP address (1 host up) scanned in 11.25 seconds
Example #2: Using the Nmap-Vulners Script for Vulnerability Scanning
Nmap-vulners is another popular vulnerability scanning script. It relies on the Vulners exploit database when we execute the NSE script. To run a simple CVE or vulnerability scan, follow the syntax below after installing the script:
- nmap –script nmap-vulners/ -sV 55.44.33.22
Just replace the IP given above with your target’s IP, and you’re good to go. Similarly, you can use a hostname instead of an IP address in the command.
For example:
nmap –script nmap-vulners/ -sV scanme.nmap.org
The addition of the -sV parameter here ensures you get the version information of the services active on the host system.
The expected output should look like this:
nmap –script nmap-vulners/ -sV 192.168.1.105 -p 21-80
Starting Nmap 7.70 ( https://nmap.org ) at 2019-10-25 10:41 -03
Nmap scan report for 192.168.1.105
Host is up (0.34s latency).
Not shown: 55 closed ports
PORT STATE
21/tcp open ftp ProFTPD 1.3.3e
22/tcp open ssh OpenSSH 5.3p1 Debian 3 ubuntu7.1 (Ubuntu Linux; protocol 2.0)
| vulners:
| cpe:/a:openbsd:openssh:5.3p1:
| CVE-2016-10708 5.0 https://vulners.com/cve/CVE-2016-10708 8
| CVE-2017-15906 5.0 https://vulners.com/cve/CVE-2017-15906
| CVE-2018-15473 5.0 https://vulners.com/cve/CVE-2018-15473
|_ CVE-2016-0777 4.0 https://vulners.com/cve/CVE-2016-0777
25/tcp open smtp Postfix smtpd
53/tcp open domain ISC BIND DNS
| vulners:
| ISC BIND DNS:
| CVE-2012-1667 8.5 https://vulners.com/cve/CVE-2012-1667
| CVE-2002-0651 7.5 https://vulners.com/cve/CVE-2002-0651
| CVE-2002-0029 7.5 https://vulners.com/cve/CVE-2002-0029
80/tcp open http nginx 1.4.1
|_http-server-header: nginx/1.4.1
Example #3: DOS Attack Vulnerability Scan
DOS or Denial of Service attacks are among the most common and easiest attacks to carry out. That’s all the more reason for being prepared for them. Use the built-in DOS script to scan for DOS vulnerability. Type the following:
- Nmap –script dos scanme.nmap.org
How to Get Started With Nmap Vulnerability Scanning
Step 1: Installation
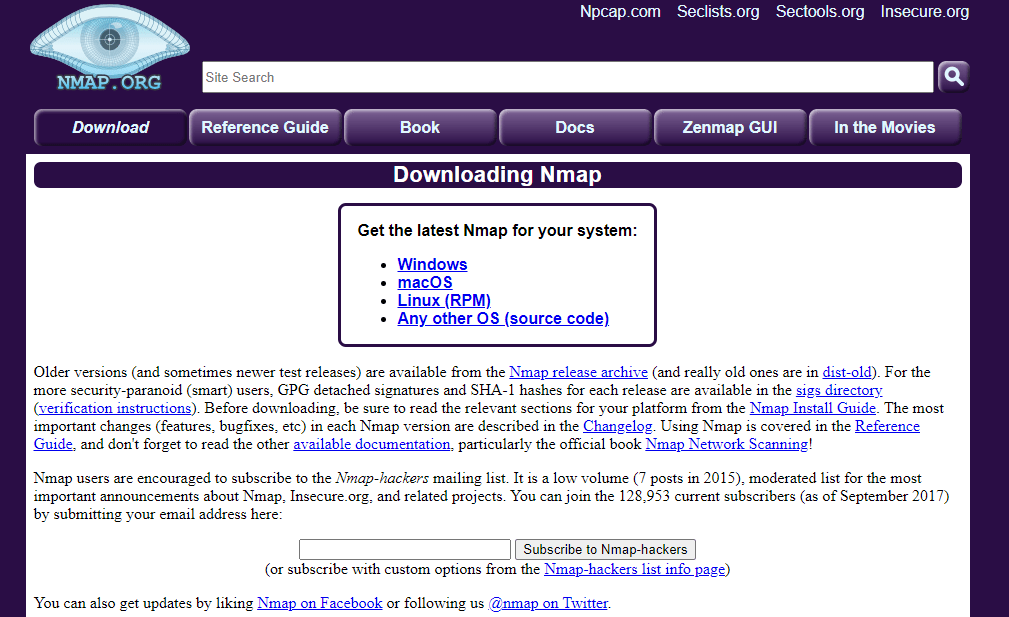
The first step in the process is to install Nmap for your operating system.
Visit the Nmap download page and choose the right operating system.
Follow the instructions of the installation package to set up Nmap on your system.
Step 2: Install the Required Scripts
The commands used here to install the scripts are for Linux-based systems since that’s the dominant operating system for Nmap.
Vulscan:
To install Vulscan, use the following commands:
- git clone https://github.com/scipag/vulscan scipag_vulscan
- ln -s `pwd`/scipag_vulscan /usr/share/nmap/scripts/vulscan
Nmap-vulners:
To install Nmap-vulners, type the following:
- cd /usr/share/nmap/scripts/
- git clone https://github.com/vulnersCom/nmap-vulners.git
Step 3: Run the Vulnerability Scans
Vuln:
The vuln script comes built-in with Nmap. To activate it in its most basic form, simply type:
- Nmap –script vuln scanme.nmap.org
Note: scanme.nmap.org can be replaced with your target host.
Vulscan:
To activate the Vulscan vulnerability scan, type:
- nmap -sV –script=vulscan/vulscan.nse www.example.com
Note: www.example.com is your target host.
Nmap-vulners:
To execute the Nmap-vulners vulnerability scanning script, enter the following command:
- nmap –script nmap-vulners/ -sV 55.44.33.22
Note: 55.44.33.22 should be replaced with your target IP or hostname.

