How to Use Asana
If you’re a project manager, you’re probably on the lookout for the latest innovations and tools to boost your productivity and efficiency. Asana is one such tool that has gained popularity in the last few years. Since you’re reading this article, it’s fair to assume you’re here to learn how to use Asana.
Let’s start with the basics.
Asana is a project management tool that offers managers and their teams a place in the cloud to create virtual workspaces and collaborate on projects. It allows team leaders to break projects down into tasks, assign them to team members, mark deadlines to set expectations, assign priority levels, and indicate which tasks have dependencies.
Asana minimizes the need for email by providing the project team with a host of useful collaboration features such as commenting, file sharing, marking tasks as complete or incomplete, and even social media-style features such as the “like” button.
Users follow the progress of their projects through notifications that appear in their email inbox and the notifications section in Asana. These notifications inform team members of upcoming deadlines, assigned tasks, overdue tasks, interactions made with their tasks, etc.
Whether your projects are complex or straightforward, short-term or long-term, Asana is a viable option. It is suitable for on-site and remote teams to communicate and collaborate effectively.
Now that you’ve had an overview of what Asana is all about, let’s go through each step of using it effectively.
1. Create an Asana Account
Go to asana.com to sign up for an account.
Click on the Try for free button on the homepage to get started. Or, based on your project’s requirements, you can choose a suitable plan from the Pricing page. This page also provides the option of selecting the Basic (Free) plan, which allows you to take Asana on a test drive.
When you select your plan, you’ll be prompted to enter your email address. Submit your email and verify your account via the link sent by Asana to your email inbox. If you don’t receive the verification email, check your spam folder or request Asana to resend the email.

2. Create a Project
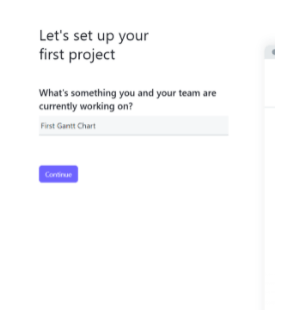
To help you get up and running in no time, Asana takes you to your first project creation page as soon as you log in the first time.
Step 1: Answer a few quick questions to help Asana determine how to get you started most efficiently. To begin, describe the kind of project you’re working on and select a name for it.
Regardless of what the default view for your project is, you can choose a different view at any time from your project page.
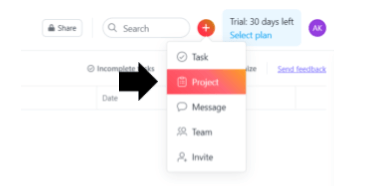
Alternatively, you can start a new project using the + sign at the top right for a more customized approach.
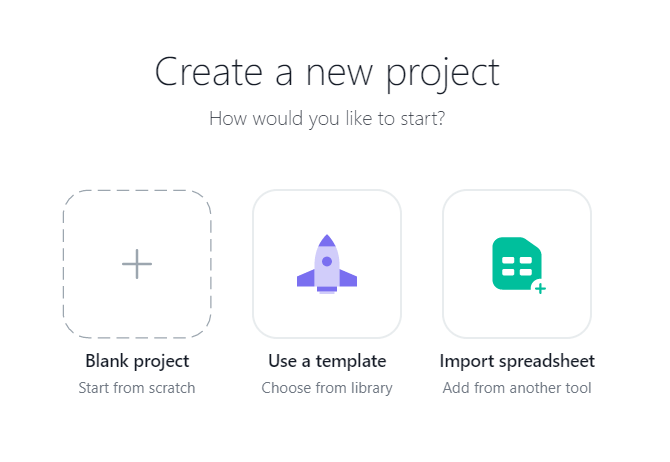
You can select a blank project or use an existing template. For simplicity’s sake, let’s choose Blank project here.
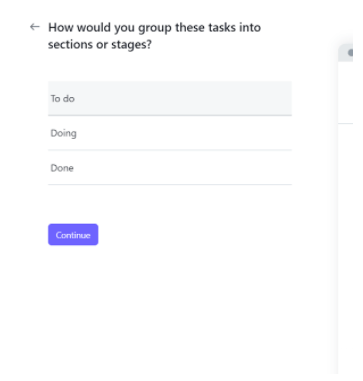
Step 2: After naming your first project, you can name your task headers based on your requirements. A typical header arrangement is Pending/To-do, In Process/Doing, and Completed/Done.
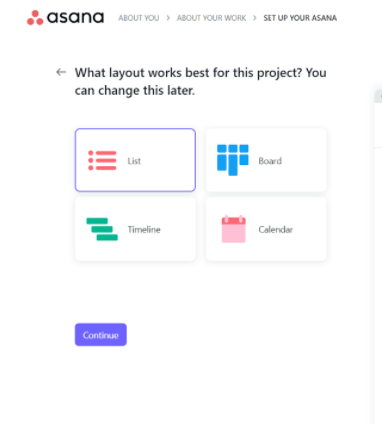
Step 3: It is time to select your default project view. When you choose a layout here, it becomes the first view you see when you open this project the next time. However, you can choose from any of the given layout options once you’re inside the project.
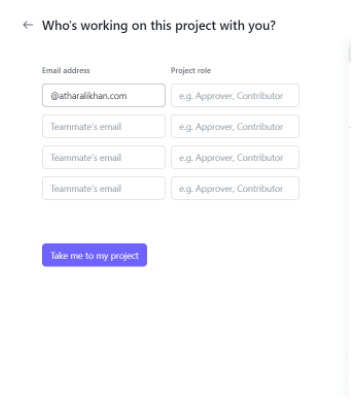
Step 4: In this step, Asana gives you the option of adding team members you’re going to work with on the project. You can enter the email addresses and roles of the team members you’d like to add. However, these are only for your ease of use and don’t impact how your project functions inside Asana. This isn’t compulsory, and you can skip it if you’re working on a solo project by clicking Take me to my project.
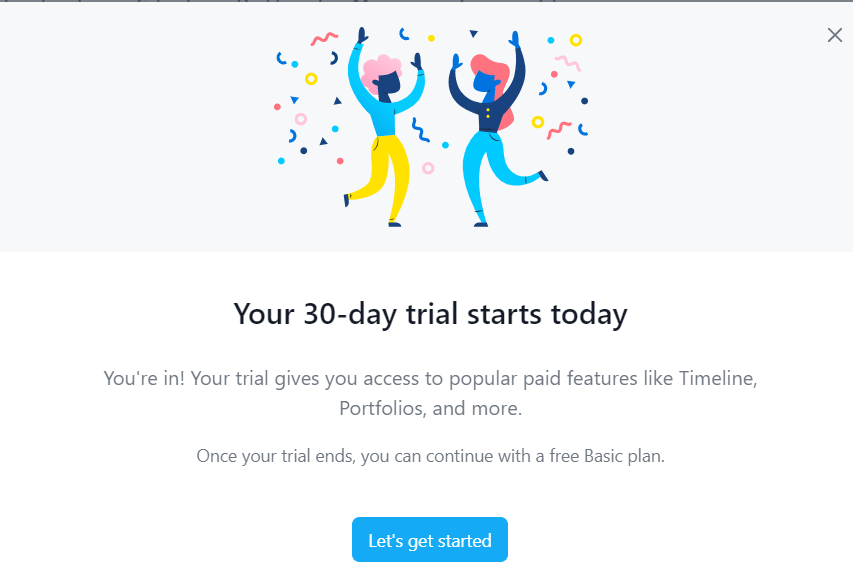
If you chose a paid plan, this is where your 30-day trial begins. However, if your selection was the Basic (free) plan, you can simply carry on working on your project or create a new one without worrying about a trial period.
3. Add Tasks
The next logical step would be to break the project down into tasks and add them to your Asana project. Each of the layout options provides its own ways to add tasks to it.
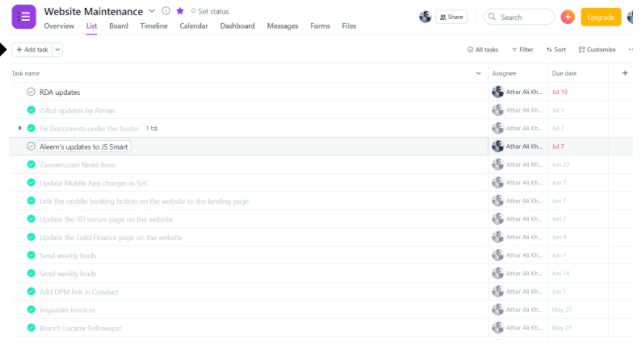
List View
The List view is a simple yet effective way to look at your project. The layout divides your project into sections, with each section containing its own set of tasks. The task name, assignee, deadline, and priority are all easily visible for each task in this layout.
In the List view, click the Add task button just under the project’s name above the task list.
Board View
Are you a Kanban practitioner? Then the Board layout is for you. This view allows each task to be represented as a card on a board, separated by section, indicated by adjacent columns. Each card displays the task’s name, assignee, and deadline. The section names are typically status update labels such as Pending, In Progress, and Completed. Users move cards from one column to the next based on the task’s progress.
In the Board view, you can add tasks by simply navigating to the bottom of any of the sections and clicking the Add Task button.

Timeline View
In the Timeline view, you can click on any part of the timeline for a new task creation option to appear at that particular point in the timeline. It’s helpful to remember that the Timeline layout is only available to customers subscribed to the Premium package.
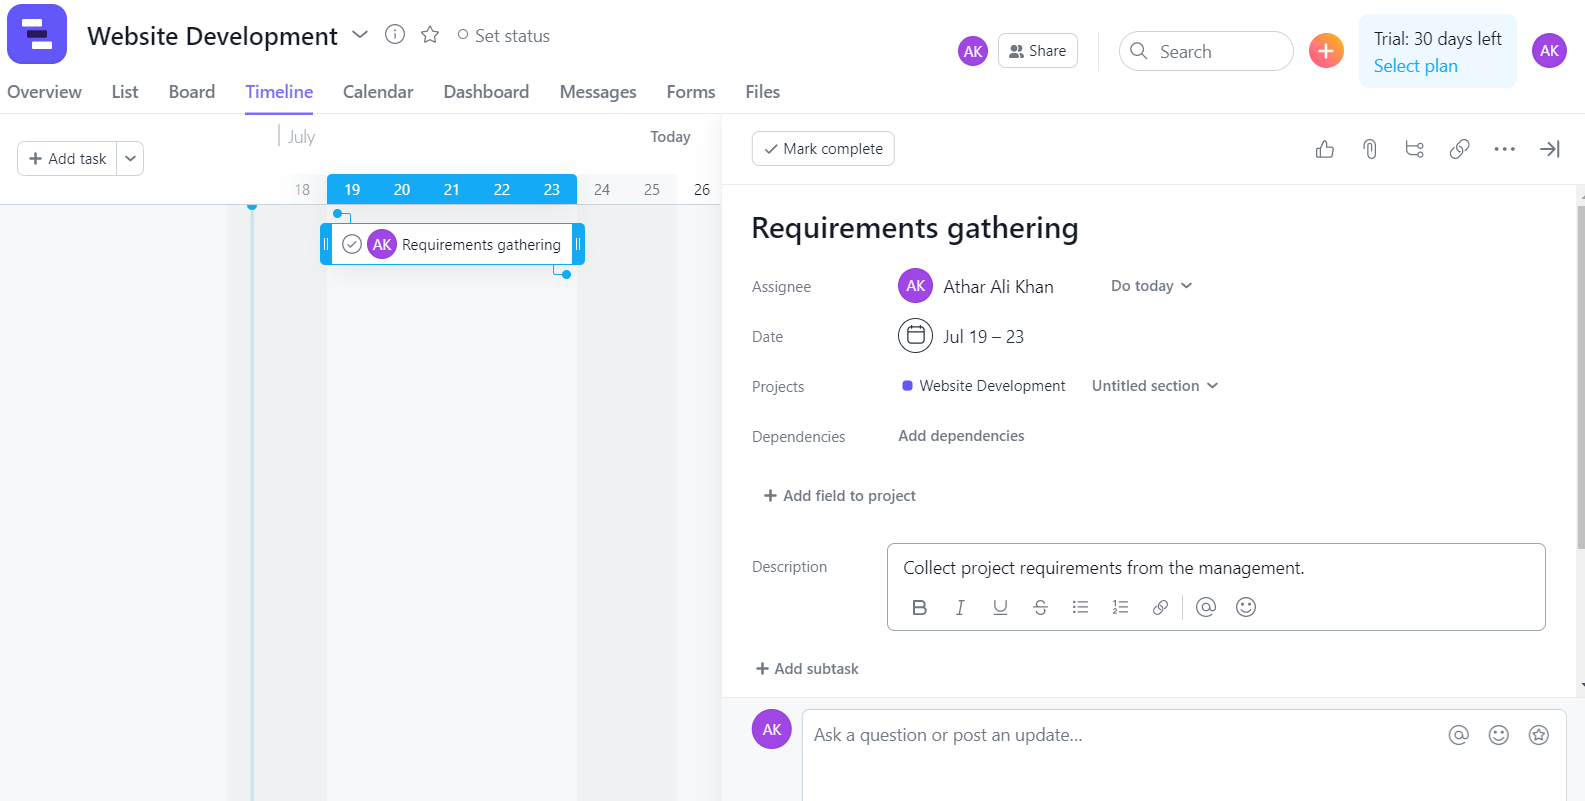
When adding a task in this layout, a horizontal bar pops up as soon as you click anywhere on the timeline. You can drag and drop, enlarge, or shorten this bar based on your chosen date and the amount of time you wish to spend on the task. In addition, clicking on the bar gives you more options to add details to the task, such as responsibility assignment, due dates, and sub-sections if you want to break your project down further.
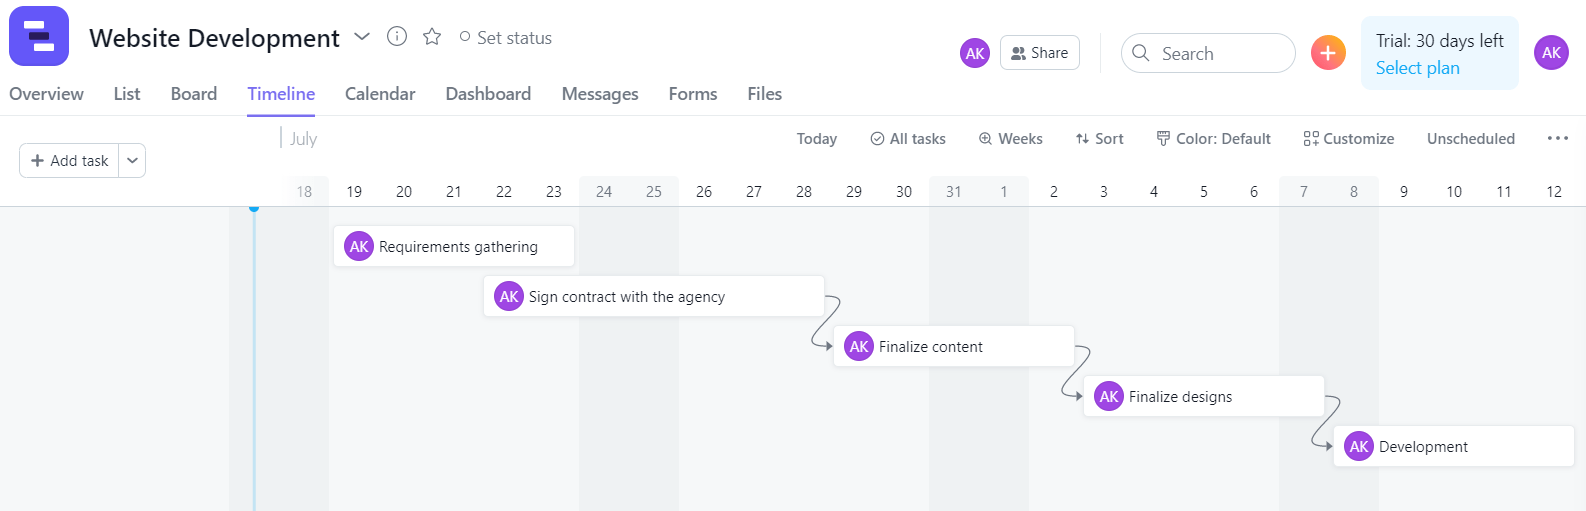
A useful feature to take note of here is Dependencies. Defining your dependencies allows your team to clearly understand which tasks cannot commence until a different task has been completed first.
In the sample timeline shown below, the website development step cannot be initiated until the agency contract is signed. Tasks dependent upon each other have arrows connecting them, indicating their relationship.
Calendar View
The calendar layout is date-focused and has an overlay of a project’s tasks on a calendar template. This project view is beneficial when a project manager is looking to optimize timelines and is reviewing the amount of work being completed on particular days of the month.
This layout can help a manager balance any inconsistencies or inefficiencies in how the work is assigned or completed.
In the Calendar view, tasks can be added by clicking on the day when the task is supposed to be initiated or closed, depending on how you phrase it.
4. Collaborate with Team Members
Team Communication
Asana isn’t just about task lists and project plans. Team collaboration is an essential part of what makes Asana a powerful project management tool. It allows for real-time communication between your team members no matter where they are. Users can comment on tasks, share files, and acknowledge each other’s efforts by “liking” updates. This eliminates the need for email and chat apps by combining their functions on the same platform, saving your team time and money.
Meeting Management
Meetings are more productive and effective with Asana. Team members can work together on meeting agendas where they can add notes against each point of discussion as a meeting progresses. Once a session is over, project managers can assign follow-up tasks to relevant team members for further action.
5. Integrate With Your Favorite Apps
It wouldn’t be wrong to say an app is only as good as its integrations. Asana has a rich library of app integrations with a broad range of partners, including Slack, Outlook, Gmail, MS Office 365, Google Calendar, and more. This enables Asana users to pick up tasks from within these apps and facilitates a seamless project management experience for all stakeholders involved.
For instance, if a Slack user wants to integrate with Asana, here’s what they’d have to do:
Step 1: Visit the Asana App Integrations page
Step 2: Search for the app they’re looking to integrate with. In this case, Slack.
Step 3: Follow the on-screen instructions and complete the integration.
Step 4: Type “/asana create” in Slack followed by the task name to directly create a task from the Slack app.
A similar process can be followed to integrate Asana with other apps.
6. Save Time With Workflows
A workflow is a standardized way of doing something at your organization. For example, does your organization follow a standard procedure for finance approvals? How about the way you approach marketing plans or hire new talent? With Asana, you can define standard workflows or templates for your teams to follow in the future. This saves time and effort and makes it easy for any new employees to join your team and hit the ground running.
Standardized workflows also help project managers assess the performance of their teams against a standardized template that provides a level playing field to all team members.
Common Problems When Using Asana
Overall, Asana is a fantastic tool. But that’s not to say it’s perfect or has no flaws. For many non-technical users, project management software and apps can be intimidating to operate in general. Just like any other technology or tool, Asana has its shortcomings. It may or may not be the right tool for you based on what features are critical to the functioning of your projects. Here’s a list of features in Asana that can use some improvement.
Overwhelming For New Users
There’s no doubt that seasoned project managers around the world prefer using Asana because of its features. However, new users can feel overwhelmed because of the number of functions and options available. As a result, organizations may have to set aside more budgets for user onboarding and training. For new users to use Asana as an effective tool, they need onboarding training, which takes additional time and money.
Too Robust For Small Teams
In our experience, Asana isn’t the best for situations where the project teams are small or is a solo project. The sheer number of options and features in Asana may seem like an advantage initially, but it may be overkill for managers handling basic projects. In addition, some users have complained of decision fatigue in the past when using the software.
Single Assignee for Tasks
Project managers can only assign each task to one person at a time. This is to prevent confusion about who’s accountable for the outcome of each task. However, if the responsible team member becomes unavailable, an additional workaround may be required to keep the work going forward.
No Time Tracking
Even though Asana is an excellent tool for organizing and tracking projects and tasks, it doesn’t offer time tracking features critical for project managers. This means project managers cannot track the time spent by each team member on the tasks assigned to them. This somewhat limits to what degree a project manager can optimize their team’s performance. Moreover, if teams need to bill their clients and categorize their work into billable and non-billable time, they would have to use a different tool to track time.
Limited Exporting Functionality
Even though Asana allows for seamless project visibility to everyone added to the project, sometimes it’s necessary to generate reports for external stakeholders. This is where exporting functionality comes into play. Unfortunately, Asana only allows for exports in the JSON and CSV formats. The all-important PDF and Excel formats are not part of the deal yet.

