How to Download Files from GitHub
GitHub is a resource for developers to store and manage their code.
When it comes to updating codes, it can be dangerous to directly modify the code of a website or program. This is where tools like GitHub come in. Users can upload their codes, edit them safely, and then merge them with the original code when they are content with the updates.
Not only that, but users can also jump onto GitHub and find a variety of files to download. Developers all around the world use it as well as upload files to help others.
Unfortunately, the process of finding these files can be a bit daunting, especially for non-developers. That’s where we come in.
Follow this simple step-by-step guide and you will be downloading all the files your heart desires in no time.
1. Go to GitHub.com
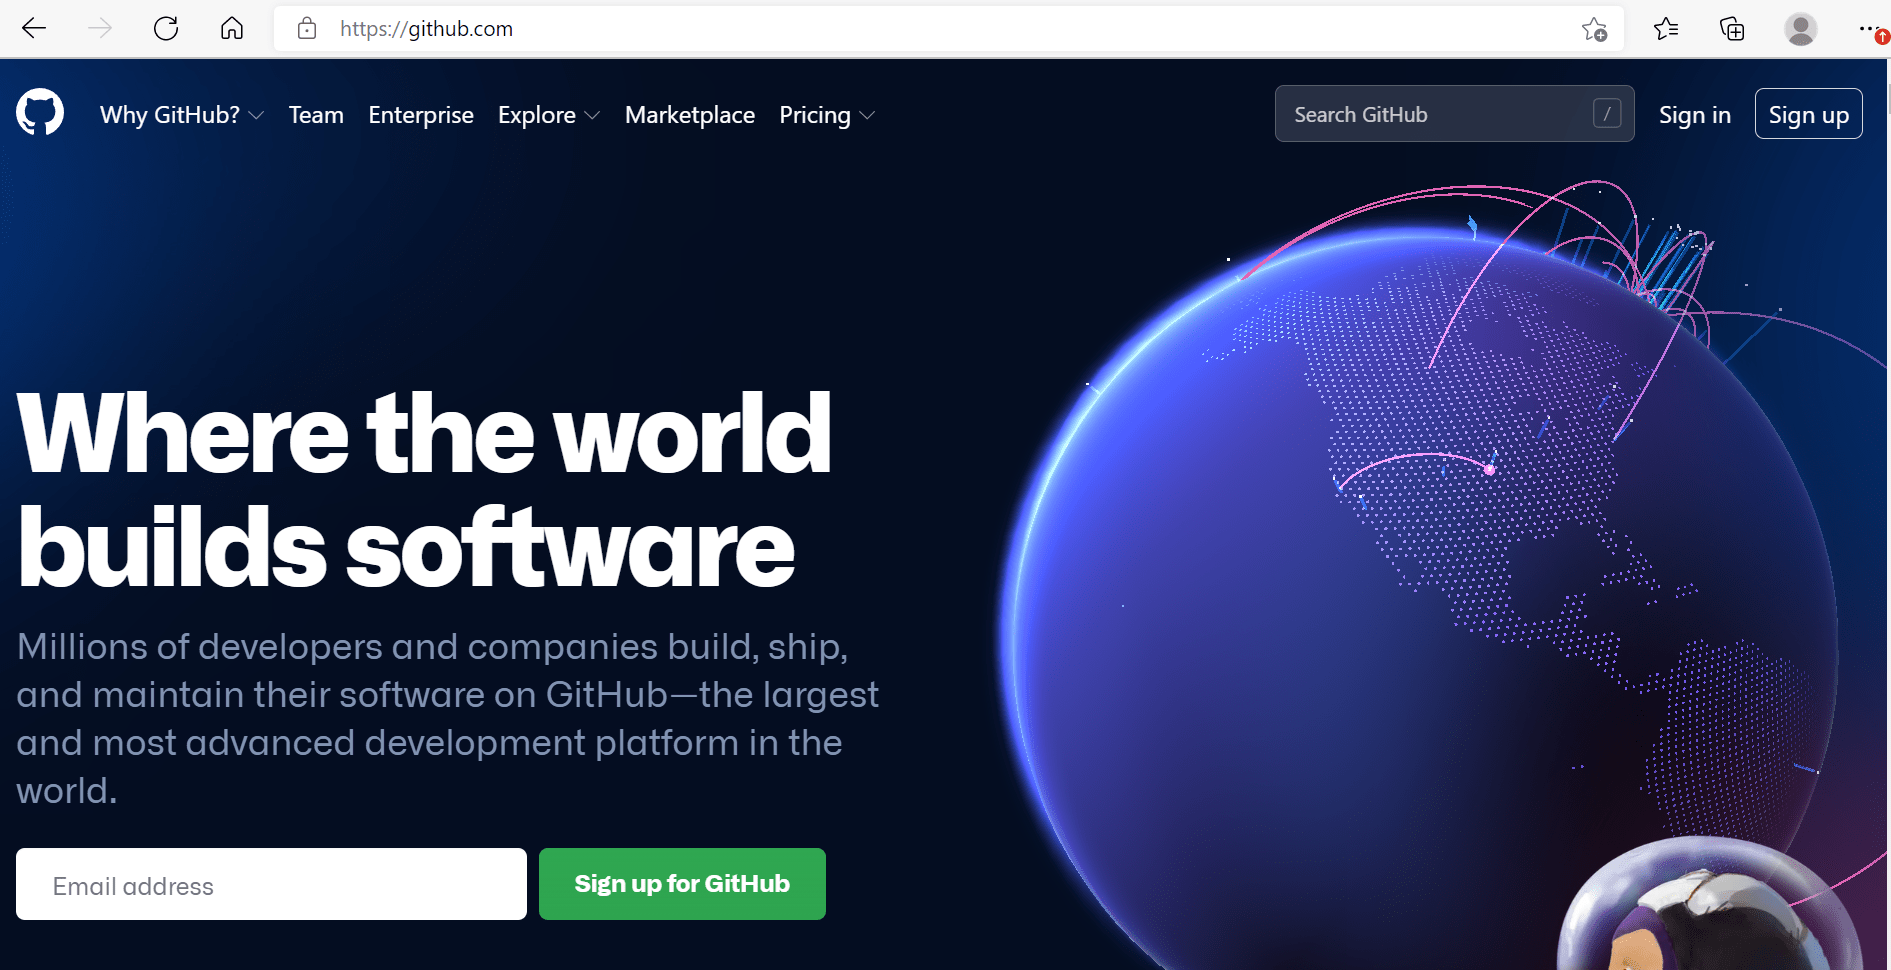
The first step is to get on the GitHub website. Typically, this will work better using a laptop when it comes to the physical coding work and downloading files. However, GitHub does offer options for mobile devices as well. You should be able to access this in your phone’s App Store or Google Play app, depending on what kind of phone you have.
In addition, users will not need to make an account in order to download files from the website. However, creating an account can be beneficial for organizational purposes, as well as a slew of other benefits involving customer support and storage. In addition, if you want to use GitHub for more than just files, such as uploading your own codes and modifying them, then creating an account is required.
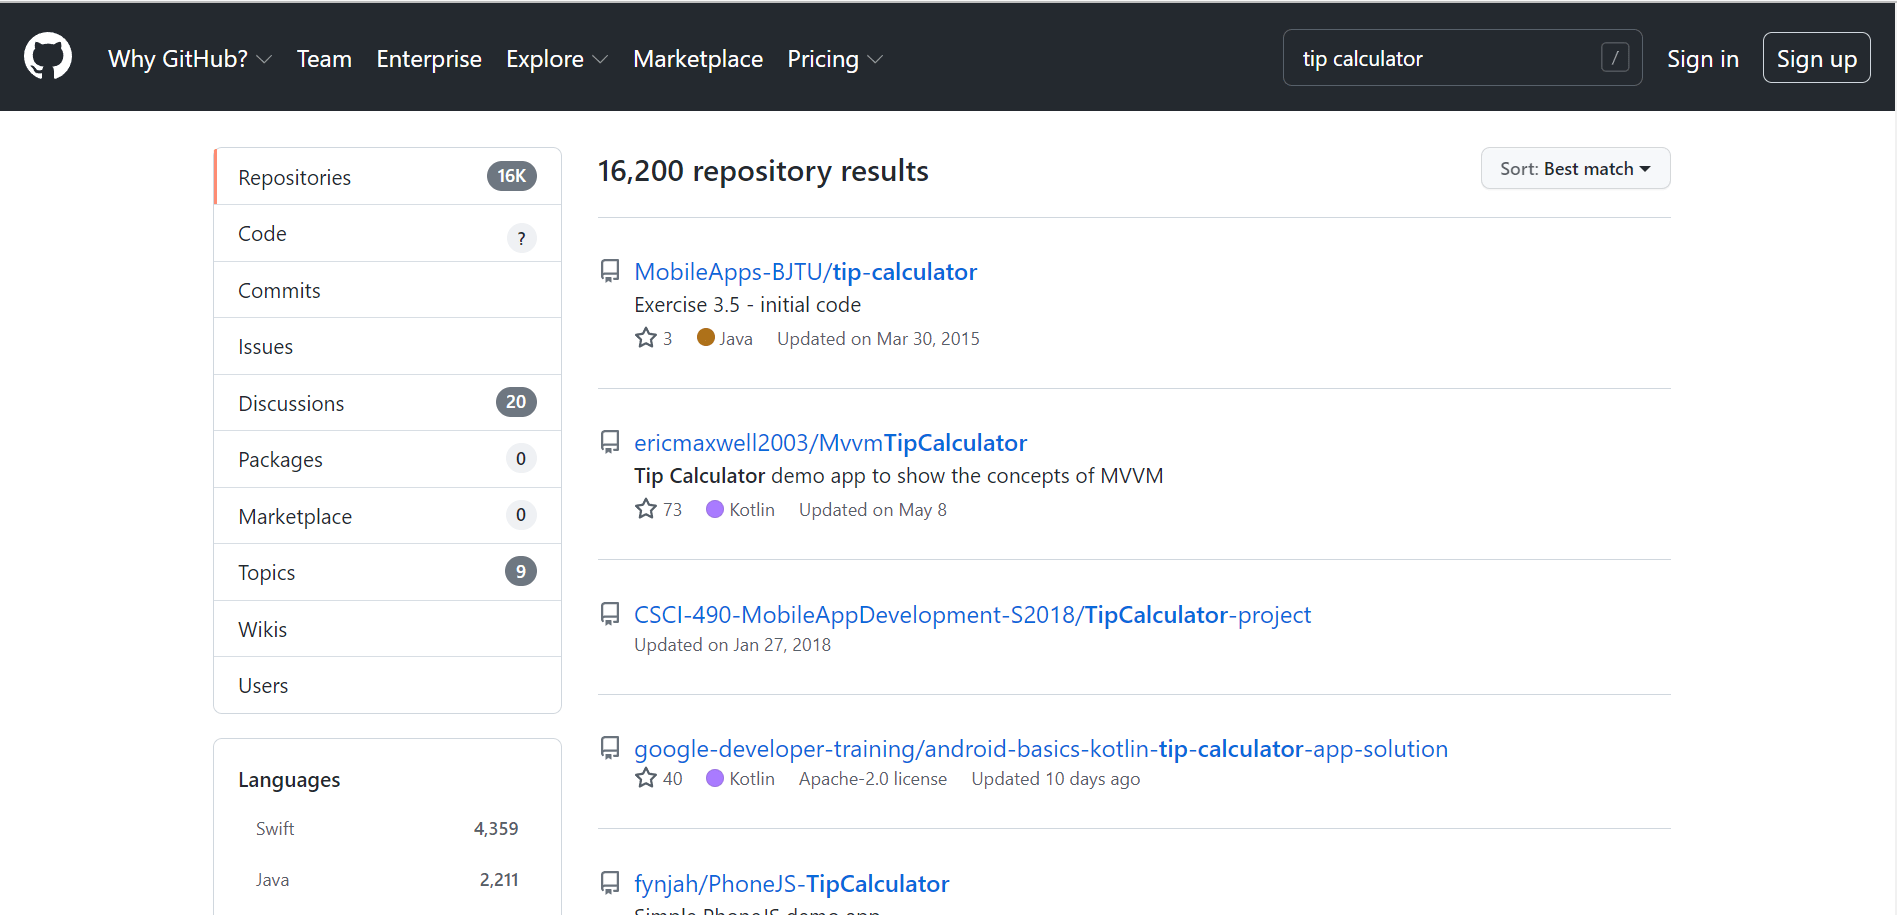
2. Find the File
After you’re on the GitHub website, you’ll need to look to the upper right-hand corner where you will see a search bar. Here, you can plug in keywords for the file you are looking for and see all of the options GitHub has to offer. Software developers are adding more files to GitHub every day, so there is a huge repository of resources to choose from.
However, accessing these resources can sometimes be overwhelming, especially with the huge volume of them available.
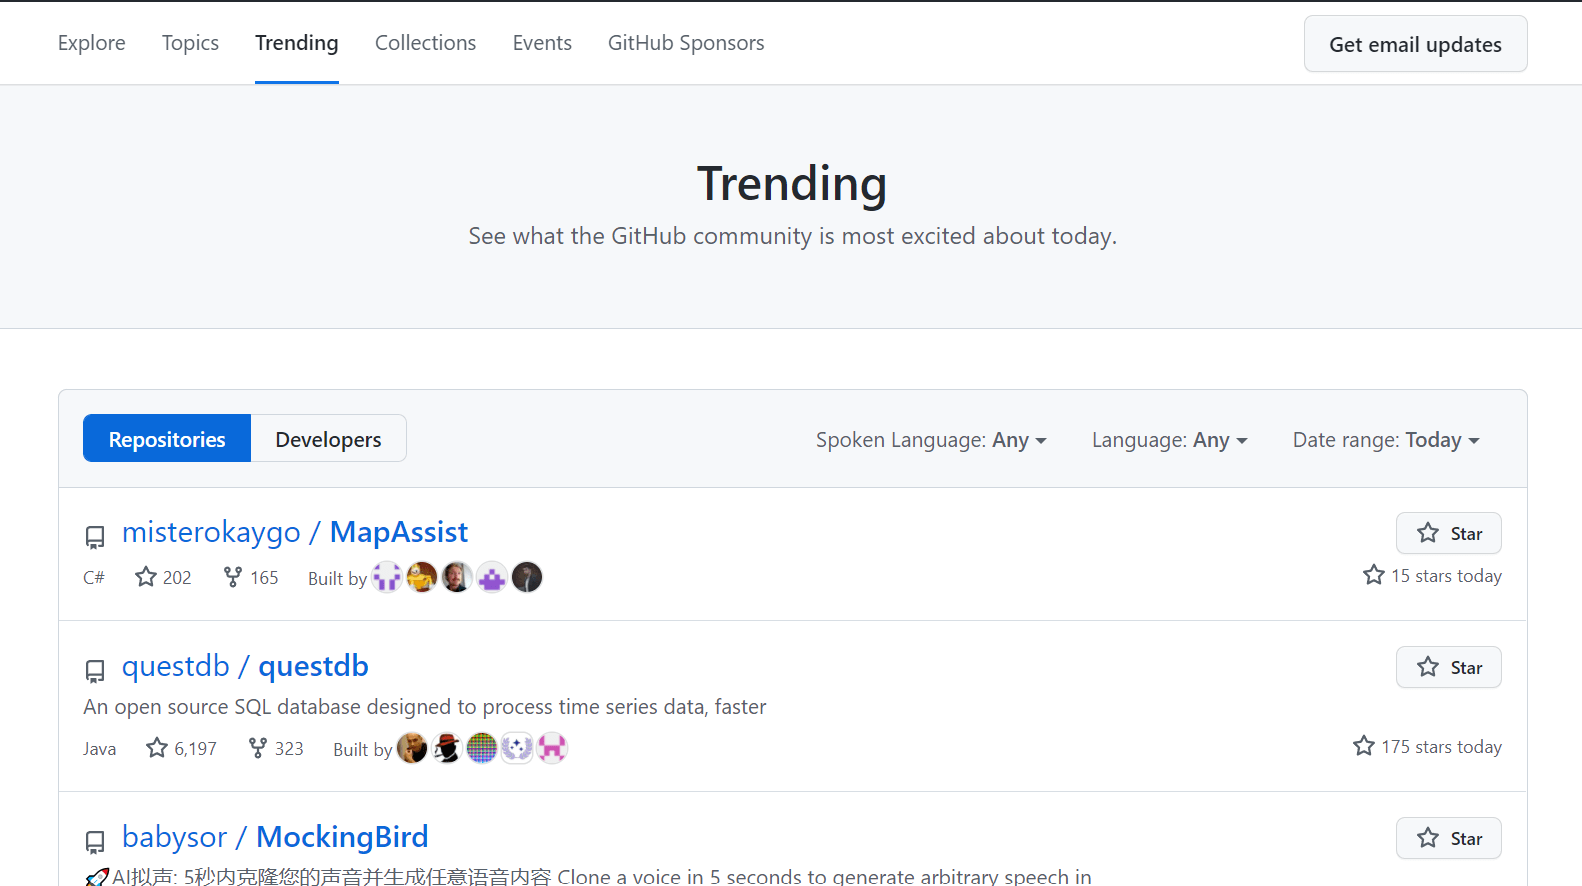
To make it a little bit easier, there is an Explore tab in the center of the taskbar at the top of the homepage. If you click on it, you’ll be able to see the trending topics and repositories of the day. In addition, there are collections about a variety of industries, topics, and communities. So, if you’re looking to code, use music, work with data as a journalist, or even hack Minecraft, there is a hub of resources available for you to learn from and download.
These can be excellent sources of inspiration, development, or even entertainment (I’m looking at you, Minecraft). Even if you know exactly what kind of file you want, take a look and see what kinds of capabilities are out there. Some may even surprise you.
Once you find the file or group of files that you’re looking for, select the name of the file with your mouse. After you click it, you will be taken to another page that outlines the code and allows you to begin the process of downloading the file.
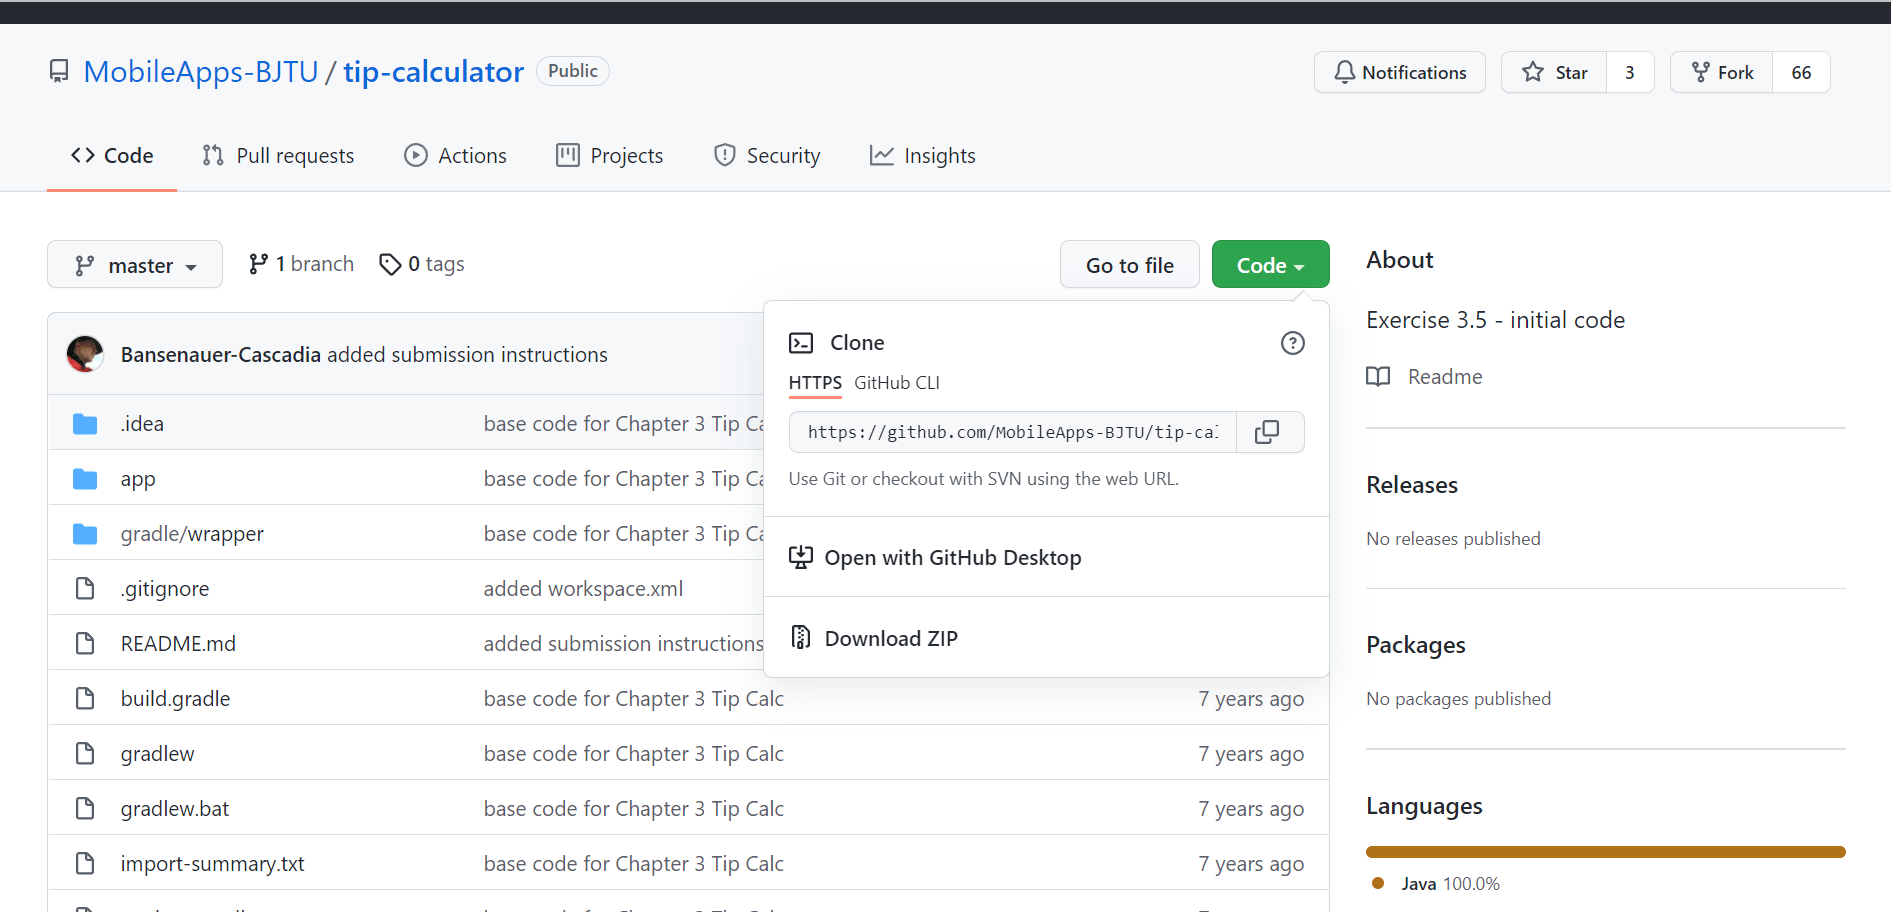
3. Download the Zip File
Once you find the file you’d like and click on the name of it, you’ll be taken to a new page. From here, you’ll be able to see the code. In addition, there are a few other tabs that you can look into, such as pull requests, actions, projects, security, and insights.
However, for just downloading, you’ll want to stay on the original page. Select the green button on the right that says Code. From here, look to the bottom of the list of options. You will see a choice that says Download ZIP. Select this, and the file will automatically begin to download on your computer.
Unfortunately, at this point, GitHub does not allow individual files in a folder to be downloaded. If there are extra files you don’t want, simply go to your Downloads folder and move the files you don’t want to the trash. You can do this by either dragging them to the trash or right-clicking the file and pressing the Delete option.
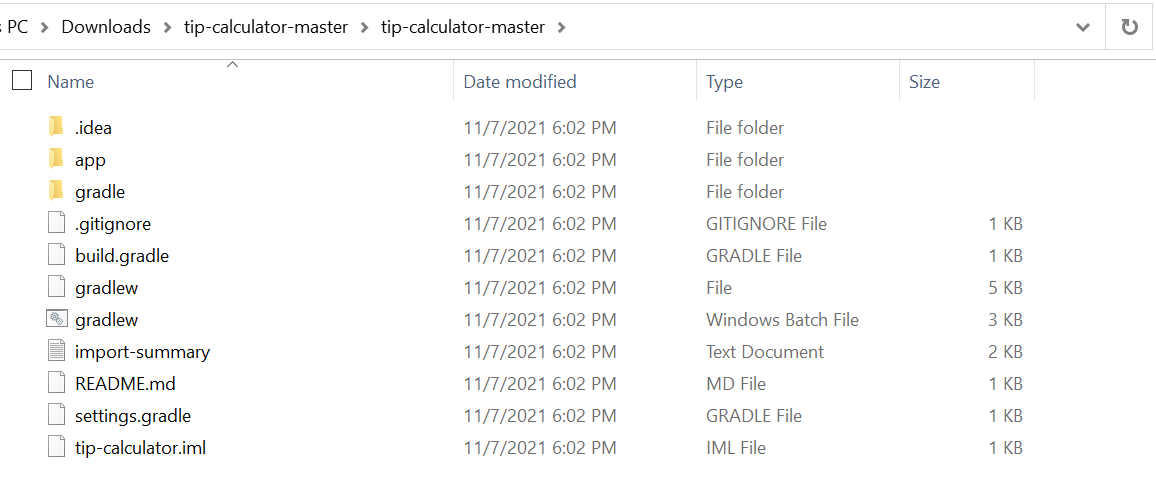
4. Unzip the file for Windows
Although the file is downloaded, it’s not completely ready to use yet. Since all of the files are in the ZIP version, you must manually un-ZIP them to access them. The files are zipped because when the data is compressed, less space is used. Not only that, but transferring files becomes much faster and the download does not take as long.
Luckily, unzipping the files is very easy and will most likely only take a couple of minutes.
On Windows, open up your File Explorer. This is a yellow file folder, most likely located at the bottom of your screen on the taskbar. If not, click on the search bar on the bottom left-hand corner of your screen and type the words “File Explorer.”
From here, click on the application. Once it is opened, look at the left-hand side and select the Downloads folder. There should be a blue arrow icon next to it facing downwards. Click it.
From here, you should see the file that you downloaded at the very top of the list of downloads. Right-click on the name of the file. Select the Extract All option and your device will automatically begin the process of unzipping all of the files.
On Windows, you can also select the location where you would like the files to end up. Once the files are unzipped, the accessible folder will now be opened, and you should be able to use them.
5. Unzip files for Mac
On a Mac, the process for unzipping files is similar, but not the exact same. Rather than looking for the File Explorer button on the bottom taskbar, you’ll look for an icon called Finder.
This will most likely be located at the bottom of your screen, and look like a smiley face that is half white and half blue. Click on the icon, and then look on the left-hand side. Just like in the Windows option, click the option that says Downloads. From here, you should see your ZIP file at the very top, since it was the file most recently downloaded.
Double click the file and your device will begin the process of unzipping it. In addition, if you would like to unzip multiple files, just press the shift button and click on all the files you need. From here, double click and the download should begin like normal.
After that, your files will be ready to access. Click on them to begin using them like you would with any other file.
Common Problems When Downloading Files from GitHub
While downloading files is a relatively quick and easy process, there can be some hiccups along the way. We’re here to highlight some of the most common problems in the download process.
Knowing what to look for
For those new to the world of GitHub and development, it can be difficult to know exactly what to search for on the website. In addition, some of the names of the files can seem a bit confusing. A lot of the time, the names of the files can be abbreviations or not include any spaces. This can make it hard to see exactly what functions the files have and how to search for them.
For example, one of the most common repositories on GitHub today you may want to download or add to your code is called “questdb.” Its description can be a little more helpful. It says its purpose is to be “An open-source SQL database designed to process time-series data, faster.”
If you have no idea where to begin on GitHub, consider looking on the Trending page to become more familiar with the formatting and capabilities of the platform. Not only that, but by seeing what is popular, you’ll be able to better understand what your competitors may be using in their programs.
Over time this will get easier. Remember that you can look up keywords to try to find what you’re looking for, or even search online what the best GitHub files are for your particular need. There are plenty of blog posts out on the web that will rank various GitHub files and repositories for plenty of different needs.
Understanding the language
This can be an especially frustrating problem for non-developers or people who are first getting into code. While on the website, there will be a whole slew of new jargon all around.
All of these new words can make it feel impossible to read the website at times. People are constantly discussing local commits, pushed commits, Git, merge conflicts, hooks, and more.
Most people who use GitHub will most likely have a basis of knowledge about these topics. For example, almost everyone knows that “local files” refer to a specific kind that can override other program languages.
If you don’t know these terms, don’t despair! Everyone has to start somewhere, and it doesn’t mean that you can’t use GitHub. To begin, realize that it is okay to not understand everything at first. Look for context clues, and when all else fails, Google is your friend.
Consider starting a document with all of the new terms you are learning and writing definitions that make sense to you in it. That way, if you ever forget what a term means, you can look back to your document instead of having to re-learn it on Google again.
In addition, GitHub also offers a Learning Lab. This can be an excellent place to start, especially if you know you want to continue to use GitHub for more than just downloading files. There are a variety of courses, from a general intro class to creating your first GitHub Action to communicating using the Markdown feature.
Choosing your GitHub Package
In the step above, I told you about the GitHub Learning Lab. While this is an amazing resource, keep in mind that to use it, you will need to make an account on the GitHub website.
Just downloading the files does not require an account, but having one can be beneficial for educational resources and code editing. Below, I will highlight the three different packages that GitHub offers, as well as the features and pricing that each of them has.
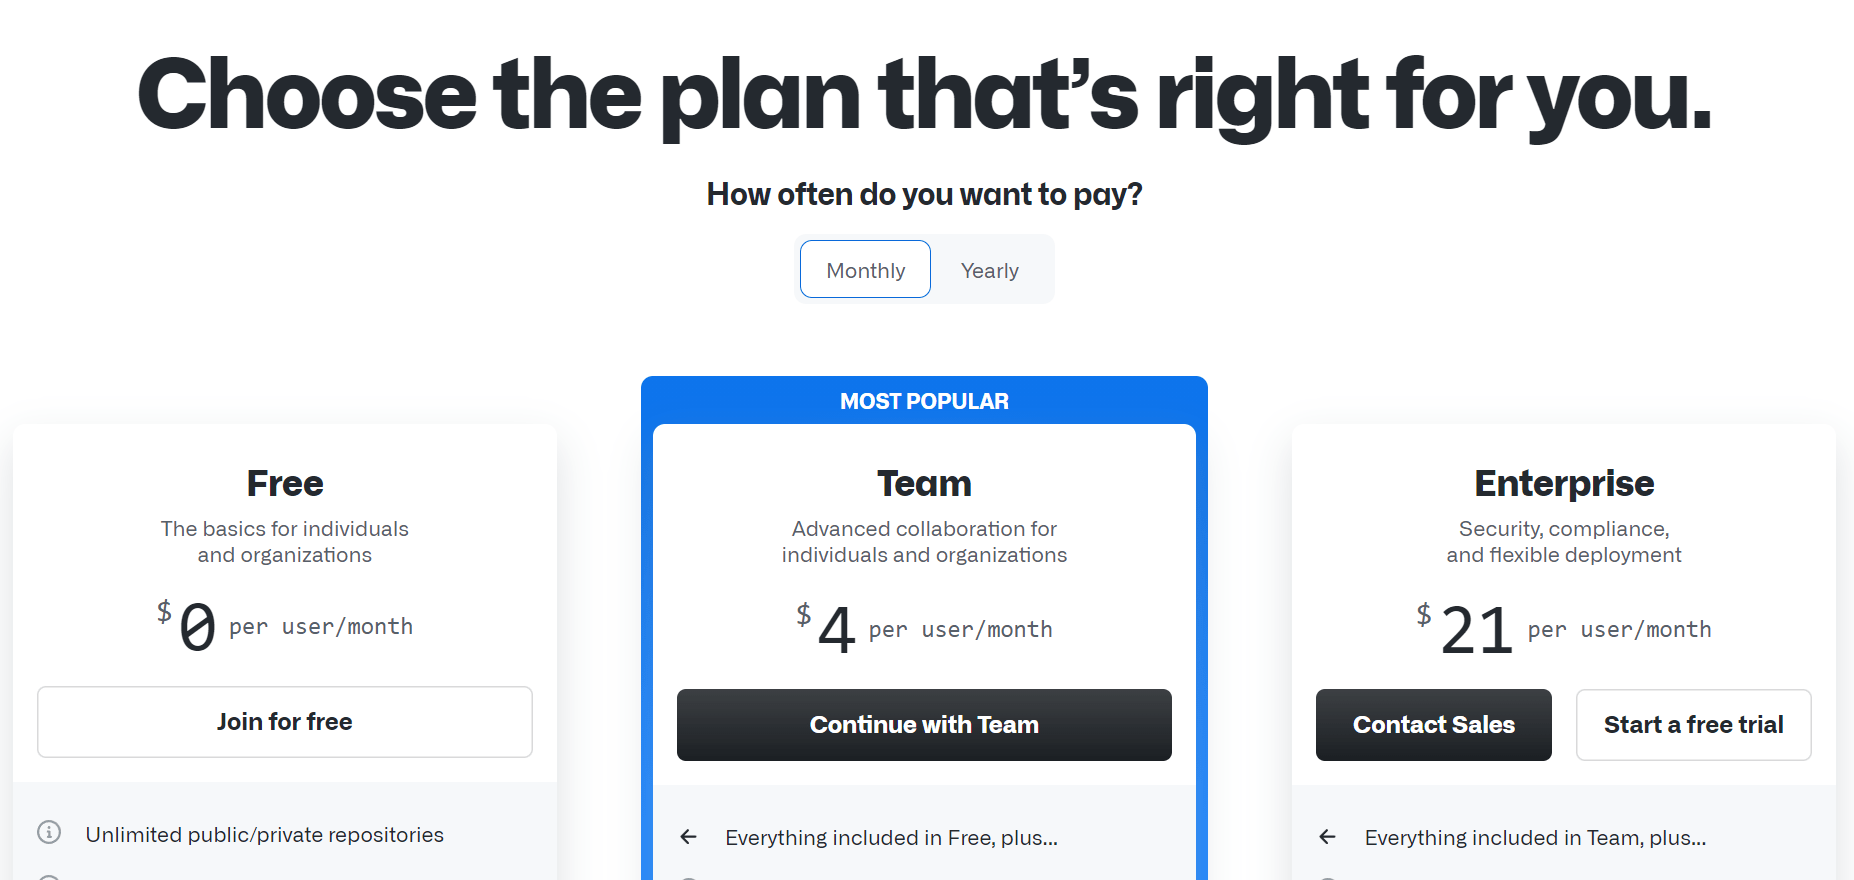
The first option is the free version. This package is advertised for both individuals and organizations. The listed benefits include unlimited access to public/private repositories, 2,000 automation minutes per month, 500MB of storage, community support, and a few other features.
For just $4 a month per user, this list of features grows exponentially with the Team package. You will receive an extra 1,000 automation minutes and 2GB of Packages storage. Plus, you’ll have access to GitHub Codespaces, protected branches, web-based support, and more.
The last option that GitHub offers is for its Enterprise package. The pricing jumps from $4 to $21 a month per user. However, the features increase dramatically. This package offers everything from the previous two, except there are 50,000 automation minutes per month and 50GB of Packages storage. These members also have access to premium support, automatic updates, and SAML single sign-on.
Finally, this option includes GitHub Connect. Essentially, this feature allows enterprises to have a Cloud-based server as well as self-hosting capabilities.
Most people will be fine with either of the first two packages, but if necessary there is always room for growth in the program. By using GitHub, people will be able to have wide access to repositories full of potentially valuable files. Not only that, but with an account, users can take courses and even edit their codes safely, without fear of the possibility of destroying an important code.
If you’re a developer, GitHub is probably for you – it just depends on what kind of capacity you need it in.

