7 Tips for Setting up the Security Investigation Tool in Google Workspace
Launched in 2018, Google Workpace’s Security Investigation Tool (GSIT) was designed to assist administrators and security analysts in recognizing and remediating security threats to their company’s Google Workspace. It serves as a robust solution for conducting investigations while IT, Security, and Compliance teams work to mitigate risks within their organizations.
Using GSIT is a fundamental first step toward more powerful investigations in Google Workspace. Administrators can configure the tool for a variety of data sources, including Gmail, Cloud Search, OAuth, and more. In this post, we’ll explore how to set up and manage access for the GSIT, as well as how to grant administrative permissions.
Who can use Google’s Security Investigation Tool?
The ability to run a search in the investigation tool depends on your Google edition, administrative privileges, and data source. To use the GSIT, companies need an Enterprise Plus, Education Standard, Education Plus, or Enterprise Essentials Plus plan. Only super administrators have automatic access, but they can grant various privileges for some data sources by creating a custom administrator role. Also, administrators with Cloud Identity Premium, Frontline Standard, Enterprise Standard, and Education Standard may use the tool for a subset of data sources.
Google’s Audit and Investigation Page
If administrators are unable to run a search in the investigation tool for a specific data source, they can use the audit and investigation page instead. This page is similar to the GSIT, but not as powerful, as it does not offer the ability to take actions. However, administrators can still use the page to view, search, and export user activity in Google Drive, as well as work with other data sources. You can access the audit and investigation page under the Reporting section of your Google Admin console. For more information on the page, visit here.
Supported data sources for the Security Investigation Tool
Several data sources are available in the GSIT. These include Google Chat, Google Groups, Google Voice, Google Chrome, and Calendar. For the complete list of supported data sources, visit here.
7 Tips for Setting up the Security Investigation Tool
-
Configure settings for security investigations
According to Google, investigation settings apply to all administrators in an organization. Using these settings, super administrators can do the following:
- Turn on the “Require reviewer” setting which ensures there is a reviewer for bulk actions—where over 300 items are affected.
- Allow administrators with the appropriate privileges to view sensitive content.
- Require administrators to enter justification text before they view sensitive content.
- Allow administrators with the appropriate privileges to enter justification text before performing actions in the investigation tool.
2. Turn on the “Require reviewer” setting
According to the Google Admin Help Center, administrators can use the GSIT to take bulk actions resulting in the deletion or modification of large amounts of their organization’s data. For example, they could use the GSIT to suspend or delete a large number of users. To prevent accidental or malicious use of this function, super administrators can require reviewers to approve bulk actions. This option is configured as a global setting for all administrators who are using the GSIT. When the setting is enabled and an administrator takes action on more than 300 items (for example, more than 300 emails), the administrator needs to have a second administrator approve it.
Here’s how super administrators can turn on the setting:
- In the Admin console, go to “Menu” > “Security” > “Security center” > “Investigation tool.”
- From the Investigation page, click the gear icon on the right side of the screen.
- The “Investigation settings” window will be displayed.
- Turn on the “Require reviewer” setting. Only super administrators will be able to see this.
- Click “Apply.”
3. Choose reviewers
After the “Require reviewer” setting is enabled, all administrators with access to the GSIT must choose at least one reviewer before taking any action on more than 300 items. This reviewer must have the right privileges to take action on the data related to the bulk action—for example, Drive, Gmail, or Mobile. If the reviewer doesn’t approve the action within 72 hours, the action will expire.
Here’s how to choose a reviewer:
- In the Admin console, go to “Menu” > “Security” > “Security center” > “Investigation tool.”
- Run a search.
- Select items in the search results (for example, users).
- Click “Actions.”
- Choose “Restore user” or “Suspend user” for users in the selected rows.
- Write the email address of the administrator who you want to be the reviewer. You can also type a message for the reviewing administrator.
- Click “Send.”
- Please note: Before the reviewer approves the bulk action, you can cancel it by clicking “Cancel” at the bottom of the Investigation page.
To view the status of bulk actions, administrators can click the Tasks hourglass icon at the top of their Admin console. They can also click “View details” to see totals about their bulk action: “Total attempted,” “Successes,” and “Failures.” They can click “See results” to view the results in the GSIT and for more details about specific items.
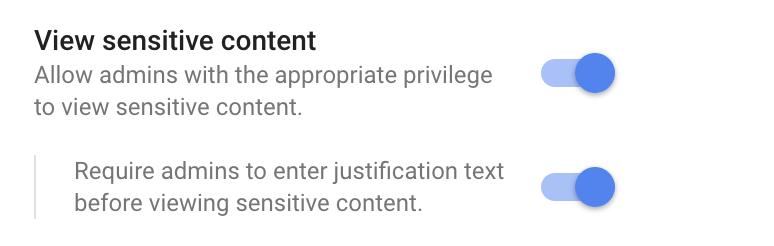
4. Turn on the ‘View sensitive content’ setting
While investigating document activity, administrators may also need to view the sensitive content of an email or attachment. Using the GSIT, administrators can find the message and view its contents. Super administrators will need to adjust the investigation tool settings to provide access to administrators in their organization. They can also add a safeguard and require administrators to justify their actions.
Here’s how to do it:
- In the Admin console, go to “Menu” > “Security” > “Security center” > “Investigation tool.”
- Click “Settings.”
- Turn on the “View sensitive content” setting.
- Super administrators now have the option to turn on the toggle button that requires administrators to enter justification text before viewing sensitive content.
- Click “Apply.”
For more information about viewing sensitive email content, visit here.
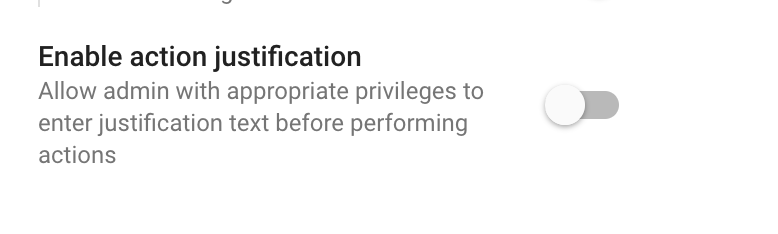
5. Turn on the “Enable action justification” setting
Super administrators can also allow administrators with the appropriate privileges to enter justification text before performing any actions in the investigation tool.
Here’s how to do it:
- In the Admin console, go to “Menu” > “Security” > “Security center” > “Investigation tool.”
- Click “Settings.”
- Turn on the “Enable action justification” setting.
- Click “Apply.”
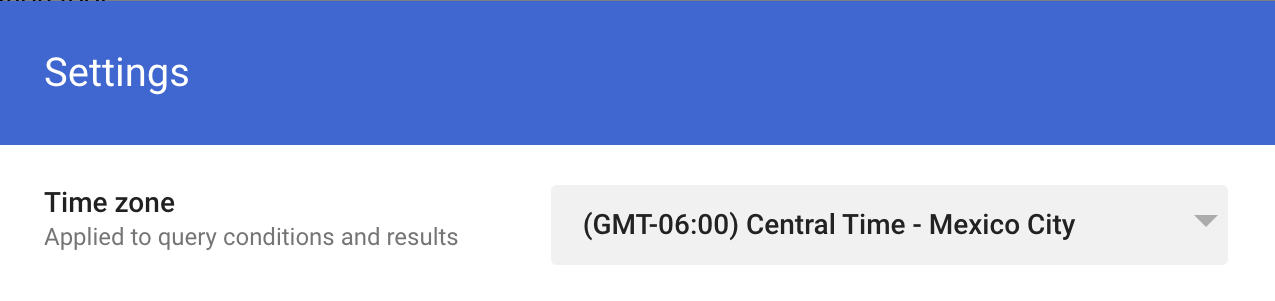
6. Change the timezone in the investigation tool
Administrators can change the global timezone in the GSIT, which will apply to search conditions and results.
Here’s how to change it:
- In the Admin console, go to “Menu” > “Security” > “Security center” > “Investigation tool.”
- Click “Settings.”
- Click the down arrow for the Timezone setting.
- From the drop-down menu, choose from the list of timezones.
- Click “Apply.”
Please note: Administrators can adjust the timezone for a search even after a search is completed and they have the results. The parameters they have entered and the results will be updated to the new timezone.
7. Grant access and administrative privileges
Super administrators have administrative privileges for the GSIT by default, but they can also add them to a custom administrator role. To learn more about how to create a custom administrator role, visit here.
Here’s how to do it:
- In the Admin console, go to “Menu”> “Account” > “Admin roles.”
- Point to a custom administrator role.
- Click “View privileges.”
- Click “Open privileges.”
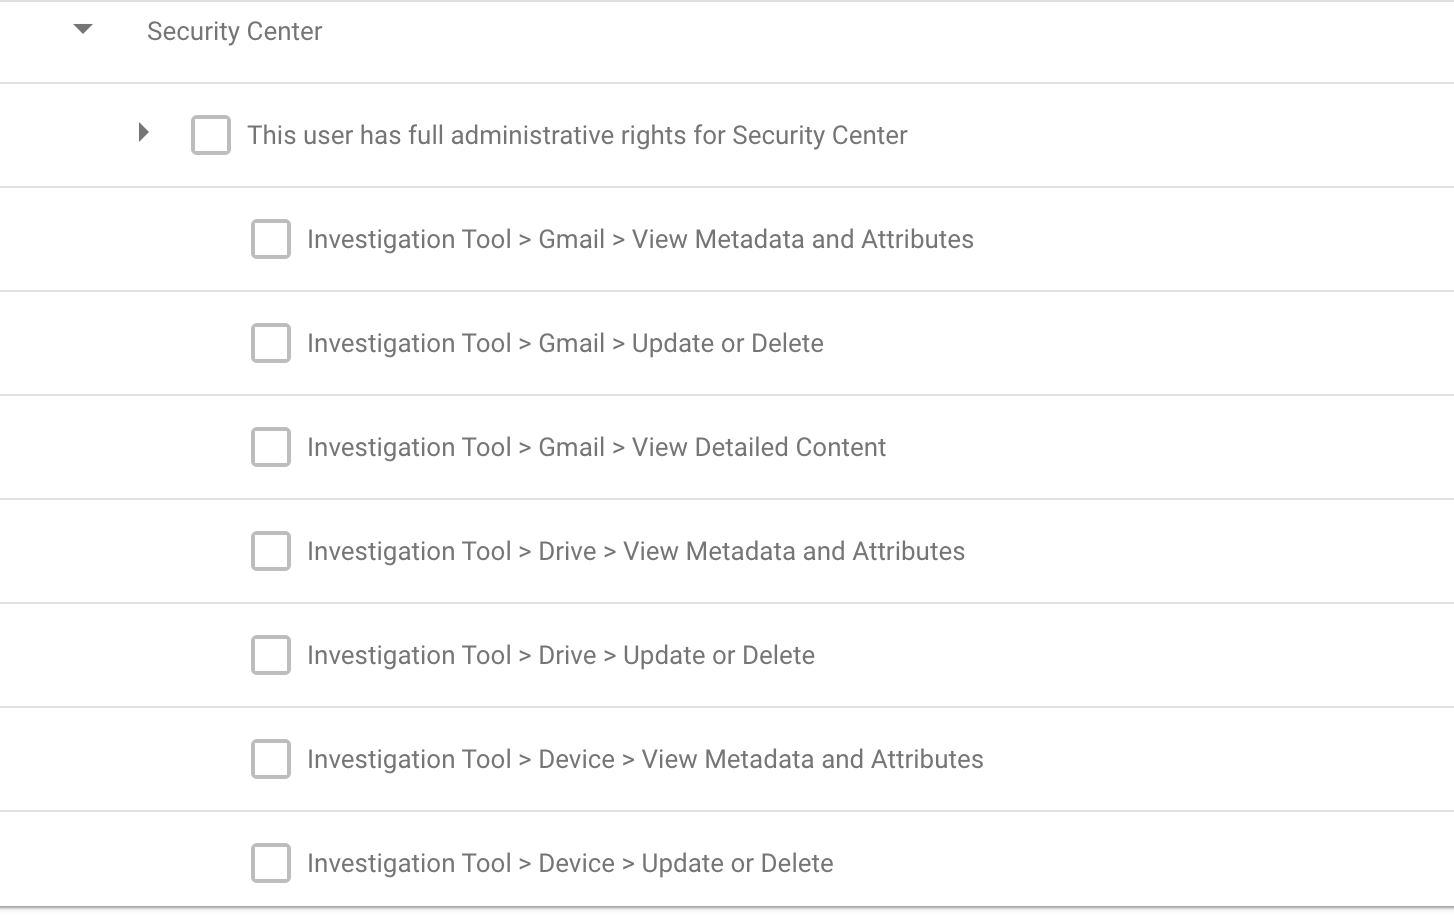
- In the Services section, click the “Security Center” privileges to expand them.
- Click the “This user has full administrative rights for Security Center” privilege.
- To give the administrator access to all Security Center features, check the “This user has full administrative rights for Security Center” box. If not granting full access, continue to the next step.
- To give access only to the investigation tool, check the individual boxes for “Investigation Tool” privileges. You can add specific privileges for access to different types of data (for example, Gmail, Drive, Device, and User).
- Click “Save.”
For more information about administrative privileges for the security center, visit here.
Since 2018, Google’s Security Investigation Tool has helped Google administrators and analysts detect and resolve security incidents. Whether identifying unauthorized access or detecting potential risks, administrators can leverage the GSIT to enhance their security environment. Visit here for a comprehensive guide on implementing the tool in your organization.

