The Ultimate Manual to GitLab Workflow
Git supports a wide range of branching strategies and workflows. This also makes it easier for organizations to end up with workflows that are ill-defined, overly complicated, or not integrated with the issue tracking systems. Luckily, we have GitLab Workflow or GitLab Flow that combines feature-driven development and feature branches with issue tracking to create a clearly defined set of best practices to simplify and streamline coding.
What is GitLab Flow Anyway?
GitLab Flow is a simpler alternative to GitFlow and strives to create a seamless approach to software development. It does this by integrating a Git workflow with an issue tracking system.
Under this new setup, all features and fixes go to the main branch while simultaneously enabling production and stable branches. The idea here is to outline proven best practices and guidelines to help software development teams create a smooth process to shift features collaboratively.
How GitLab Flow Works
Before we discuss how GitLab Flow works, it’s important to understand what we mean by a branching strategy.
What is a Branching Strategy?
A branching strategy is a software development workflow within the context of a version control system like Git.
It describes how a development team will create, collaborate on, and merge different branches of source code in a codebase by taking advantage of the branching system in a version control system to enable concurrent development in the codebase. GitLab Flow is one of the most common Git branching strategies.
Understanding How GitLab Flow Works
If you’re familiar with Git Flow, you may know developers used it to create a developer branch and then made that the default. But, with GitLab Flow, you get to work with the “main” brand right away.
What makes GitLab Flow better is it uses a pre-production branch to make bug fixes before merging changes back to the main before it can go into production. In addition, teams can add as many pre-production branches as they desire. This includes from main to test or from test to acceptance and from acceptance to production.
Put simply, teams practice feature branching while maintaining a separate production branch with GitLab Flow. Whenever the ‘main’ branch is ready to be deployed, you can merge it into the production branch and release it.
You can use GitLab Flow with the release branches as well. Keep in mind that if you work with a public API, you may need to maintain different versions.
The fact that teams can make a v1 branch and a v2 branch using GitLab Flow is another advantage. As both branches can be maintained individually, this can be very useful when you or your team identifies a bug during code reviews that go back to v1.
GitLab Flow is simpler than Git Flow but is more structured than GitHub Flow.
Using GitLab Flow for a Team Project
Here’s a brief set of guidelines outlining how you can use GitLab Flow for a team project.
- First and foremost, create the default master branch in your repository. Make sure it’s well protected so developers don’t accidentally push their work to the master branch. Remember, the master branch can only be merged with the development branch and contains a tag to determine the current version it’s on.
- The development branch is pulled from the master branch. Similar to the master branch, the development branch is also protected. However, the key difference here is that developers can only merge into this branch using task branches and hotfix branches.
- Next, while you can have many task branches, it should not be per feature. Instead, keep it as small as a task. For instance, “login page front end“ branch should be separate from “login page back end“ branch. Only merge task branches to the development branch if it has passed the test. Also, before you merge, make sure to pull everything from the development branch.
- As for hotfix branches, only use it when your development branch has minor errors from multiple task branches. If these errors can be done by just one person, it’s better to do it in the hotfix branch itself.
GitLab Flow Variation 1: Environment Branches
In this workflow, we have a long-lived production branch that represents the production environment in which the software application is being deployed. It’s critical that the code on the production brand should always be deployable.
Similar to the GitHub Flow, the environment branches variation uses feature branches off of the main branch. At the same time, the main branch is merged into some number of environment branches and then to the production branch. It’s possible to merge a feature branch into the main branch — just like deploying the changes to a staging environment.
Once changes have been verified and approved in the staging environment, they can be promoted to the production branch. You can have multiple pre-production environment branches, with each representing various environments in which changes must be tested, before you merge the changes into the production branch.
Unlike Git Flow, GitLab Flow has an upstream-first policy but it comes to hotfixes. This means that if issues are found in the production environment after a change has been deployed, the hotfix branch must be created off of the main branch and merged back into the main and any other pre-production branches before being merged into the production branch.
The feature branching workflow is quite similar to the GitHub Flow but with one prominent difference: instead of creating a pull request, you create a merge request.
Similar to GitHub Flow, the opening of a merge request should trigger automated testing.
GitLab Flow Example 2: Release Branches
The second GitLab Flow variation uses release branches instead of environment branches.
We recommend using this variation of the workflow only when you’re releasing software to the outside world. For example, if you’re developing an open-source project, this variation is similar to the first in which you branch off of the main branch into feature branches and then merge back into the main branch.
In this workflow, it’s better to wait as long as possible to create a release branch. Once you create a release branch, be sure to apply only major bug fixes to the release branch incrementing the versioning as needed.
Here, bug fixes are merged with the upstream first policy.
Release branches are long-lived — but only until a specific release of the software is no longer supported or maintained by the dev team.
How to Get Started With GitLab
That was all you needed to know about GitLab Flow, but how do you get started with the platform itself?
Below, we’ve outlined a handy GitLab tutorial to introduce you to the system.
We’re going to assume you already have a GitLab account. But if you don’t, you can create a GitLab account from here.
1. Creating Projects on GitLab
GitLab projects are designed to hold all your files, folders, code, and documents — basically everything — you need to build your software applications.
Here are the steps to create a project in GitLab.
-
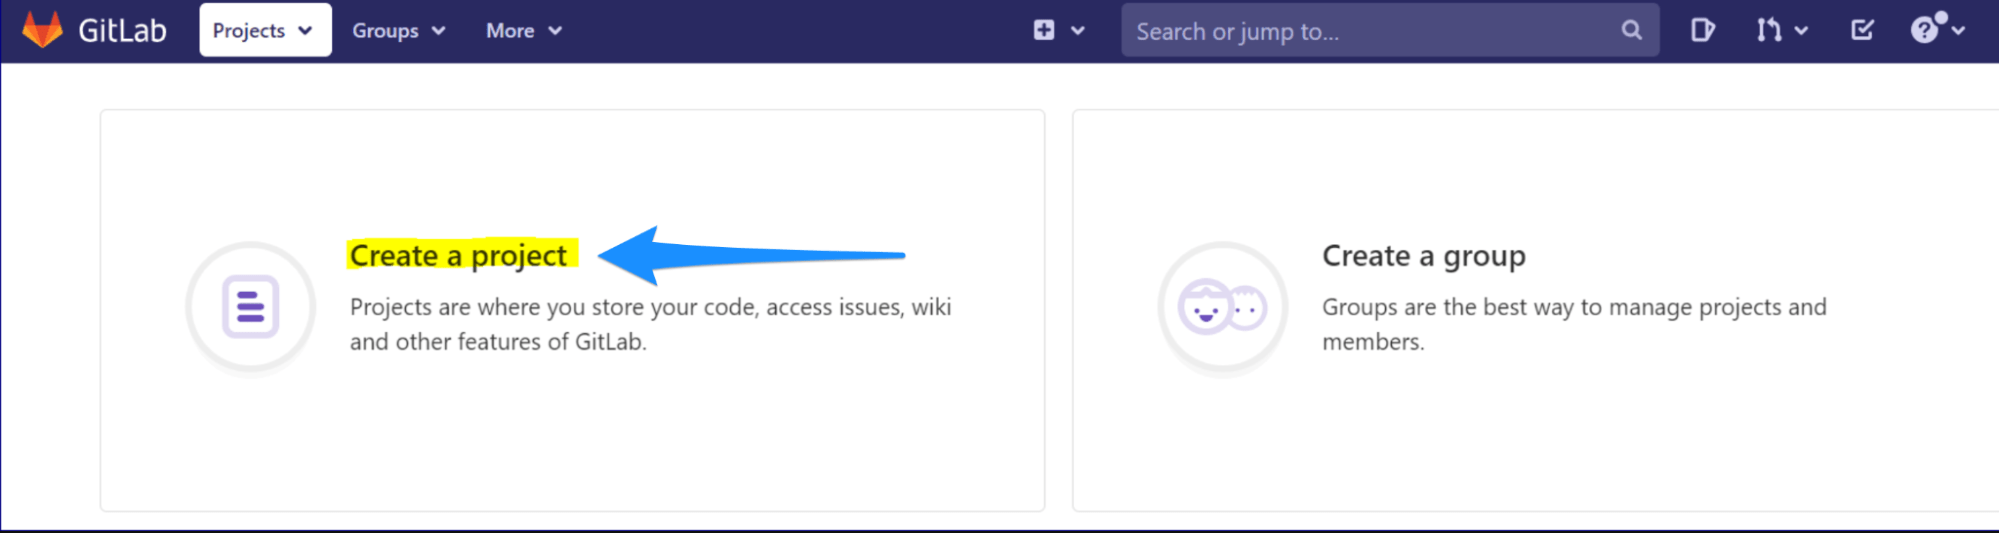
- Click Projects on the top of the screen, followed by Create a project.
-
- Next, select Create blank project. Once the Blank project tab opens, type in the project name. You have the option to make your repository public or private — the choice is yours.
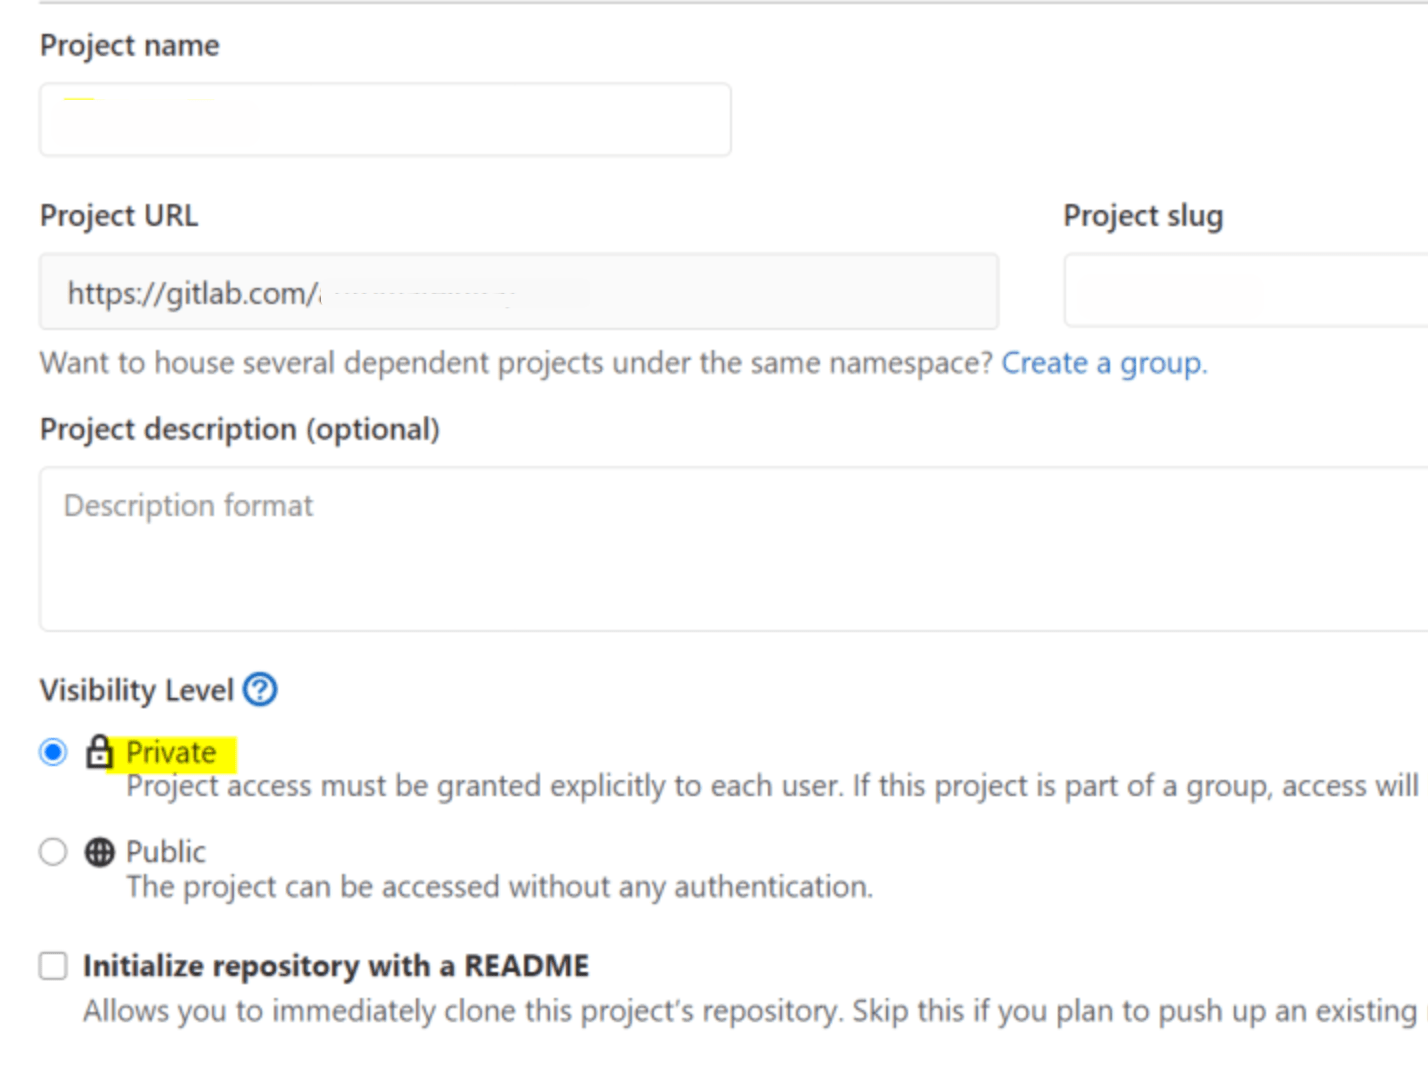
- Click Create Project.
You’ve now successfully created a project. You can upload files either manually or create/upload directly on GitLab.
2. Creating a Repository on GitLab
A repository is a space where you store all your code and related files, which is why it’s a part of a project. Interestingly, you can create multiple repositories in a single project.
Creating a repository on GitLab is very simple — all you have to do is create a new project or work with an existing project. Once you have a new project, you can add new files via UI or the command line.
3. Creating a Branch on GitLab
Whenever you add a file to a project in GitLab, it‘ll be checked in the master branch.
Here’s how to proceed next:
-
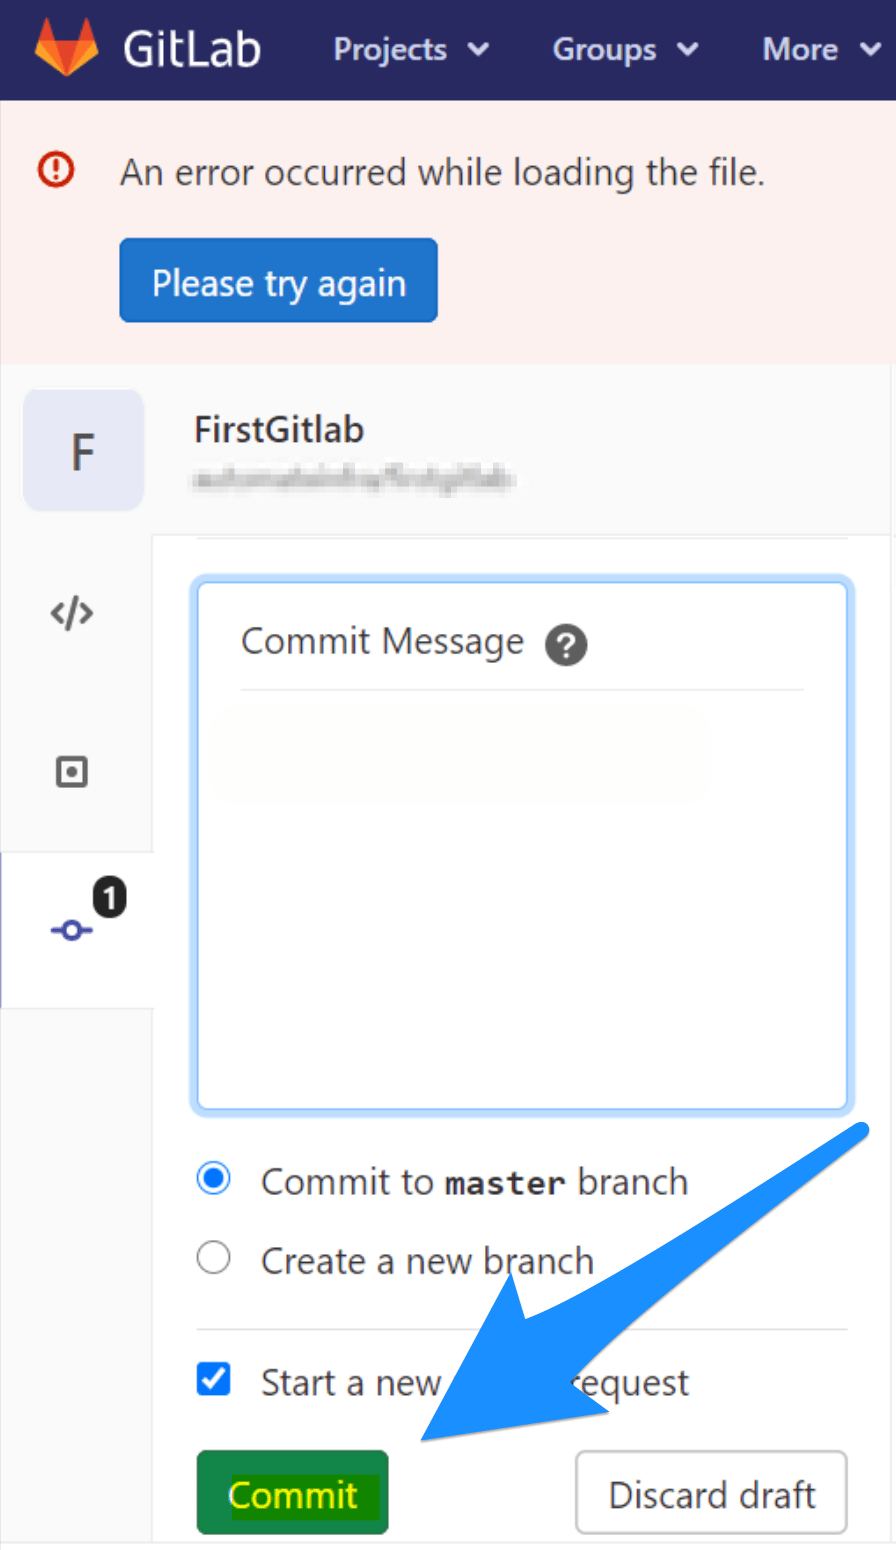
- Select New file followed by Docker file. Then add content and click on Commit after adding the comments.
- You’ll now see that the Dockerfile is added to the master branch under the project name you entered when making the project.
At this stage, we created a file that was added to the master branch by default. But if you want to create a separate branch, you can do that too.
- Click on Branches, and then select New Branch.
- Type in the new name for your branch.
So that’s how you get started with GitLab. The whole setup is relatively easy, but if you want more help, the company has published detailed resources to help users. Find them here.
We hope this guide helped you understand the GitLab Flow branching strategy better.
In a nutshell, GitLab Flow is a transparent and effective way to work with Git. Software development teams can use it to better collaborate on and maintain multiple versions of software in various environments. Not only does it decrease the overhead of releasing, merging, and tagging (interestingly these are common coding challenges devs encounter when using other Git workflows), it also makes code deployment relatively easier. Thanks to its flexibility to adapt to dynamic needs and ever-persistent challenges, teams of any size can use GitLab Flow.

