The Ultimate Manual to GitLab Security
GitLab is an open-source DevOps package that makes it easy to develop, operate, and secure software in a single solution. If you’re using GitLab as your web-based Git repository, then it’s normal to have some security questions—as software security is a top priority for everyone.
This in-depth guide will explain everything you need to know about GitLab security, how it works, and how to get started securing your GitLab projects.
What is GitLab Security Anyway?
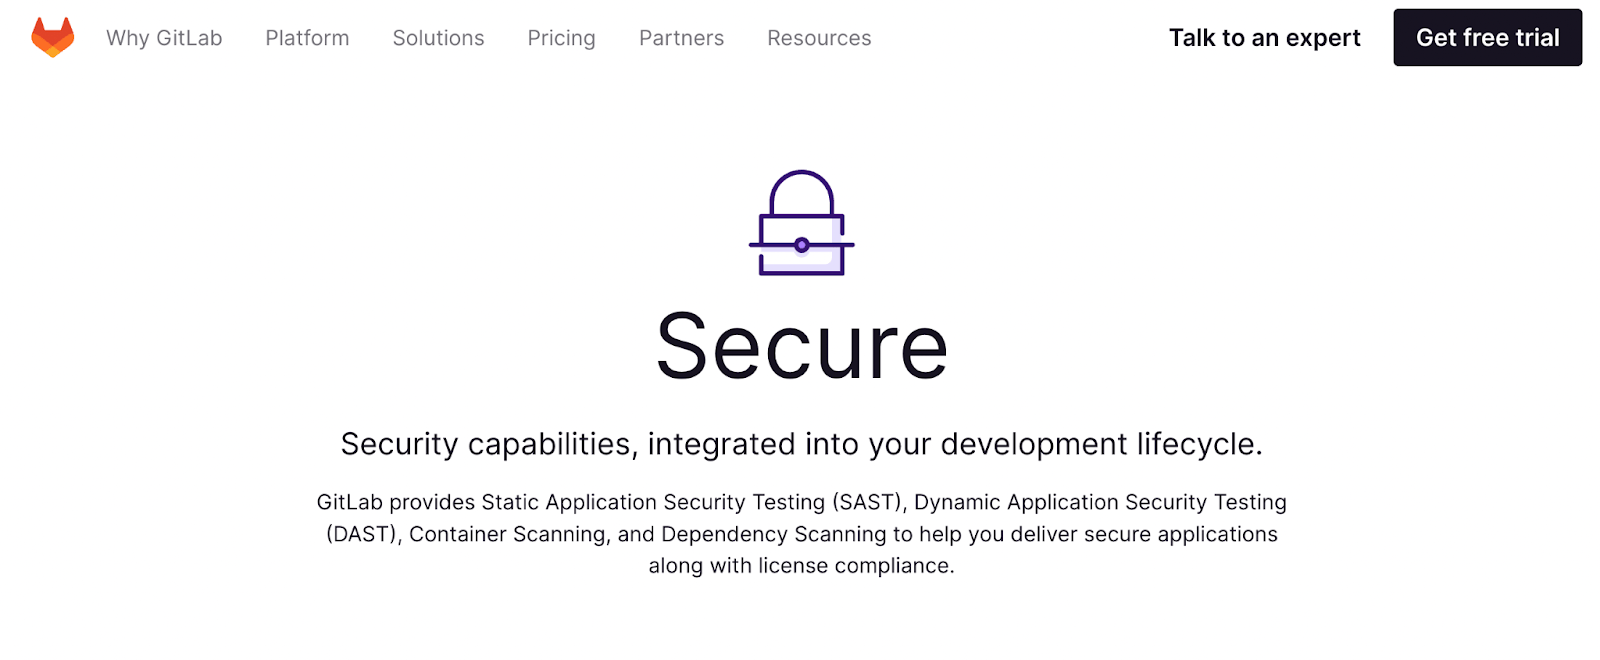
GitLab offers some basic security standards and features out of the box. Every GitLab plan includes SAST and secret deduction in your CI pipelines—no integrations required.
Any GitLab user also has the ability to scan the results of developer code during the commits before the code is merged with the main branch. You can also download the results of those scans for analysis.
GitLab’s Ultimate plan comes with advanced security features that aren’t included in the entry-level and mid-tier plans. GitHub Ultimate is designed for users that want to integrate security into the DevOps lifecycle using GitLab. It’s a complete DevSecOps solution for development, providing Ultimate users full visibility and control over their software.
How GitLab Security Works
GitLab has a dedicated security department that operates as an extension of the engineering organization. This department provides essential services to ensure the platform functions properly while reducing security risks for users.
To achieve these security initiatives, the security department is structured around four key initiatives, each managed as a sub-department:
- Security engineering — Focuses on application security, infrastructure security, security automation, and external security communications.
- Security operations — Focuses on trust and safety and houses the SIRT (security incident response team).
- Threat management — Handles security research, security threat and vulnerability management, and red team initiatives.
- Security assurance — Prioritizes compliance, governance, risk, and field security.
GitLab’s security team is constantly releasing dedicated patches for security releases. These releases fall into two categories—scheduled monthly releases and ad-hoc security releases to address any critical vulnerabilities.
Beyond the GitLab security team initiatives, GitLab users also have access to built-in security features for DevOps.
We’ll take a closer look at the GitLab Security capabilities below with some examples.
Example 1: SAST (Static Application Security Testing)
SAST capabilities are available on all GitLab tiers. It’s designed for anyone that wants to check their source code for known vulnerabilities within GitLab CI/CD. You can get the results output in JSON format as job artifacts.
GitLab Ultimate users can also use SAST results for merge requests, approval workflows, and reviews in the security dashboard.
All SAST vulnerabilities are sorted by priority level:
- Critical
- High
- Medium
- Low
- Info
- Unknown
You can use SAST to find out if your code has any dangerous attributes or code that can lead to unintended executions. SAST can also detect potential vulnerabilities to XSS (cross-site scripting) attacks with unauthorized access.
Example 2: Secret Detection
Secret detection is available on all GitLab tiers. It’s designed to address a recurring problem with application development—human error.
It’s common for developers to accidentally commit “secrets” to a remote Git repository. These secrets can include sensitive information, passwords, API tokens, keys, and anything else that could be dangerous if it ends up in the wrong hands. This feature is designed to prevent any secrets from being committed to a Git repository.
The feature works using a Gitleaks scan tool. Any secret that’s identified by the tool can be found in the merge request widget, pipelines security tab, and security dashboard.
It’s worth noting that the secret detection tool does not support scans of binary files.
By default, the ruleset contains over 90 different detection features for known secrets. You have the ability to customize the pattern detections, but the default settings are fine the way they are.
Example 3: Code Quality
Code quality security features are available on every GitLab plan. This helps ensure that the project code is simple, readable, and easy to contribute.
GitLab users can use the CI/CD to analyze the quality of all source code.
Here’s how it works. Let’s say you’re implementing a new feature to the project. When you run a code quality scan, the report tells you ways to improve the quality of your code. Then you can use the information in the report to improve your code before committing it.
The code quality tool uses free and open-source plugins supported by Code Climate. You do not need to get a Code Climate subscription to access this feature in GitLab.
Example 4: DAST (Dynamic Application Security Testing)
DAST capabilities are only available with a GitLab Ultimate subscription.
The feature is designed for users deploying web applications in new environments. With a new environment, the application could be exposed to new threats and attacks. Any misconfigurations related to the application server or security controls may not be visible or detectable from the source code.
That’s where DAST comes into play. DAST scans for vulnerabilities using OWASP Zed Attack Proxy—an open-source data security tool.
After the scan, a DAST report is created, and GitLab reviews everything for vulnerabilities between the target branches and the source. All related findings from the report will be noted in the merge request.
To use DAST in GitLab, you need to have GitLab Runner available with a docker executor. The DAST stage must be manually added to your .gitlab-ci.yml file.
Example 5: API Security
As the name implies, the API security capabilities focus on testing and protecting APIs. This capability is only available for GitHub Ultimate users.
You can add a DAST for web APIs to your CI/CD pipelines in GitLab. This can help you identify bugs and other security vulnerabilities that might be missed during the quality assurance process.
GitLab recommends using the DAST API test in addition to other security scanners. You can use the DAST API test in your CI/CD workflow if you’re using GitLab for CI/CD.
The DAST API scans support the following types of web APIs:
- GraphQL
- SOAP
- REST API
- JSON, XML, and form bodies
You should not run the DAST API test against production servers—only run it against test servers.
Example 6: Fuzz Testing
Fuzz testing is only available on GitLab Ultimate.
The function sends random inputs to a version of your application as a way to cause unexpected behaviors. These behaviors could be the indication of a bug that needs to be fixed.
You can add coverage-guided fuzz tests to your pipelines in GitLab as a way to discover security problems or glitches that are missed in the QA process.
Fuzz testing is supported in C/C++, GoLang, Swift, Rust, Java, JavaScript, and any language that works on AFL.
Example 7: Dependency Scanning
The dependency scanning capabilities are available to GitLab Ultimate plan users.
This feature can automatically detect security vulnerabilities within software dependencies during the development and testing stages. For example, you might be notified that your application is using an open-source library with known vulnerabilities. Based on this notification, you can take any necessary actions to beef up security.
Dependency scanning is often a key part of SCA (software composition analysis). With SCA, you can really inspect different items used in your code. This is helpful for system dependencies that have been imported from an external source, as opposed to code that you wrote on your own.
To enable this feature, you can just use Auto DevOps or include the scanning template in your .gitlab-ci.yml file.
Example 8: License Compliance
License compliance features help search project dependencies within GitLab CI/CD for licenses. This feature is only available for GitLab Ultimate subscribers.
Based on the findings, you can either deny or allow the use of each license found.
Let’s say your application is using an open-source library. The license compliance tool could discover that this library is not compatible with your project. Then you can simply deny the use of that particular license.
The license finder scan tool runs within the CI/CD pipeline, and it’s not dependent on any other job.
In order for the job to activate, the license compliance finder must find a compatible package definition in your project directory. GitLab will check the report and compare the licenses between the target branches and the source. All information can be found in the merge request.
Example 9: Vulnerability Management
GitLab Ultimate offers a wide range of security dashboards for vulnerability management. Each dashboard shows trends about projects, groups, and vulnerabilities detected by different scanners. You can manage all of this in the security center.
To activate these dashboards, you need to have at least one security scanner used in a project.
You must be using GitLab Runner version 11.5 or later. If you’re using shared runners on GitLab.com, then you already have the correct version. Then just make sure you have the proper roles assigned for the project or group.
It’s worth noting that some false negatives might occur in your dependency scans.
How to Get Started With GitLab Security
If you’re new to GitLab or you’re just starting to put more emphasis on security for your projects, the security concepts might seem a bit overwhelming at first. But the process is much easier when you follow the step-by-step blueprint below.
Step 1: Choose the Right GitLab Plan
Every GitLab user has access to some basic security capabilities. The GitLab security department also works hard to ensure the platform is secure, and they release new security patches to address threats and vulnerabilities.
But if you want access to specific security features in your DevOps lifecycle, you need to make sure you’re on the right plan. GitLab has three packages to choose from:
- GitLab Free — $0
- GitLab Premium — $19 per user per month, billed annually
- GitLab Ultimate — $99 per user per month, billed annually
In terms of security features, there aren’t many significant differences between the Free and Premium plans. Both of these packages offer the same basic security features, including SAST, secret detection, and code scanning during commits.
The only reason for the price difference between Free and Premium is that the Premium tier is built for teams, whereas the Free plan is made for solo users.
To access all of GitLab’s capabilities for organization-wide security, compliance, and planning, you’ll need to upgrade to the GitLab Ultimate subscription.
This plan comes with advanced security testing, vulnerability management, compliance pipelines, container scanning, API fuzz testing, security dashboards, dynamic application security testing, and more.
GitLab Ultimate is designed specifically for DevSecOps, providing you with everything you need to reduce security and compliance risks.
Step 2: Set Up Your Security Scans
GitLab offers a wide range of security scanning tools for DevOps. The easiest way to set this up is by enabling all of the available tools in your security settings, called Auto DevOps.
This enables the following scanning tools, each with default settings:
- Auto SAST
- Auto Secret Detection
- Auto DAST
- Auto Dependency Scanning
- Auto License Compliance
- Auto Container Scanning
You can’t directly create custom settings for Auto DevOps. But you can add the Auto DevOps template to your project.
For those of you who want to set up custom scans, you need to add CI/CD templates to the .gitlab-ci.yml file.
GitLab recommends that you test all custom security scanning tools in a merge request before you merge changes with the default branch of your project. If you don’t test the tools first, there’s a chance you’ll get a large number of false positives in the results.
Step 3: Analyze the Reports
Now it’s just a matter of reviewing the outputs from the scans.
This will look different for everyone, depending on the type of project you have, the GitLab plan you’re on, and the scans you’re running.
GitLab does a really good job of displaying the results of a report in ways that can easily be digested. You should be able to immediately pinpoint the highest-priority items that need to be addressed first.
Based on the findings of the GitLab security reports, you’ll likely need to make some adjustments to your project or source code to address any security threats or vulnerabilities.

