The Ultimate Manual to GitHub API
If you’re using GitHub, it’s crucial that you understand how GitHub APIs work. These APIs can be used for basic and advanced development on GitHub.
This in-depth guide will teach everything you need to know about GitHub APIs and how to use them, including real examples you can model.
What is GitHub API Anyway?
Before we dive into the specifics of GitHub APIs, I want to make sure you have a firm grasp of APIs as a whole. API is an acronym that stands for “Application Program Interfaces.” Developers rely on APIs to access various web tools and information in the cloud.
In simple terms, an API makes it possible for applications on different platforms to communicate with each other.
Whenever someone uses an application on their phone or computer, the app connects to the internet and communicates with a server. After retrieving and interpreting that data, the server sends it back to the user’s device in a readable format. All of this happens through an API.
Here’s one of my favorite analogies to explain how an API works:
Let’s say you’re going out to dinner. You’re seated at a table with a menu full of options to choose from. The kitchen will ultimately prepare your meal, but someone needs to tell them what you want. The waiter takes your order and tells the kitchen what to do. Finally, the waiter brings your food to the table from the kitchen.
In this scenario, the waiter is the API. It’s their job to communicate between two different “platforms” and deliver a response from one to the other in a “readable” format (in this case, an edible format).
Let’s apply this same concept to a real-life example of an API.
I’m sure you’ve used the internet or an app to book a flight online. If you go directly to an airline’s website, like Delta or Southwest, you’ll input the dates, choose your destination, view the flight times, compare the costs, and select your seat. Behind the scenes, the website is interacting with the airline’s database for flight availability.
Now let’s say you don’t use an airline’s website. Instead, you use a third-party travel site, like Booking.com or Expedia. How does this third-party site aggregate the flight information from different airline databases? This is possible with an API.
Expedia’s application uses APIs to connect with Delta, Southwest, United, American Airlines, and other options for your request. The API takes the information you’re asking for, requests it from the different servers, and sends back a readable format that you can use to compare flight options.
How GitHub API Works
GitHub APIs make it possible for developers to interact with GitHub. You can use these APIs to create and manage new repositories, issues, pull requests, branches, and so much more.
For example, you can use a GitHub API to fetch information available to the public through a public repository on GitHub.
There are two different versions of the GitHub API. There’s a REST API and a GraphQL API.
The REST API, also known as GitHub RESTful API, is an application program interface that adheres to the REST architecture style, allowing interaction with various RESTful web services. REST stands for “representational state transfer.”
GitHub REST APIs typically use HTTP requests to handle the following:
- GET — Retrieve a resource
- PUT or PATCH — Update a resource
- POST — Create a resource
- DELETE — Remove a resource
The GraphQL API offers a bit more flexibility for GitHub developers. It allows you to define exactly what data you want and only the data you want. Rather than using multiple REST requests, the GraphQL API makes it possible to fetch data with a single call.
Here’s a brief overview of the GraphQL data query language:
- Spec — A specification that validates the schema on the API server. That schema ultimately determines if the client calls are valid.
- Strongly Typed — Defines the type system of the API and its object relationships.
- Introspective — The client can query the schema for its details.
- Hierarchical — GraphQL calls have a shape that mirrors the JSON data that gets returned. Using nested fields, you can query for and retrieve data in the same round trip.
GraphQL is not technically a storage model or query language for databases in terms of the application layer. It refers to the graph structure defined by the schema. Nodes define the objects, and edges define the relationships between objects. The GraphQL API returns data to the application based on those schema definitions, regardless of how the data gets stored.
Here’s the base URL for the GitHub API: https://api.github.com/
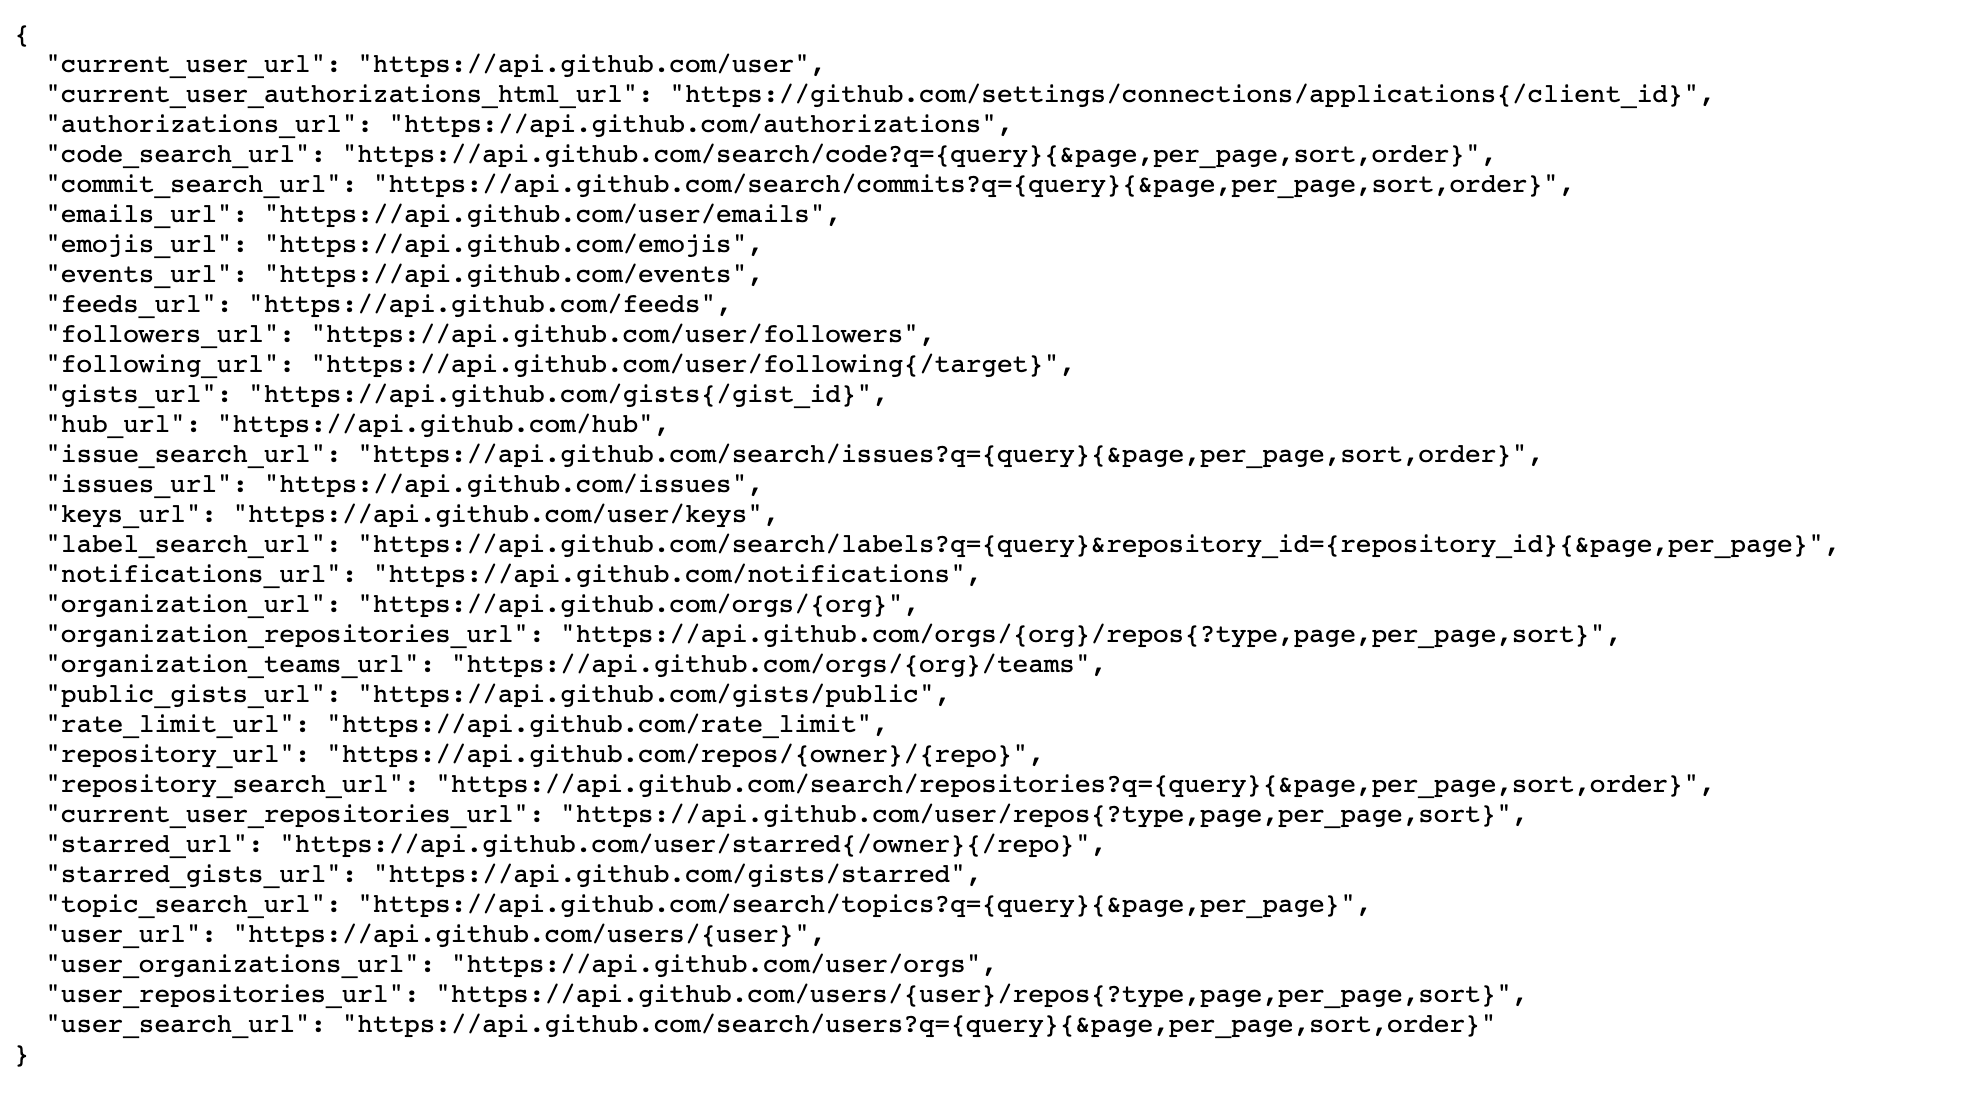
Now let’s take a look at some different examples of the GitHub API:
Example #1: Access Publicly Available Information
Arguably the most common use case for GitHub APIs is accessing public information. To get public information with the GitHub API, you do not need an authentication token.
Some examples of public information you can retrieve with a GitHub API include:
- User information from a username
- Information about a user’s follower list
- See if one user follows another
In these examples, you’d be able to see a JSON response with basic information like a user’s name, email address, and image URL.
Example #2: Run Tasks as an Authenticated User
If you have an authentication token, you don’t need to provide your username in the endpoints, like you would for public information.
By using a token instead, you’ll have the ability to do things like:
- Create a repository
- List issues assigned to your account
- Create a new issue
- Comment on an existing issue
- Open or close an issue
I’ll explain how to create an authentication token in greater detail shortly. We’ll also cover more examples of what you can do once you authenticate the API with a token.
How to Get Started With GitHub API
Now that you understand what the GitHub API is and how it works, let’s focus on getting you started with your first GitHub API. The following steps will walk you through the concepts associated with using GitHub APIs and building momentum.
By following this tutorial, you can apply the same steps and concepts to your specific use cases.
Step 1: Test Your Setup and Get Organized
The first thing you need to do is verify that you’re ready to start using GitHub APIs. So you can start by opening a new command prompt and entering something basic.
In this example tutorial, you can start with this: https://api.github.com/zen
You should see a random design philosophy from GitHub. I did this a few times and saw responses like:
- Design for failure.
- Mind your words; they are important.
- Avoid administrative distraction.
As long as you get a similar response here, you’re on the right track so far.
Now let’s take this test one step further, and get some information from a public user profile. For this test, we’ll look at Chris Wanstrath—the co-founder of GitHub.
We can use this API in the command line: https://api.github.com/user
Then we just need to add #GET and Wanstrath’s username, defunkt, which will look like this:

Then you can add -i after the $ curl to include headers. The response should look something like this:
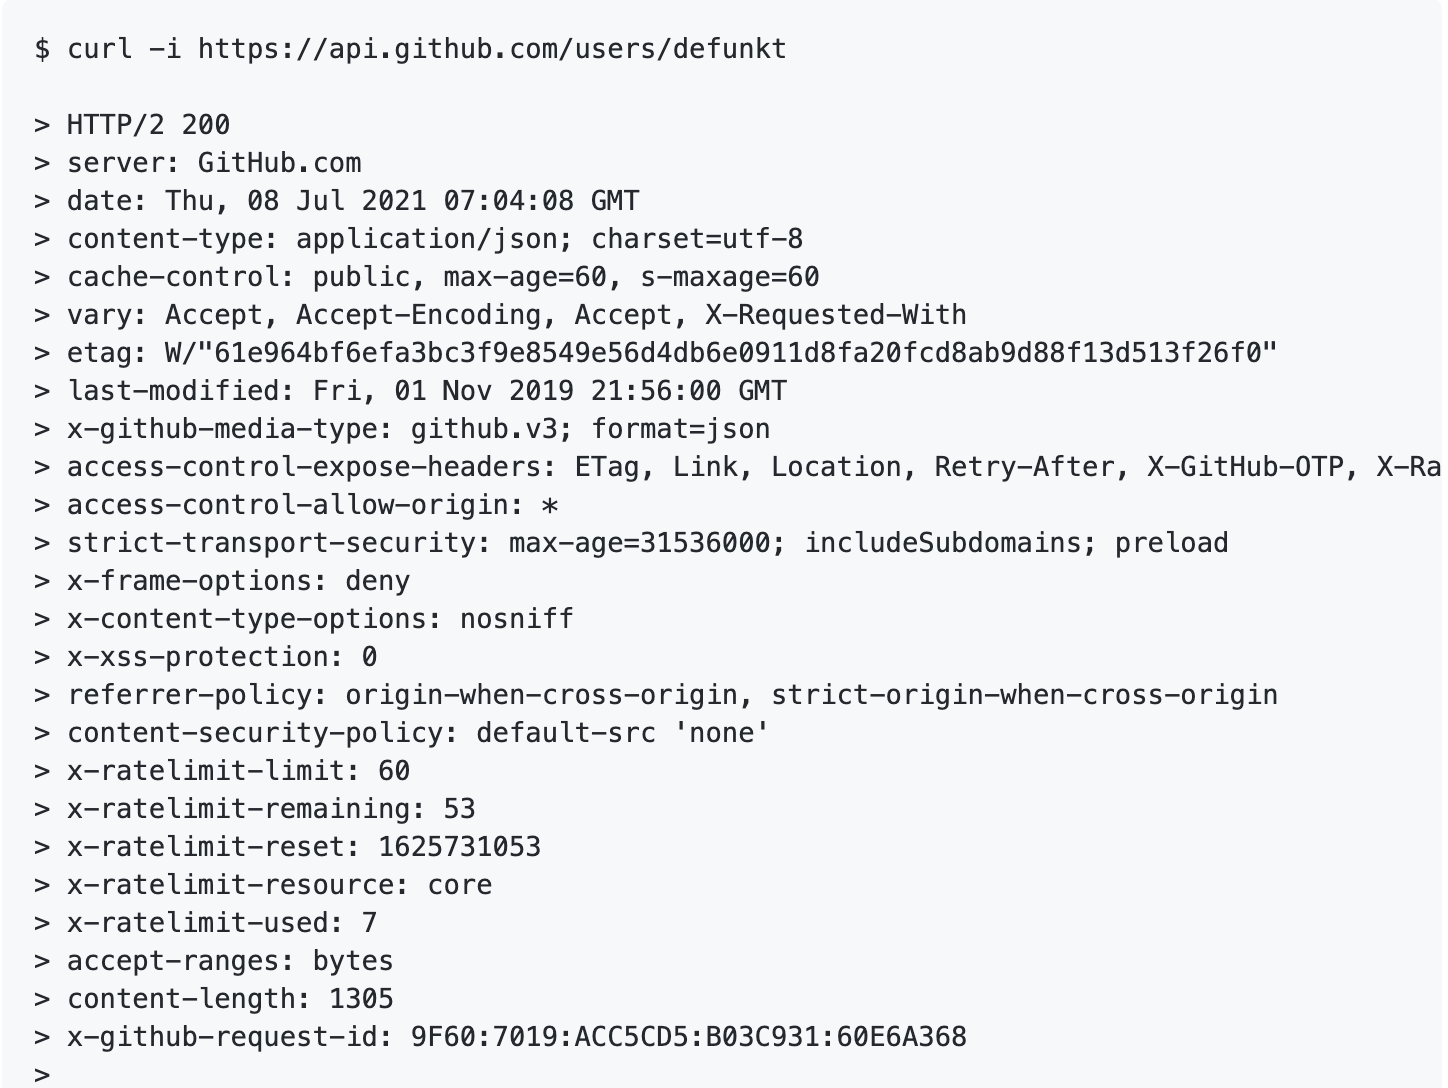
You’ve now used a GitHub API for two different test purposes. First, you retrieved a random design philosophy quote. Then you used the user API to get information about a specific user profile.
Step 2: Create Personal Access Tokens and Authenticate
If you want to get the most out of the GitHub API, you’ll need authentication. If you’re unauthenticated, you can only make 60 requests per hour, which isn’t really enough if you want to do anything practical or interesting.
The simplest way to authenticate with the GitHub API is through personal access tokens. You can do this by leveraging Basic Authentication via OAuth since OAuth tokens also include personal access tokens.
To create a new personal access token, navigate to your GitHub account’s personal access token settings. GitHub recommends that you set an expiration for the token as a way to keep your personal information safe and secure. API requests with a personal access token will have a header for GitHub-Authentication-Expiration. Using this in your scripts can help warn you when a token is close to expiring.
Tokens can be used in place of a password for Git over HTTPS. They also work to authenticate the API.
It’s really important that you take your time when choosing the permissions and scope of the token. You should also treat your tokens like passwords. They should be kept in a secure environment when you’re not using them. If a token falls into the wrong hands, it could be destructive for your account.
Once you’ve created the personal access token, you should see the request limit jump to 5,000 requests per hour. This increase will make it easier for you to read, write, and access private info using GitHub API.
From here, you can follow the same process we took in the previous step to #GET Chris Wanstrath’s profile. Only this time, we’ll #GET your user profile. Just add your username and access token to the API request.
Now you should see non-public data about your profile in the response. For example, you should see a response line for “Plan” that shows the details of your specific GitHub plan.
You can also use OAuth tokens for applications that need to read or write private info using the API. These tokens offer revocable access and limited access.
For the purpose of an application, revocable access allows an end-user to remove authorization to a third-party app at any time. The limited access lets the end-user review access that a token will provide before granting authorization to the third-party app.
You can create these tokens with a web flow. An app will send users to GitHub for logging in. Then a message will appear showing the name of the app and the access levels it’s requested. Once authorized by the user, GitHub will automatically redirect the user back to the app.
Step 3: Get Repositories
Similar to increasing your request per hour count, any meaningful use case of the GitHub API will involve repositories. One of the most common use cases here is fetching a repository.
You can use this to view repositories for an authenticated user, list repositories for a different user, or list repositories for an entire organization.
The information that returns from your call depends on the scope of the tokens that you authenticated. For example, a public repository scope will generate a response for all public repositories that you can access from GitHub.com. A general “repo” scope will show both public and private repositories that you have access to on GitHub.com.
You can add a parameter that will narrow the results. For example, you could fetch only repositories you directly own, organizational repositories, or repositories used for team collaboration.
Here’s a sample code request to show you what I mean:
$ curl -i “https://api.github.com/users/defunkt/repos?type=owner”
In this case, we’re only fetching repositories owned by user defunkt.
In addition to fetching an existing repository, the GitHub API also allows you to create a new repository. To do this, you need to POST JSON code related to the confirmation and details of the new repository. For example, you’ll need to give it a name and determine whether or not the repository is public or private.
If you create a private repository, you need to authenticate it to see it when you’re trying to retrieve information using the API. To prevent the leaking of private information, the GitHub API will return a 404 error and a “Not Found” message if you try to request information without authentication.

