How to Install Dropbox on Any Device
Want to work on files from the cloud on any device?
Even though you can access Dropbox from a web browser, you may wish to download and install the file-sharing service on your personal computer or phone. There are tons of scenarios where this could come in handy.
Perhaps, you want to take photos on your iPhone at a conference and share them with your colleagues. Or maybe you get a headstart on your day’s work at home and then wish to continue the task when you get into the office.
These things are possible as Dropbox is available on multiple operating systems meaning you can sync and share files on multiple devices.
So, here’s your guide for installing Dropbox on any device.
Why Install Dropbox on Your Device
As we’ve touched upon, by installing Dropbox on your devices, you get to access files easily and from anywhere. But, why else might you want to install Dropbox instead of just using the web version?
Backup Your Devices
Accidents happen. It would be catastrophic if you lost your laptop with all of your important work documents on it. But, with Dropbox, you don’t have to worry about losing your files.
Just drag and drop the important stuff into your Dropbox folder and you’ll be able to recover your files anytime.
Moreover, if you lose a device or it gets stolen, you don’t need to fret about somebody else accessing sensitive information. Dropbox allows you to wipe files from any device remotely.
Dropbox also makes backing up your media files super simple. When you have the app you can set it to automatically sync any new photos or videos you take.
Save Space
Those with a paid account can benefit from Dropbox’s Smart Sync feature. You can create and work on a file on your desktop but set it to online-only. This means that the file is saved in the cloud rather than on your device, freeing up storage space.
Furthermore, you can set Smart Sync to automate. If you don’t access a file on your laptop for a few months it will automatically become online-only. This will save you space and time.
Work Offline
Sometimes your Internet connection can be slow or patchy. Other times, you may not have access to a Wi-Fi connection at all. Say, you’re traveling or on the go, for example. But, this doesn’t need to affect your ability to access or work on your files.
With Dropbox, you can also set files to Available Offline. This means that you can edit or work on a file offline and it will sync any changes when you have access to the Internet again.
Additional Features
You may be wondering why you’d want to download Dropbox when many devices come with their own cloud systems, e.g. iCloud. Well, the fact is, different cloud providers offer different capabilities.
For instance, iCloud is associated with one user while entire teams or your whole family can access Dropbox files and folders. In fact, Dropbox comes with many advanced features for sharing and collaboration. Thus, you may need a cloud service that does more than the basic offering on your device.
All in all, there are numerous benefits to installing Dropbox on your desktop or via the app. Here’s how to do it step-by-step on any device or operating system:
How to Install Dropbox on Windows
You can use Dropbox on Windows 10 via the desktop app and organize your files in the Dropbox folder in Windows File Explorer. Dropbox is also available for Windows phones and tablets.
Step 1: Download the desktop installer
Visit the Dropbox site and download the desktop installer.
The installer will appear in your Downloads folder as DropboxInstaller.exe.
Step 2: Install Dropbox
For security reasons, Windows will check if you want to download this app. Click Yes and installation will begin.
Step 3: Open up Dropbox
The Dropbox symbol will now appear in your taskbar at the bottom-right of the screen. Click to open.
If you want to store Dropbox files in a different folder or hard drive, click Advanced Settings and change Dropbox’s location in the drop-down menu.
Here you can also select whether you want to sync all Dropbox files to the computer you’re using or select individual files/folders to sync.
When you’re done with the advanced settings, click Open My Dropbox Folder.
You now have a Dropbox folder on your desktop.
Step 4: Sync your files
Sync files to the cloud by dragging and dropping them into the Dropbox folder.
When you right-click files in your Dropbox folder, you’ll now see Dropbox commands, such as “Sharing”.
How to Install Dropbox on Mac
The Dropbox desktop app is also available on macOS. You’ll be able to sync your files and photos in the Dropbox folder in macOS Finder.
Step 1: Download the installer
Download the desktop installer from the Dropbox website. You’ll find it in your Downloads folder under DropboxInstaller.dmg.
Step 2: Start the installation process
Double-click the Dropbox logo. When you open the file you’ll see a notice saying that this is an app downloaded from the Internet. Click Open to start installing.
When installation is complete, there’ll be a Dropbox icon in your menu bar.
Plus, you can access the app in the sidebar and via the /Applications folder.
Step 3: Open Dropbox
Sign in and click Open My Dropbox Folder. Enter your Dropbox account password and you’re ready to begin.
Read the “Getting Started” guide for more info.
Step 4: Sync files
Place files in the Dropbox folder to add them to your cloud storage. A blue circular arrow shows next to each file while syncing.
When syncing is complete a green checkmark will appear next to the file.
How to Install Dropbox on Chromebook
The desktop version of Dropbox doesn’t yet support Chromebook. But, you can install Dropbox on Chromebook in the same way you would an Android app from the Google Play Store. See the “How to Install Dropbox on Android” section below.
But, there is a way to integrate Dropbox as you would on any other desktop using a third-party extension. Here’s what you’ll need to do:
Step 1: Add the File System for Dropbox extension
Find the File System for Dropbox extension on the Chrome Web Store and click Add to Chrome.
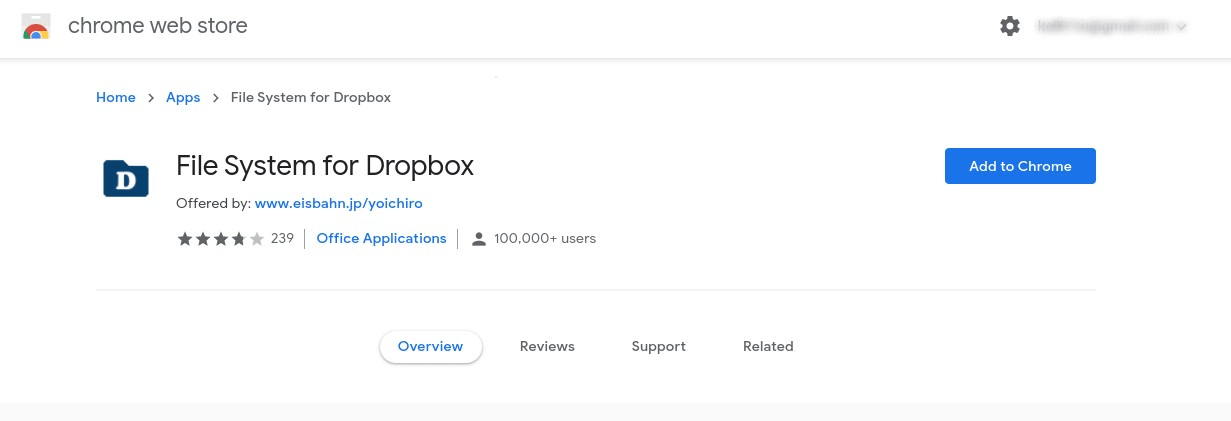
A confirmation notification will appear, select Add App. Open the program via the web store or the successful download notification on your Chromebook.
Step 2: Set up File System for Dropbox
In the window that appears, click Mount your Dropbox.
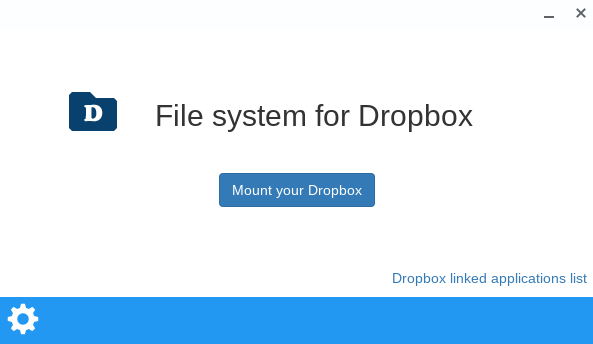
Then sign in to Dropbox to link your account. It will ask for access to your Dropbox folders, click Allow.
You’ll now see a Dropbox folder within your files.
Step 3: Sync files from Chromebook
As with the other desktops, simply drag and drop your files or folders into the Dropbox folder to sync them to the cloud.

How to Install Dropbox on iPhone
To use Dropbox on your iPhone, you’ll need the mobile app. Note that you can use this same process to install and set up Dropbox on iPad, too.
Step 1: Download the Dropbox app
Find the Dropbox app on the App Store, tap Get and then Install.
Tap the app to launch and sign in to your Dropbox account.
Step 2: Camera Upload
If you want to, you can back up videos and photos taken on your iPhone to your Dropbox account automatically. But, if you have a free account with less storage (2 GB), you may not wish to use this feature.
To enable automatic uploads, go to Account, then Camera Uploads and toggle to On.
Step 3: Find your files
Once installed, you will find your Dropbox files in your iPhone’s File app under Locations.
Or head to the app and tap the Files tab at the bottom of the screen.
To share a file, tap the three dots underneath your file and select Share.
Step 4: Sync files
If you want to upload files from your iPhone to Dropbox, go to the Files tab.
Tap Create or Upload File from the menu at the bottom of the screen. Select Upload File then tap Browse.
Choose the file you want to upload from your phone and where you want to store it within Dropbox.
How to Install Dropbox on Android
You can get Dropbox on any Android mobile device or tablet. It’s also worth noting, that a very similar version to the Android app is available on Kindle Fire.
Step 1: Download the app
Find the Dropbox app on the Google Play Store and tap Install.
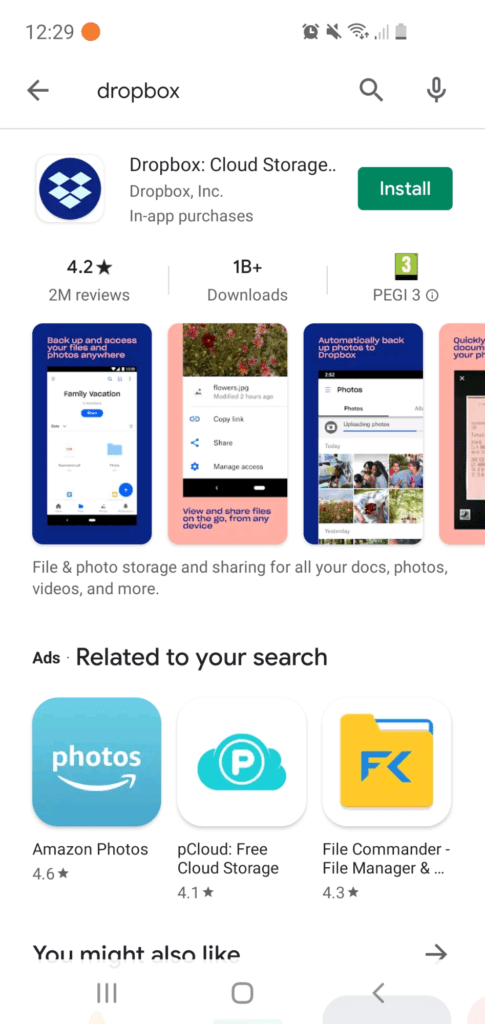
Tap Open on the Play Store or find Dropbox among your apps and sign in.
Step 2: Back up your photos
You may not wish to back up your media files if you have an account with limited storage (a free account).
But, if you want to automatically back up your photos and videos, tap the Photos tab and then Turn on Camera Uploads.
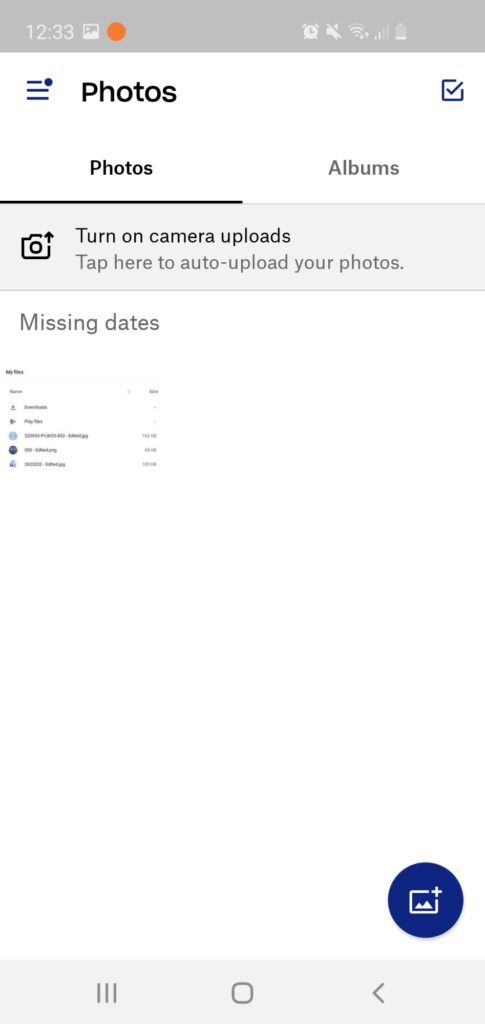
When the confirmation notification pops up, tap Allow. The app will begin to sync the existing photos from your phone and automatically back them up going forward.
Step 3: Sync files
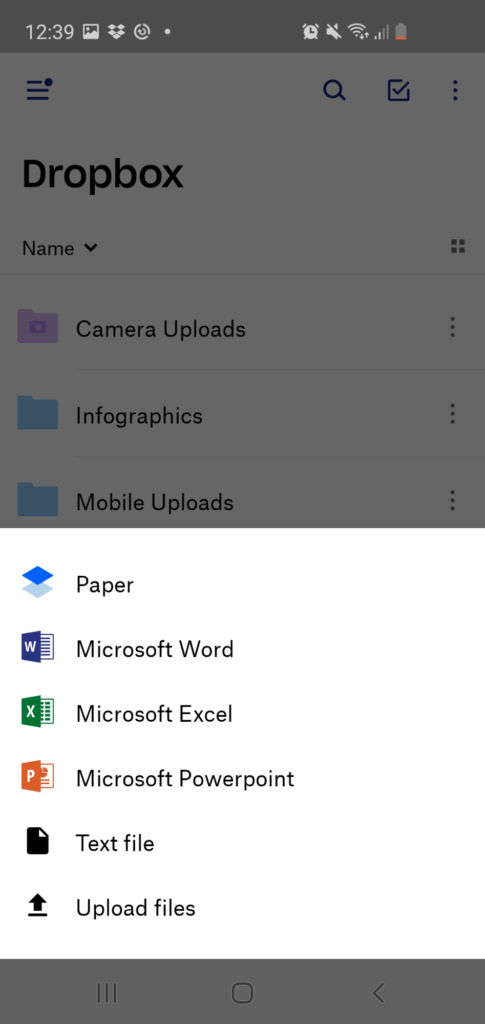
Go to the Files tab and tap the plus icon on the bottom-right of the screen.
Tap Create or Upload file then select the program you want to upload files from e.g. Paper, the Microsoft suite or from your phone under Upload Files.
Simply tap the file you wish to upload and it’ll sync in seconds.
Step 4: Copy files
If you wish to copy files from your Dropbox account to your phone, tap the three dots at the side of the file and a menu will appear.
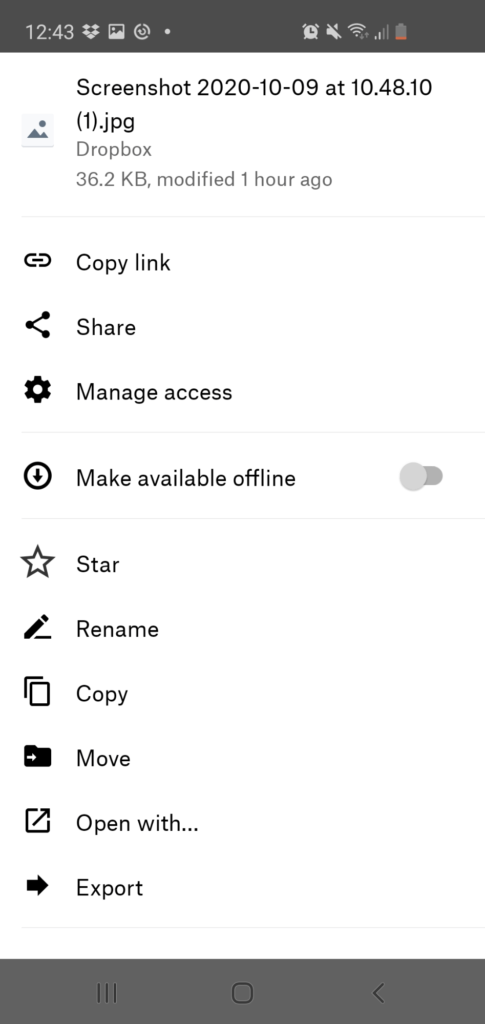
Tap Share and enter the recipient’s contact details to share a file or Export if you wish to download the file to your phone.
How to Manage Dropbox Devices
Now you know how to install Dropbox on any device. But, what do you do if you want to remove a device from your Dropbox account?
Dropbox Basic has a three device limit. So, if you get a new device or simply want to switch the devices on which you use Dropbox, you’ll need to unlink devices from your Dropbox account.
Go to Settings then click the Security tab. You’ll see a list of the devices connected to your account under Devices.
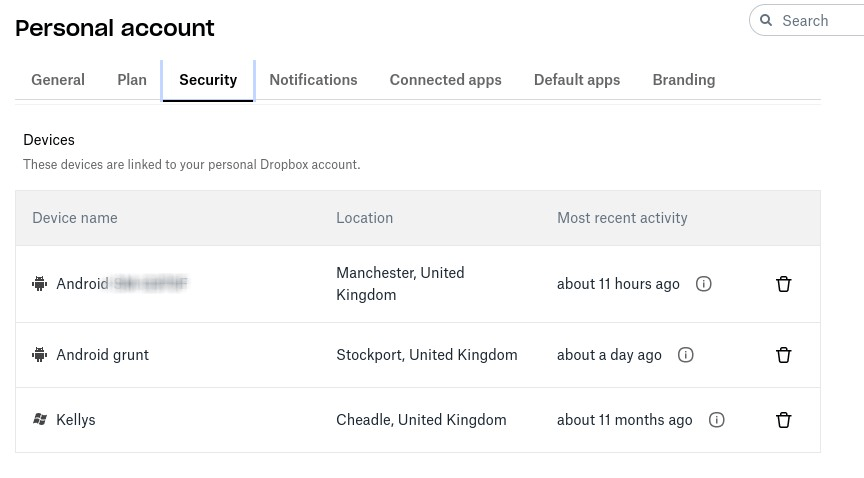
Simply click the trash icon to unlink a device.
Dropbox Business and Pro users can use Dropbox on an unlimited number of devices. Nevertheless, if you’re using Dropbox Business, you may wish to limit the number of devices employees can connect for security reasons. Team admins can set up device approvals to do this.
Go to the Admin Console and Select Settings then Device Approvals. Here you can place a limit on the number of connected computers or devices.
If a device is lost or stolen, you’ll need to wipe the Dropbox folder from said device remotely. To do this for a personal device check the box where it says “Delete files from [Dropbox account name] the next time this computer comes online” when you unlink the device.
To wipe a team member’s device remotely go to Admin Console then Members. Select the name of the team member the device belongs to. Then, under Devices, click the X to unlink the device and again check the box to “Delete files from [Dropbox account name] the next time this computer comes online”.
Final Word
Installing Dropbox on your device or multiple devices is a convenient way to access your files. You can work offline or even on the train to the office if you want to.
The process of installing and setting up Dropbox on a desktop or mobile device is very simple. And it adds peace of mind to know that you can manage devices easily if you’re using Dropbox for your company.

