How to Clear Word Formatting to Make Your Doc Look Great
If you copy text content from different sources into a single MS Word document, you can run into formatting problems. Your document will have paragraphs with different font styles, colors, line spacing, and sizes.
This not only makes it look ugly and unprofessional but also hard to read and edit.
How do you create uniform formatting for the whole document or edit the formatting style of selected segments in your file?
This is where the clear formatting feature comes in.
In this step-by-step article, I’ll tell you what is clear formatting in MS Word and how to use it in different ways to make your documents look great.
What Is Clear Formatting?
Clear formatting is an option in MS Word that allows you to remove any formatting applied to your document’s text content. This includes font size, style, bullets, headings, text color, shadow, strikethrough, bold, italic, underlines, or any other formatting option available in MS Word.
You can use the clear formatting option on your whole document or a specific portion of your text content.
When you apply clear formatting to a block of text or a complete document in MS Word, it returns the text to its original default font size and style without any other formatting.
It’s an easy way to reset your document style and bring uniformity to your content’s formatting.
Why Is Clear Formatting Useful?
There are several reasons why people frequently use clear formatting in MS Word.
Here are some of them.
Solves Awkward Formatting Issues
There are times when a paragraph has line spacing issues, and no matter what you do, they don’t go away. Or sometimes, a particular section of your text changes its font style out of nowhere.
We’ve all been there and have encountered these awkward formatting problems in MS Word.
Clear formatting is the easiest way out of them.
If your paragraph’s line spacing doesn’t go back to normal despite changing its settings, or if your font style keeps changing for individual sections of your document, just apply clear formatting to take them back to their default text style.
Saves Time
Clear formatting is a real time-saver for regular MS Word users. You can apply it to a specific portion of your text or the whole document to remove any kind of formatting. This is a much faster option than manually changing text style and formatting one by one.
Helps Combine Documents
Clear formatting comes in handy when you’re gathering information from different websites or documents. All of them have different font styles, text sizes, colors, and line spacing.
To bring uniformity to your document and to make it more presentable, you need to apply the same formatting style to the whole document.
But you can’t do it until you remove the existing formatting style and replace it with your own formatting.
This is where clear formatting comes in.
Removes Incorrect Formatting
Like typos and grammar mistakes, styling mistakes are also common when creating a Word document. But thanks to clear formatting, you can remove any incorrect formatting in just a few seconds without modifying any other part of your document.
How To Use Clear Formatting In MS Word
There are two different ways to use clear formatting in MS Word.
- Clear formatting for a specific portion of your text
- Clear All formatting in your Word document
Let me explain the step-by-step process of using both of these methods.
How to Clear Specific Formatting in Word
You can use clear formatting to turn a specific section of your document back to MS Word’s default formatting style.
Here’s the step by step process you need to follow
Step#1: Open the document in MS Word that you need to edit.
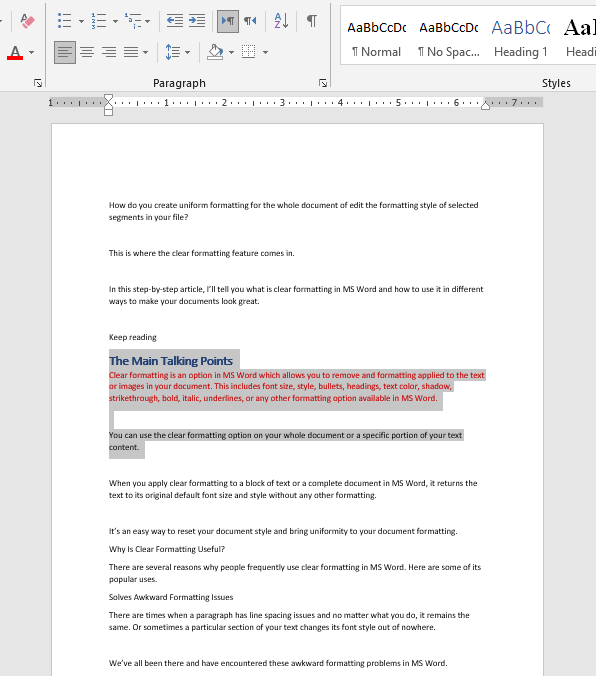
Step#2: Select the section of your document where you want to apply clear formatting.
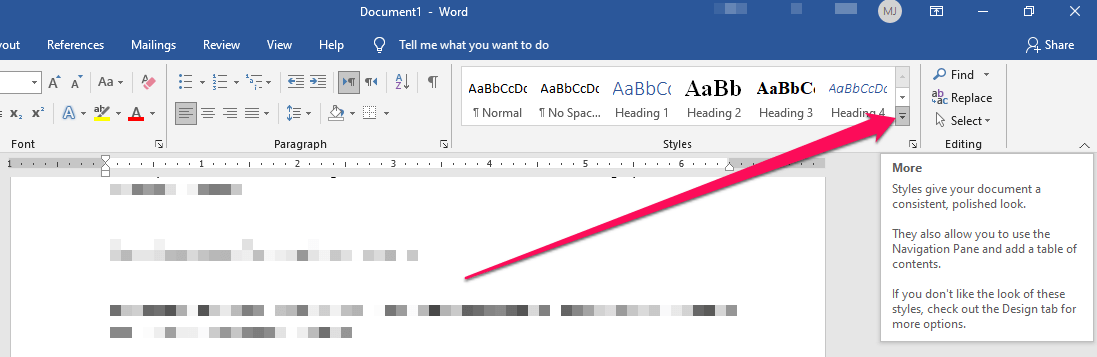
Step#3: Now click on the arrow at the corner of the Styles box to open a drop-down menu.
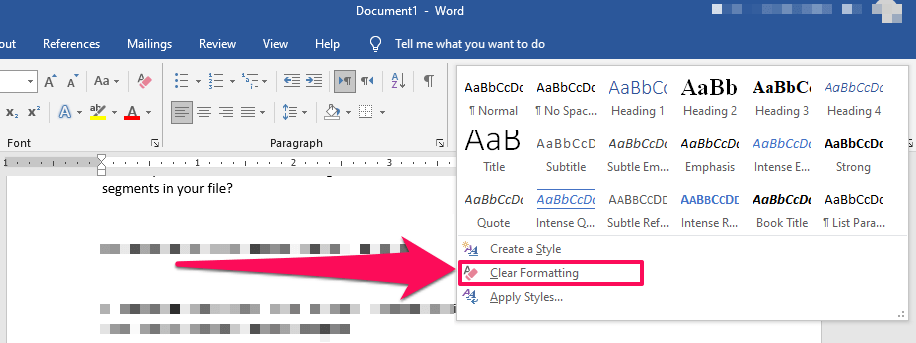
Step#4: Click on Clear Formatting to remove any styling applied to the selected section of your document.
Step#5: Some styling options such as font colors or hyperlinks won’t return to the default MS Word style.
Step#6: To move them back to the default style like the rest of the text you selected, apply clear formatting to it a second time.
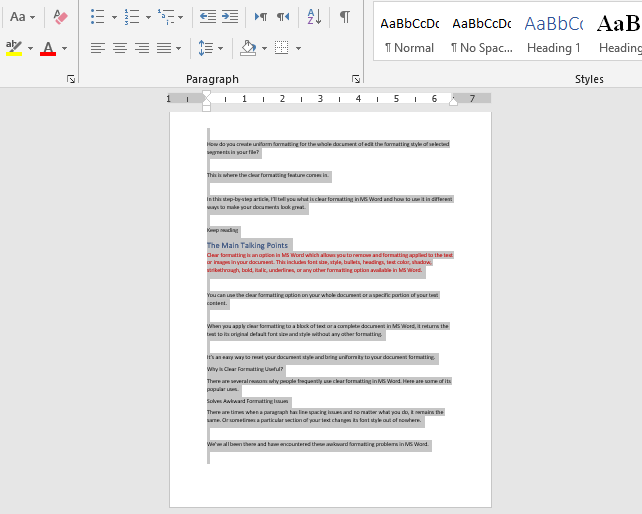
Doing so completely removes any formatting styles from your selected text and returns it to the default MS Word formatting.
How to Clear ALL Formatting in Word
In the previous method, we learned how to apply clear formatting to your document’s specific sections.
But what if you want to apply it to the whole Word document?
This is where the second method comes in handy.
Here’s the step-by-step process for applying Clear All Formatting to your Word documents.
Step#1: Open the Word document that you want to edit.
Step#2: Since you want to apply clear formatting to your whole document, select all the text using your mouse pointer or by pressing CTRL+A.
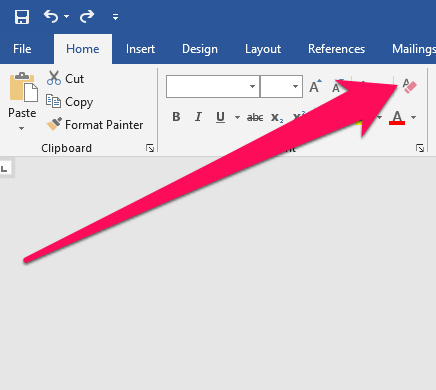
Step#3: In your Word document’s upper pane, click on the Home tab and go to the Font section.
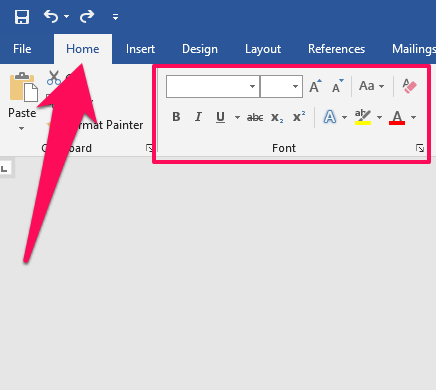
Step#4: Click on the Clear All Formatting button to remove all return the whole document to the default MS Word formatting style.
Unlike the previous method, applying clear all formatting completely removes any formatting styles from your document, including text colors and hyperlinks, in the first go.
You don’t need to apply it to hyperlinks or colored text separately.
Clear Image Formatting In MS Word
MS Word allows you to apply different formatting styles and effects to your images (just like text content).
Here a few image formatting options you can use.
- Change the color tone of your images.
- Apply color filters to your images.
- Apply different artistic effects to your images
- Remove the background from your images.
- Apply different border styles to your images
- Change image shapes.
- Apply effects like shadows, glow, soft edges, etc.
- Use different image layouts.
MS Word offers a lot of different ways to modify your images and change their formatting.
But you can remove any formatting and style changes from your images using the Reset Picture option. This would undo all the style changes and return your images to their original state.
Here’s the step-by-step process to do it.
Step#1: Open the Word document that you want to edit.
Step#2: Click on the image from which you want to remove all style and formatting changes.
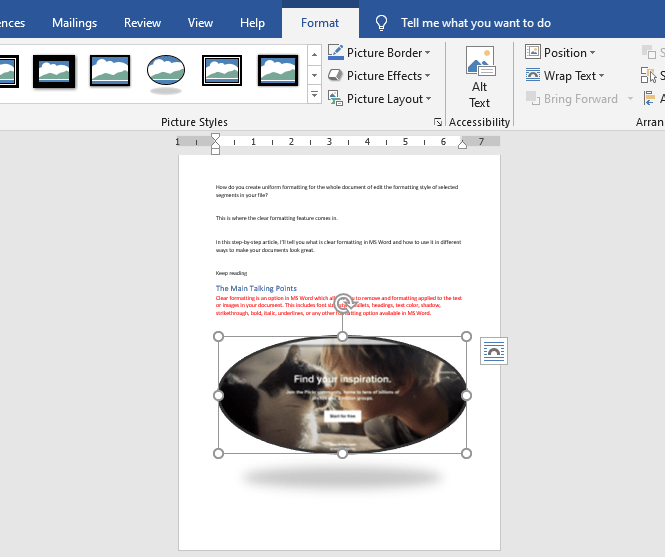
Step#3: Click on the Format tab in your Word document’s upper pane.
Step#4: Click on the Reset Picture button in the Adjust section.
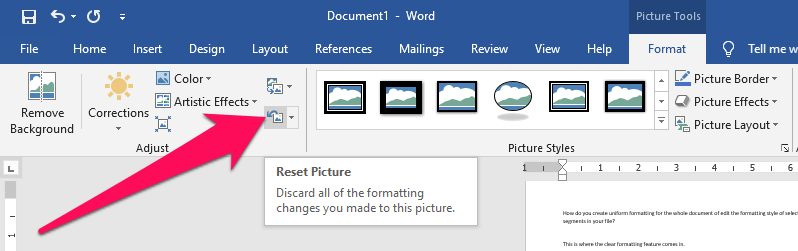
This will remove all the style changes from your picture and return it to its default state.
If you also want to return the image to its original size, follow these steps.
Step#1: Click on the image you want to edit.
Step#2: Go to the Format section in your Word document’s upper pane.
Step#3: Click on the arrow next to the Reset Picture button in the Adjust section.
Step#4: Click on Reset Picture & Size.
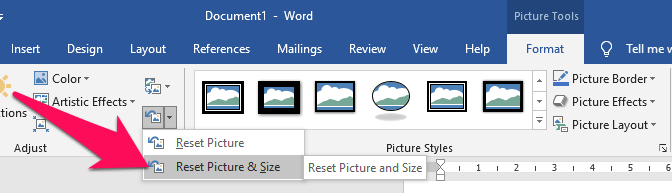
This will remove all the style changes from your image and return it to its original size.
Clear Formatting Keyboard Shortcut
If you like to use keyboard shortcuts to speed up your work and avoid unnecessary clicks, this part of the article is for you.
You can use the keyboard shortcut to apply clear formatting to your selected text or the complete document.
Here’s how to do it.
Step#1: Open the document that you want to edit.
Step#2: Select the text where you want to apply clear formatting.
Step#3: Now press CTRL + Space Bar to apply clear formatting.
Step#4: If you want to remove formatting from your whole document, press CTRL + A to select all and then press CTRL + Space Bar to apply clear formatting.
Step#5: If you want to remove hyperlinks from your text as well, select the relevant text section in your document and use the keyboard shortcut for Clear All Formatting: CTRL + Shift + N
Remember that these shortcuts will only apply clear formatting to the text content in your document.
To remove the changes from your images and return them to their original state, use the method that I described in the previous section.
How to Clear Formatting in Word Using Notepad
Apart from the clear formatting and clear all formatting options in MS Word, there’s another quick way to remove any kind of styling from your document and return to the default text style, size, and color in MS Word.
What is that method?
Let me share the exact steps.
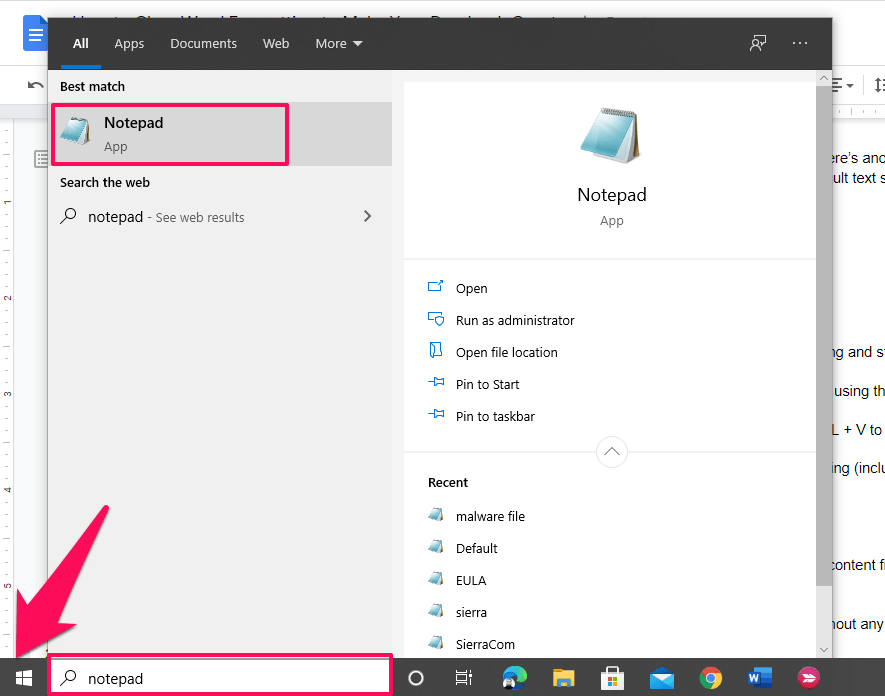
Step#1: Click on the Windows Start menu button and search for Notepad.
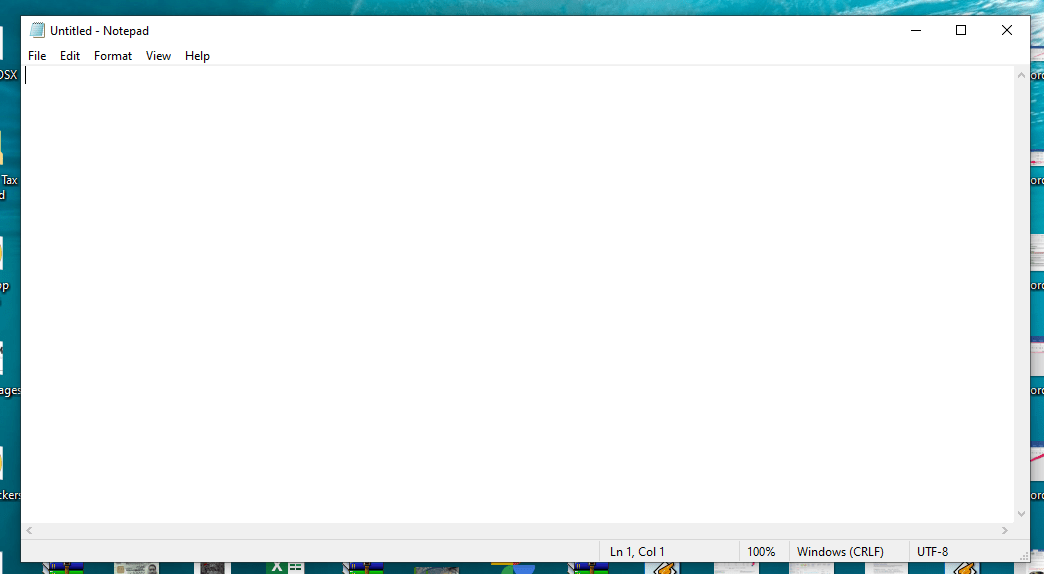
Step#2: Open a new Notepad file.
Step#3: Open the Word document from which you want to remove all formatting and styling options.
Step#4: Select all the Word document content using your mouse pointer or by using the keyboard shortcuts CTRL + A (select all) followed by CTRL + C (copy) and CTRL +V (cut)
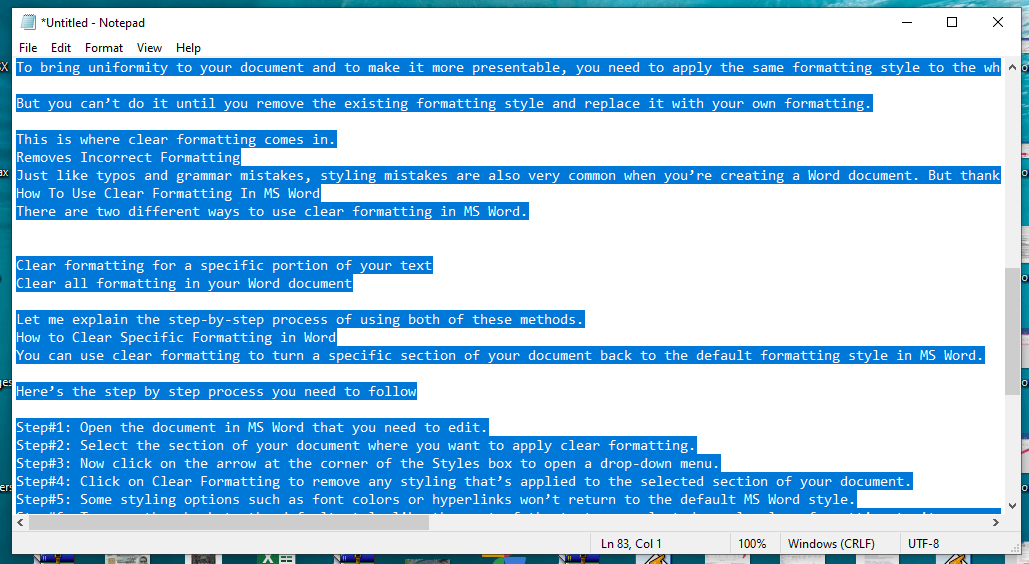
Step#5: Now go to the blank Notepad file, click anywhere in it, and press CTRL + V to paste the whole Word document to Notepad.
Step#6: As you can see, Notepad has wholly removed any styling and formatting (including hyperlinks) from your text content.
Step#7: Now press CTRL + A to select all the content in your Notepad file.
Step#8: Press CTRL + C to copy the content from Notepad.
Step#9: Open your MS Word file again. Make sure that it’s completely blank.
Step#10: Click anywhere in the document and press CTRL + V to paste your content from Notepad to MS Word.
Now, your content will appear in the default font style and size in MS Word without any formatting or hyperlinks.
It’s Time To Apply Clear Formatting To Your Word Docs
As I’ve shown you in this detailed article, we can use a simple option such as clear formatting in so many different ways. You can use it to remove formatting from a specific section of your content or the whole document using your mouse or its keyboard shortcuts. Plus, you can also bring your images to their original state using this option. Overall, It’s a handy feature for content creators, students, professionals, and anyone who regularly uses MS Word.
If you have any questions about using clear formatting in MS Word, let me know in the comments section.

