The Ultimate Manual To Box Tools
Box is a leading cloud storage, file sharing, document management, and collaboration service with thousands of customers across the globe.
It allows users to securely upload files and folders from their local systems to cloud storage while keeping complete control over their data usage and modification rights.
Box Tools is a popular desktop application that allows Box users to easily access their files in the cloud and modify and save them using their local desktop applications.
In this article, we’ll cover the different aspects of Box Tools, how it works, and how you can use it to seamlessly work on your cloud data from anywhere in the world.
What Is Box Tools Anyway?
Box Tools is an installer package by Box that includes Box Edit and Device Trust functionality. Once you download, install and run it on your computer, Box Tools makes it much easier for you to access, edit, and save your cloud data from your computer.
Box Edit and Device Trust, the two functions inside Box Tools, have entirely different goals.
Box Edit
Once you install Box Tools to your computer, Box Edit is added to your startup applications and keeps running in the background.
You can access it from its icon in your Windows taskbar.

What does Box Edit do?
It adds a feature to Box web application that allows you to edit your Box files using the relevant local apps on your computer.
For example, you can open DOCX files in your Box account using MS Word on your PC. Similarly, you can open PPT files with PowerPoint and XLS files with EXCEL.
The files will remain in your Box account, but you’ll be able to access them directly using the relevant application on your computer.
You can open, edit, and modify the files in any way you want. Once you’ve completed the changes, you can save the file directly to your Box account.
You also have the option to save a copy of the file to your local system if you want.
If you have other collaborators in a file, you have the option to disable editing for them while you’re editing the file with Box Edit.
However, suppose you don’t disable file access and other collaborators open and edit the same file simultaneously while you’re editing it. In that case, Box will create two separate copies of the file for each user.
You then have the option to merge the files, keep both, or delete one of them manually.
Currently, Box Edit is available for Windows and Mac users, but you can’t use it in mobile browsers.
Device Trust
Device Trust is a security feature in Box Tools that allows Box admin users to define access and usage rights for Box Edit users associated with their account.
Device Trust is only available if it’s enabled with your Box account. It is not designed for individual users and only comes in handy if you have multiple users associated with your Box account.
Using Device Trust, you can define the minimum security criteria for a system to access your files with Box Edit. You also have the option to block users from accessing specific files and folders.
For large organizations, distributed teams, and agencies that work with multiple stakeholders, Device Trust offers a security layer that ensures you. Box files are safe from unauthorized access and modification.
How Box Tools Works
Box Tools is an installer package that contains Box Edit and Device Trust. However, Box Edit is the more useful app for most users that allows them to access and edit their Box account files using their local system apps.
It works primarily as a browser extension for your Box account and runs silently in the background on your PC.
Once you install it, you get additional options in your Box account to open various files with their relevant applications.
For example, after installing Box Tools to a system, you’ll start seeing the Open with option in your file menu.

You don’t need to download the files to access them.
Instead, Box opens them directly from your cloud storage using the relevant application on your computer. However, the files are saved to the temporary storage of your computer, where they stay for up to 7 days, after which they’re deleted automatically.
To open a file from your Box account using Box Edit, you need to have the relevant application on your computer. For example, if you want to open a .docx file from your Box account using Box Edit, you must have MS Word on your computer to open it successfully.
Similarly, to open PPT files from your Box account using Box Edit, you must have PowerPoint installed on your computer.
If you don’t have the relevant application, Box Edit will look for any other apps on your PC that could potentially open the files for you.
But if there’s no relevant application, you won’t be able to open the file with Box Edit.
A major benefit of Box Edit is that once you edit and save a document in your Box account with Box Edit, you can sync it with your local system backup as well.
This comes in handy when you’re working on files that you’ve not backed up on your system yet, or using a new system where you don’t have a backup of your Box account files.
For better management, Box gives admins the option to disable the Box Edit feature for all user accounts associated with it.
Example 1: Creating An MS Word Document With Box Edit
You can use Box Edit to edit the existing files in your Box account or create new ones.
Let’s say you want to create a new .docx file to edit in MS Word directly from your Box account.
You can create a new file from your Box account but choose Word Document in the file type to create it using MS Word.
Box Edit will automatically open the file with your local MS Word application, where you can edit, modify, and save it like any other regular Word file.
Once you save the document, it will be stored in your Box account, where you can access it from any device you want.
Example 2: Open A PDF File With Box Edit
Just like DOCX files, PDFs can also be opened and edited using Box Edit. If your default PDF application is Adobe Reader, you’ll get the option to open the PDF files in your Box account using it.
If you have any other application as the default PDF reader on your computer, like Chrome or Foxit, you can use them to open PDF files.
For editing PDFs, you’ll need to have Adobe Acrobat or any other PDF editing tool. If you don’t have a PDF editing application in your system, you will only read PDFs using Box Edit.
How to Get Started With Box Tools
Box Tools is a free installer package you can get from Box’s official website. To use Box Tools for opening, editing, and creating files, you need to have an active Box account.
Here are the different ways to use Box Tools.
Installing Box Tools To Your System
To use Box Tools for accessing the files in your Box account, you need to download and install it to your system.
Here are the steps you need to follow.
Step 1: Go to the official website of Box.
Step 2: Click Sign in to log in to your Box account
Step 3: Head over to the Box Downloads section on the Box website.
Step 4: To download Box Tools for Windows, click on the relevant link under Box Tools.
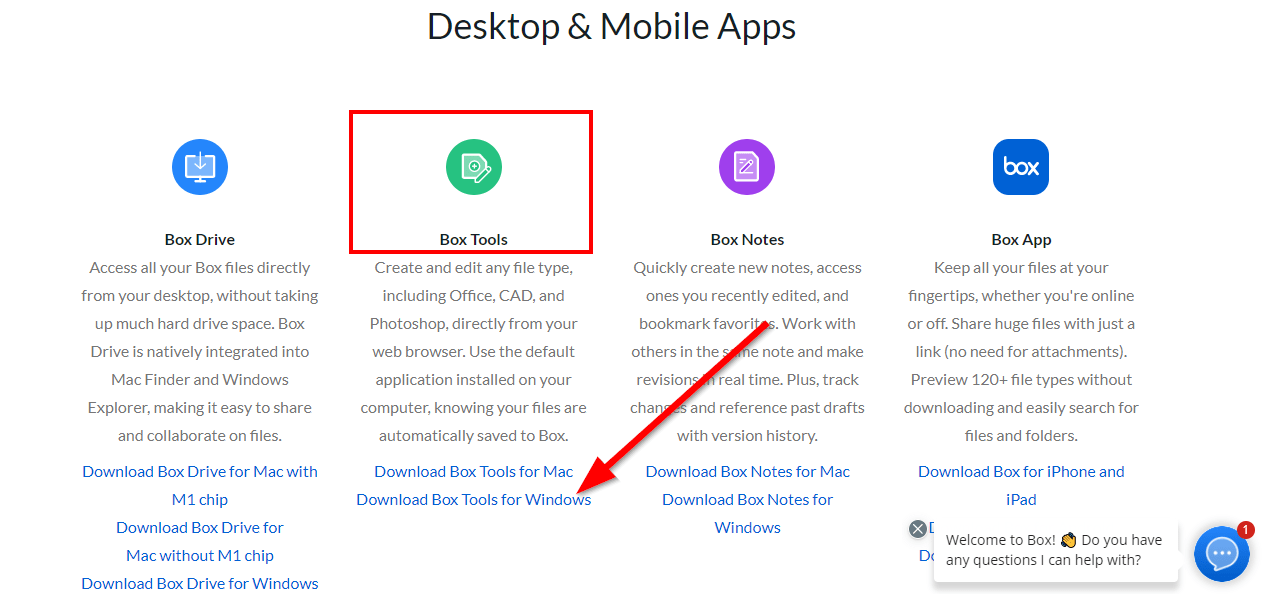
Step 5: Save the installer file to your computer.
Step 6: Run the installer and let it complete the installation process. Once the installation is complete, you can see the Box Edit icon in your system tray.
You have successfully downloaded and installed Box Tools to your computer. It is automatically added to your startup apps which means it will start running in the background when you start your computer. You don’t need to run it separately.
Opening A File Using Box Edit
Now that you have installed Box Edit, you can easily open and edit files in your Box account using Box Edit.
Here’s how to do it.
Step 1: Visit the Box website.
Step 2: Click on Sign in to access your Box account.
Step 3: Enter your account login details to sign in.
Step 4: Hover your mouse pointer over the file you want to open with Box Edit.
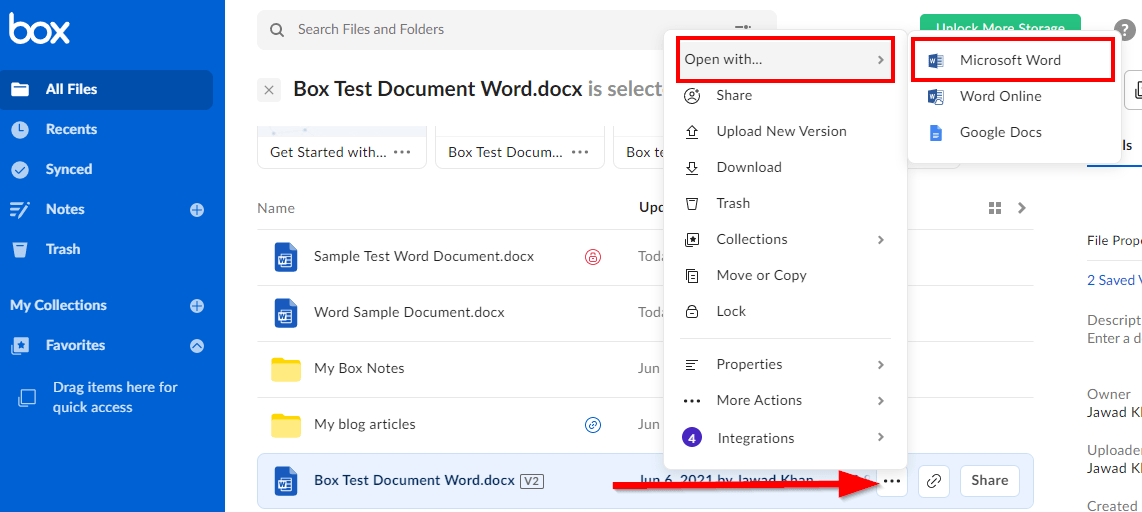
Step 5: Click on the ellipses […] icon to open the file menu.
Step 6: Click on Open with in the menu.
Step 7: Choose the local application in your system (for example, MS Word) to open your file.
Box Edit will now open your file directly from your Box account using MS Word on your computer. You can edit and modify this document like any other Word Document.
Saving A File Using Box Edit
Once you’ve edited a file in your local application, you can save it back to your Box account easily.
Let’s say you want to save a .docx file to your Box account using MS Word on your computer.
Here’s how you can do it.
Step 1: Open the .docx file from your Box account using the same steps shared in the previous section.
Step 2: Make any changes to the file you want.
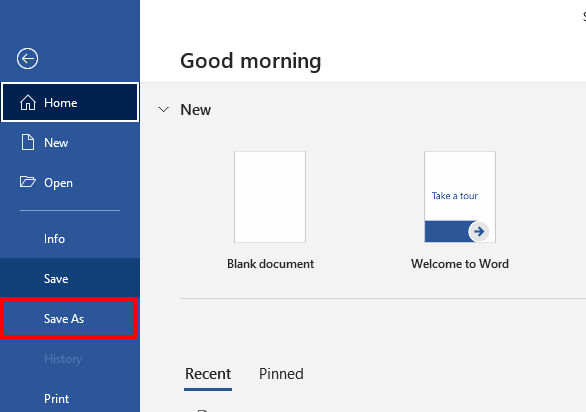
Step 3: Click on File in the top menu.
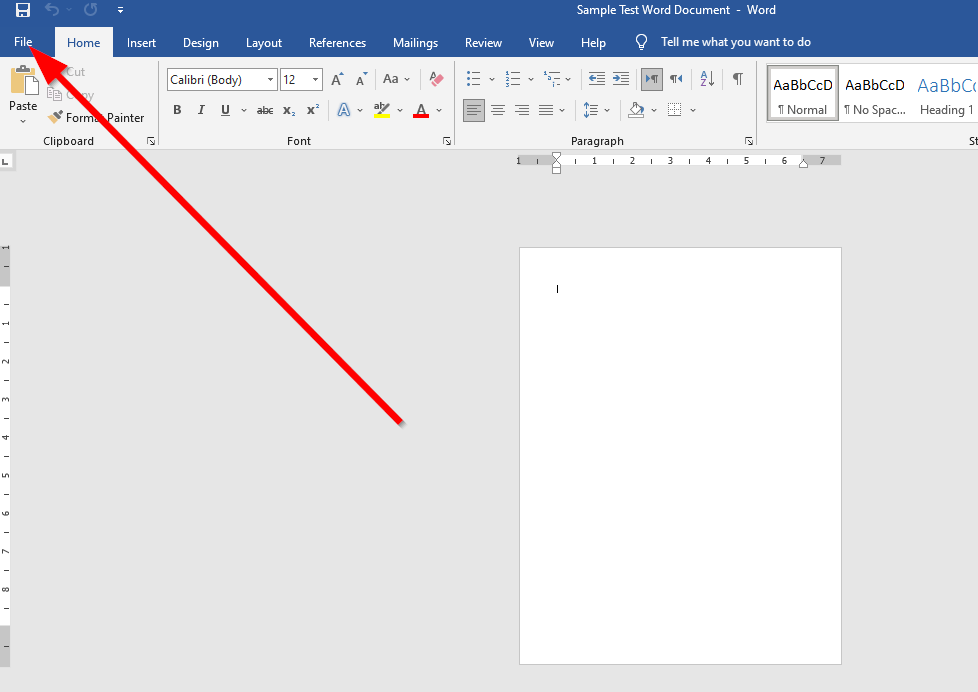
Step 4: Click Save
You have successfully saved the file to your Box account. Remember, you need to click on Save, not Save As, to save the file to your Box account.
Create A Local Copy Of Your Files With Box Edit
Let’s say you want to create a copy of a .docx file from your Box account on your computer.
Here’s how you can do it.
Step 1: Open a .docx file from your Box account using the same steps shared in the previous section.
Step 2: Make any changes to the file you want.
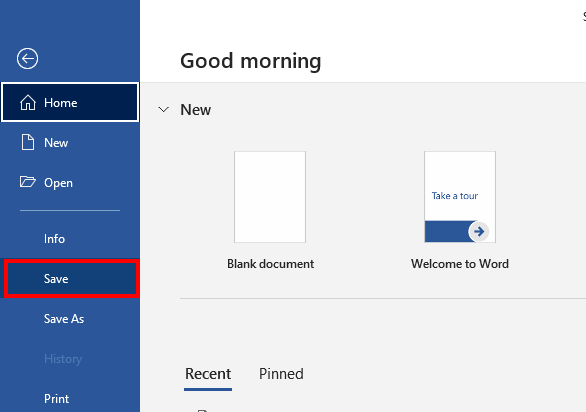
Step 3: Click on File in the top menu.
Step 4: Click Save As
Step 5: Choose a folder on your computer to save the file.
Step 6: Click Save.
You have now successfully created a copy of your Box file on your computer. If you save a file using this method, the changes will not be saved to your Box account.
Creating A New File Using Box Edit
You can also create new files from your Box account using Box Edit.
Let’s say you want to create a .docx file using Box Edit.
Here’s how to do it.
Step 1: Sign in to your Box account.
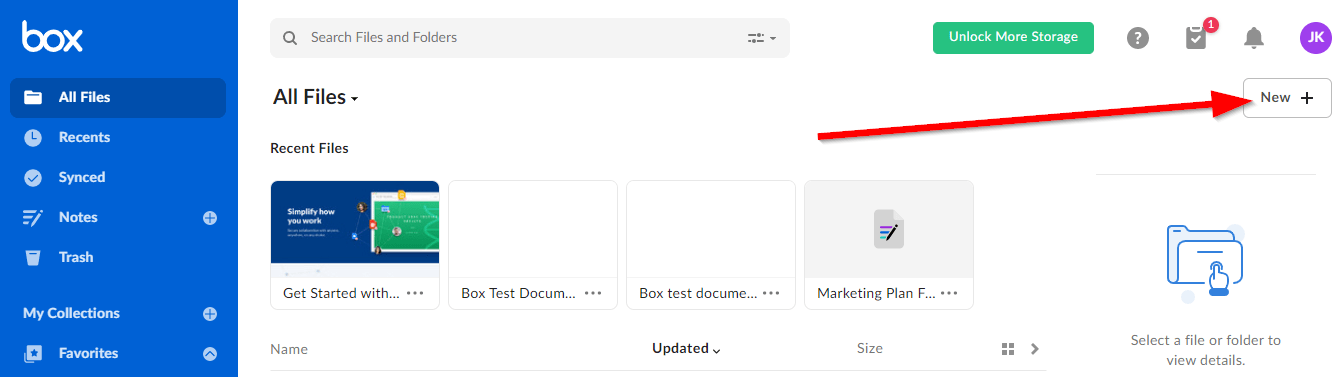
Step 2: Click New
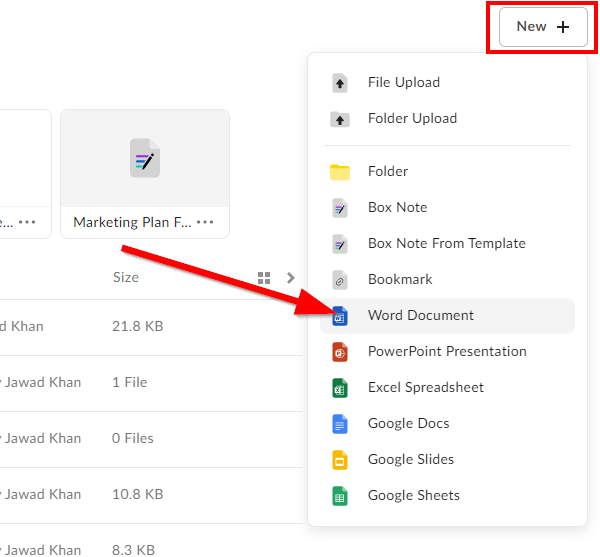
Step 3: Choose Word Document.
Step 4: Give your document a title.
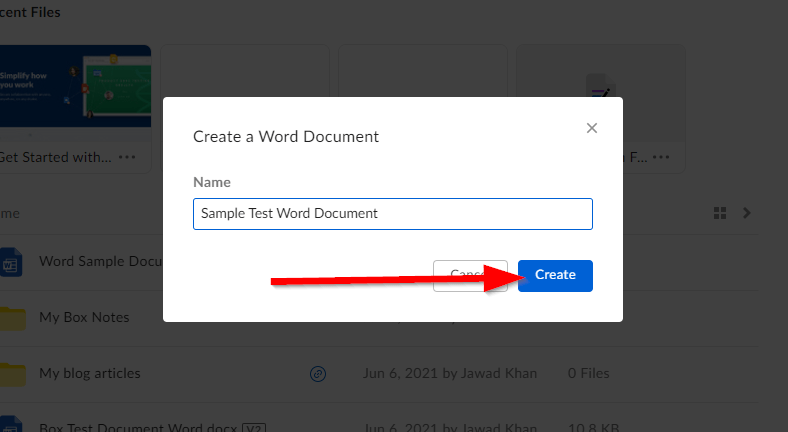
Step 5: Click Create.
Box Edit will now open MS Word on your computer to create a new Word file with your chosen title.
Lock File Access For User Accounts
You can lock access to your Box files temporarily so that only you can open and edit them.
Here’s how you can do it.
Step 1: Sign in to your Box account
Step 2: Hover your mouse pointer over the file you want to lock.
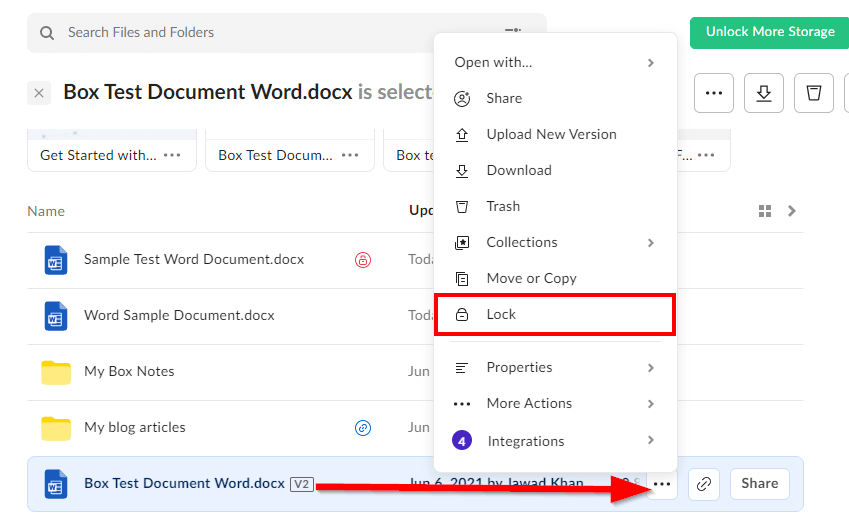
Step 3: Click the ellipses icon […]
Step 4: Click Lock
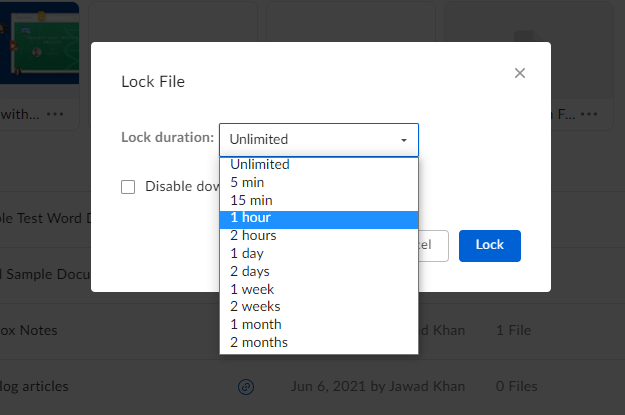
Step 5: Choose a lock duration from the menu.
Step 6: If you want to disable downloads of your file, enable the option below the duration field.
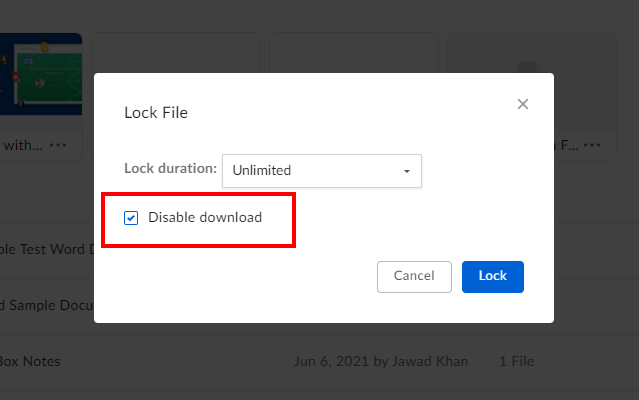
Step 7: Click Lock
You have now successfully locked your file access for your selected duration.

