The Ultimate Manual To Box Developer Tools and APIs
Box is a modern and reliable content management platform that strives to change how organizations work and collaborate. It helps accelerate the process faster to help the involved parties achieve results more quickly.
The platform provides content APIs and developer tools to build and deliver secure content experiences in custom apps by allowing organizations to bring content management and service collaboration services to their own custom apps. Alternatively, they can also build customized integrations with Box.
In this guide, we’ll deep dive into Box developer tools and APIs and how they work to improve your content management experience.
What are Box Developer Tools and APIs
API stands for “application programming interface.” Box APIs are your ticket to scoring all the features and functionality one typically expects from Box UI—be it to hook your application to Box for Cloud file storage or for a portal on the company intranet. The platform offers all kinds of APIs to serve all types of purposes.
Do you want to see who is collaborating on their folders? There’s an API for it. Want to share a document? There’s an API for it. Perhaps you want to see collaborator comments? Box has an API for that too.
To put things into perspective, anything you’re already doing with the documents on your Box‘s environment, you can do via an API.
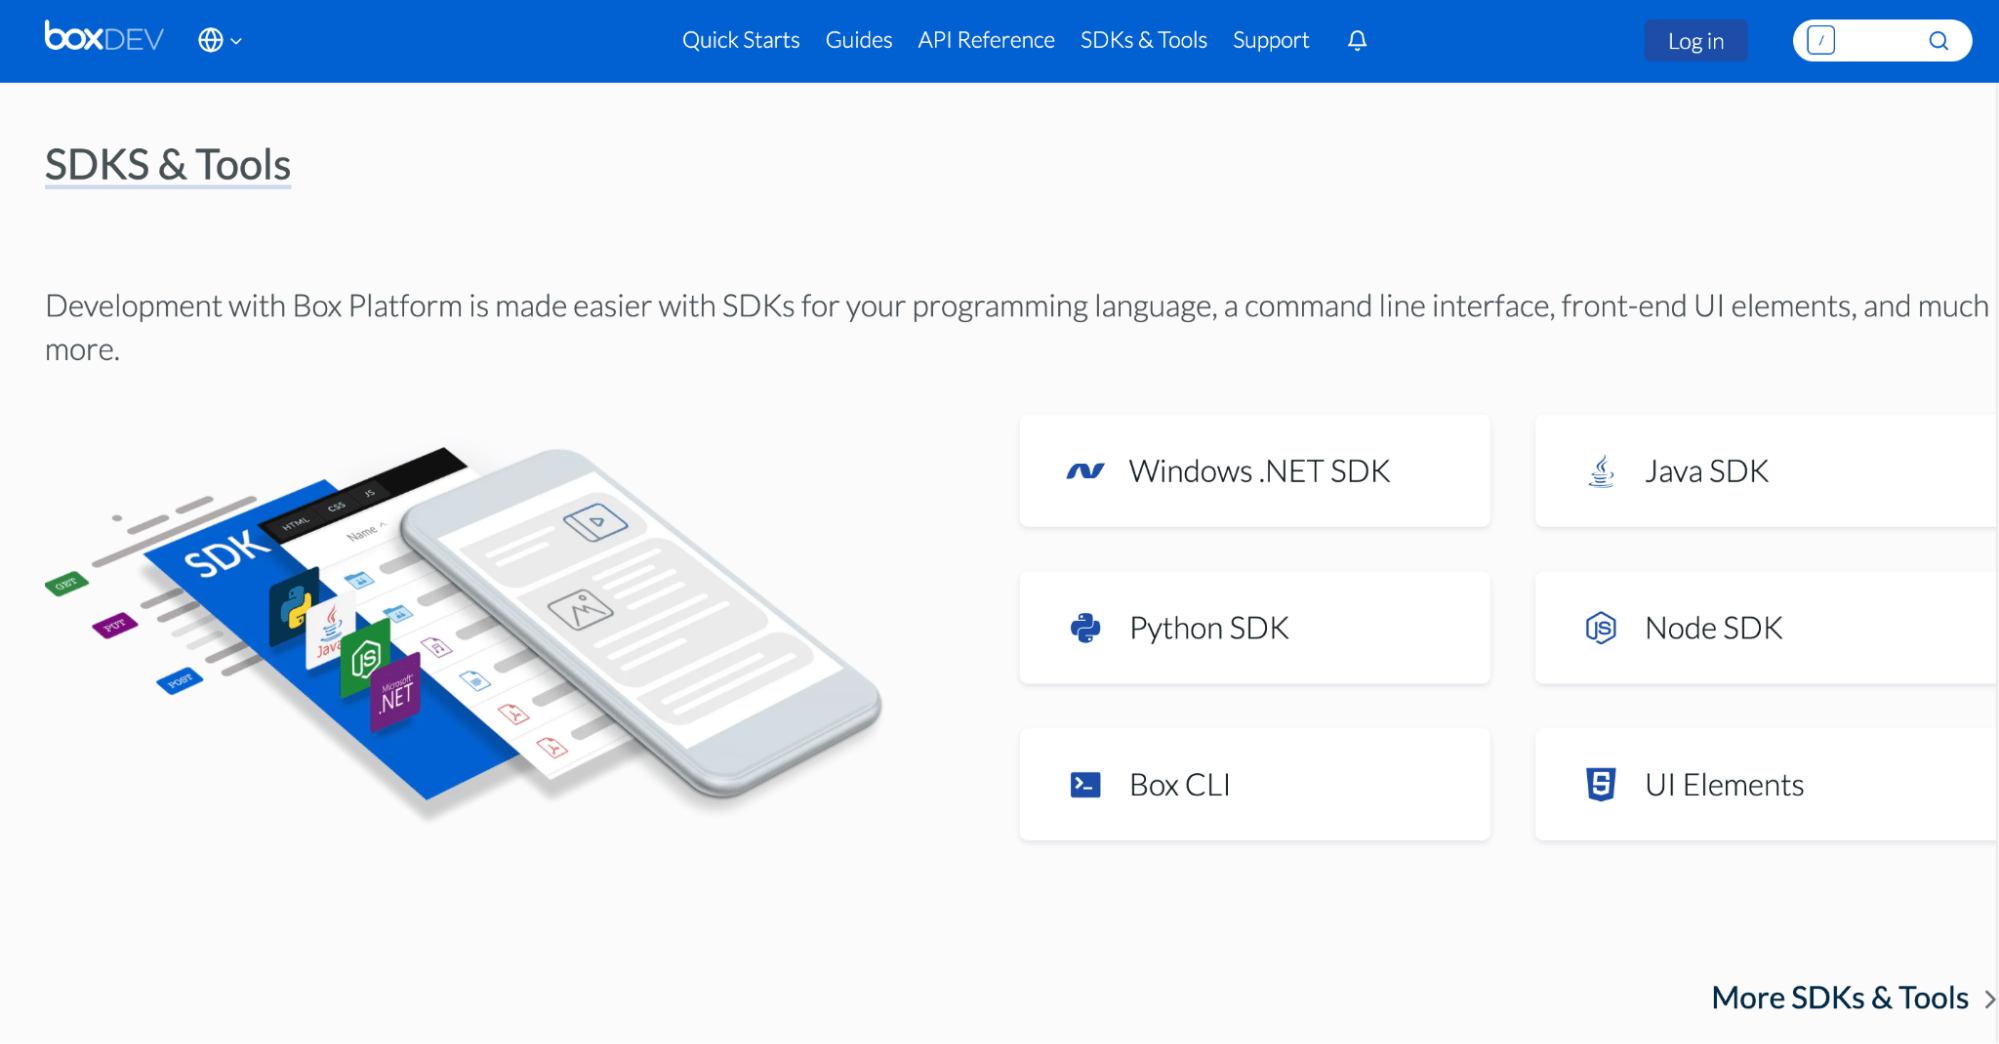
Box developer tools refer to the many tools the platform has launched to make it easier for developers to get up and running on the main Box platform.
You have several options when it comes to Box developer tools and SDKs (software development kit or devkit). Development with Box Platform is considerably simplified today with SDKs for your programming language, front-end UI elements, a command-line interface, and several other SDKs and tools.
You see, Box has always had the vision to offer developers a program where they can conveniently build applications using Box services. The platform launching these tools is a step toward this initiative.
How Do Box Developer Tools and APIs Work
Whether you’re a Box API first-timer or are already a Box admin, you need to understand how to interact with the Box API.
Box API
To get started with Box API, you have to first visit the Developer page of the platform. This is where you’ll find developer documentation, links to the developer’s blog, the developer’s forum, and information about the various API calls you can make.
Go through all this in detail to become acclimated to the whole shebang.
You’ll then need a developer‘s key from the Project Setup page. Head over there and create and name your own application. Up next, copy the generated API key and store it somewhere safe. Don’t start sharing the key with your teammates yet!
Go through the basic API call stack in a browser window, and click on the Get Ticket API Function page, scrolling down to the REST Request. Then, copy and paste the API link into the browser bar, replacing the equal sign with your secret API key.
Once the page finishes loading, you’ll receive your very own authentication ticket. Finally, you can use the ticket and application key to get an auth token.
Here’s how to go about this:
- Go to the API function you want to try.
- Copy and paste the https:// part out of the REST Request example.
- Edit the request to put your own api_key, ticket, as well as other parameters you want to try.
- Select return to fetch the response.
Once you get your auth_token, you can call any of the other APIs you want.
Box API Security
Box’s API follows the same security principles and restrictions. Below, we’ll help you understand this in more detail.
Access Tokens
Every Box API call has an access token at its core. These tokens represent the authenticated user and decide what content a user can successfully call. Generally, access tokens are only valid for about an hour, but you can revoke them any time you want.
Application Scopes
All users must configure application scopes whenever an application is created in the Developer Console.
Application scopes determine which of the platform’s 150+ endpoints an application will successfully call, which is then reflected in the access provided by access tokens of the application.
In other words, granting the write scope doesn’t give a user automatic access to all the content in an organization’s Box environment. Instead, they’ll only be able to perform specific actions like renaming folders they have access to or creating new ones.
Restricted Endpoints
Some API endpoints can only be used by admins or co-admins who have the proper granted permissions. Some of these admin restricted and points include:
- Creating, deleting, or obtaining user information
- Creating, deleting, or modifying groups
- Viewing user or enterprise events
Remember, if only an admin or co-admin can perform an action via the Box Admin Console, an access token associated with one of these users has to be used to make the API for that particular action.
Other endpoints like interacting with security classification or retention policies can only be used by an admin token if an enterprise has purchased add-on products like Box Governance or Box Shield.
Application Access
Application access determines the users who can interact with the app and are of two types: App access only or app + enterprise access. It’s only configured in the Developer Console for applications leveraging Server Authentication (with JWT).
Once a JWT application is authorized in the Box Admin Console, a service account for the application is generated automatically. This account is essentially an admin-like user that can only be accessed via the API, which an individual can use to create users of the application, known as App Users.
Box Developer Tools
Box offers tons of developer tools, with each designed to simplify a developer’s life. For the purpose of this article, we’ll only discuss three of the more recently launched tools.
Box Developer Console
Box Developer Console is the place where developers can grab their respective API keys to get started. The platform has added some typical developer paths to streamline the overall experience by guiding users based on their preferences.
API Navigator
The API Navigator was specifically designed to simplify using the Box APIs.
Before a developer decides to use a platform, they usually download some sample code, read the documentation, and familiarize themselves with the toolset. Box helps streamline this process with the API Navigator, where the tool uses a split-screen view to present the documentation and code together in a single interface.
Interactive Documentation
Box released a set of interactive documentation to provide developers with the necessary instructions they would expect in a documentation set. Additionally, it includes code samples presented in a split-screen format, enabling developers to simply copy, paste, and adapt the code as needed.
It also allowed the developer community to suggest new instructions to improve the documentation. After these suggestions are submitted to Box, they’ll be published upon approval.
How to Get Started With Box
You should now have a brief idea about Box developer tools and APIs. But before you apply this knowledge, you should know exactly how Box works.
This section will go through some Box basics to help you get started with the platform.
Step 1: Make a Box Account
You need to create a Box account. Signing up with the platform hardly takes a few minutes, so you’ll be done in no time.
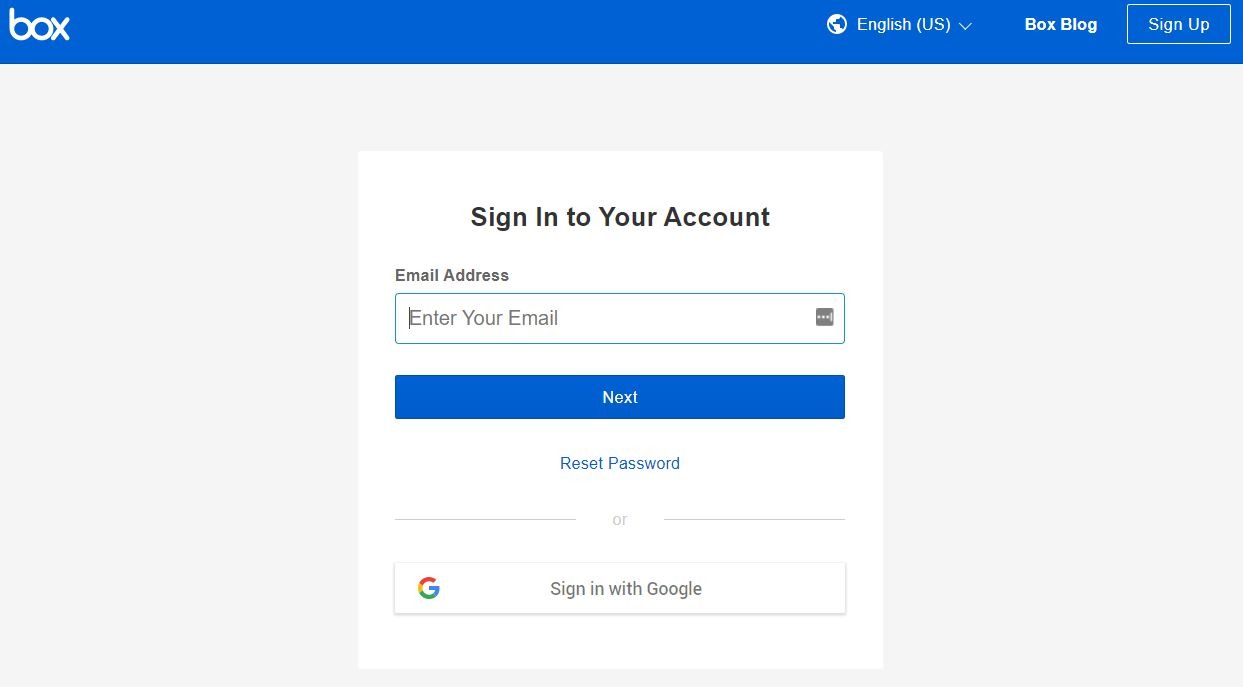
If you already have one, go directly to the login page. You can access your account after entering your email/username and password.
Step 2: Create a New Folder
A Box folder serves as a basic building block, where you can group files of similar nature.
Here’s how to create a new folder on the platform:
- Select New, followed by New Folder from the displayed menu.
- In the Create a New Folder dialogue box, type in your folder name.
- Click on the Permission down arrow to control the access level for every user. From here, select the appropriate role—co-owner, editor, viewer, and so on—for the level of access you want to assign to that specific user.
While this will give you your main folder, you can also create sub-folders within it. Click on the top-level folder to open it and repeat the above steps.
Step 3: Understand Your Account Navigation
Once your files are added to Box, you can access them on the go.
Box has an intuitive design and comes with three shortcuts to help streamline your search: the search tool, the folder tree, and recent.
As the name suggests, you can use the search tool to find a specific file by typing a particular word or phrase within the file.
You can use the folder tree tool if you want to get to a folder quickly. All you have to do is click on the drop-down menu next to All Files, and you’ll be able to see your entire folder structure.
Lastly, Recents is located on the left-hand side of the screen and displays a list of all files and folders that have been recently updated.
Step 4: Turn On the Email Notification System
Box offers an email notification system designed to keep you in the loop about current events. Turning it on will send you notifications whenever your collaborators access or edit your files.
- Click the account icon located on the top right-hand corner of your Box window.
- Select Account Settings.
- Switch to the Notifications tab. Adjust the default email notification settings for your account.
- Click on Save Changes once you’re done.
And that’s it! You’ll now receive email notifications related to your Box account.

