The Ultimate Manual to Bitbucket Cloud
Bitbucket is a handy code hosting platform that allows you to collaborate on projects with team members. Here, you have the option to self-host on your infrastructure or let Atlassian host the platform for you. In this guide, we’ll be discussing the latter option and why it may be the ideal choice for your organization. We’ll also go through the steps to get you started using the Bitbucket Cloud service.
What is Bitbucket Cloud Anyway?
To fully understand what Bitbucket Cloud has to offer, we need to consider it in the context of all the product versions that Atlassian offers. Here, your options include Bitbucket Cloud, Bitbucket Server, and Bitbucket Data Center.
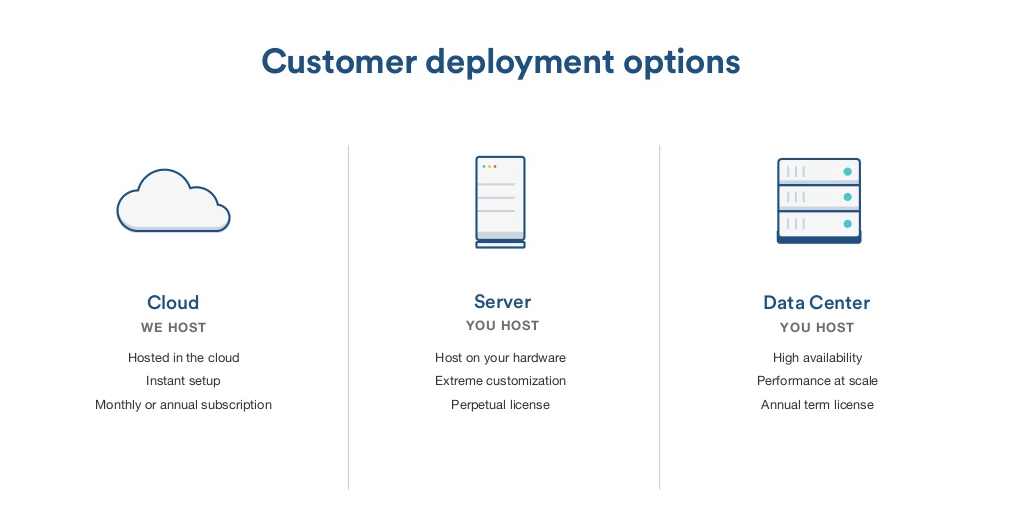
With Bitbucket Cloud, Atlassian will host, set up, secure, and maintain your software in its cloud. This scenario means you don’t need to worry about maintaining your physical repository hardware.
By contrast, Bitbucket Server means that you are responsible for hosting Bitbucket yourself. Here, your IT staff needs to install, host, and run Bitbucket on-premise in your environment. Alternatively, you can opt for a third-party cloud host such as AWS.
Bitbucket Data Center is simply an upgraded version of the Bitbucket Server product. The Data Center uses multiple servers to optimize for traffic spikes, among other additional capabilities. For the sake of conciseness, we will only compare Bitbucket Cloud to the Server alternative.
How Bitbucket Cloud Works
As we’ve noted previously, Bitbucket Cloud means that the software provider is responsible for hosting, setting up, maintaining, and securing your software. This option contrasts with the Server product, where you’re accountable for these tasks.
The differences between Bitbucket Cloud and Server also become apparent immediately after you sign up for the product. With Bitbucket Cloud, you pay a monthly or annual fee to enjoy the service, just like Netflix.
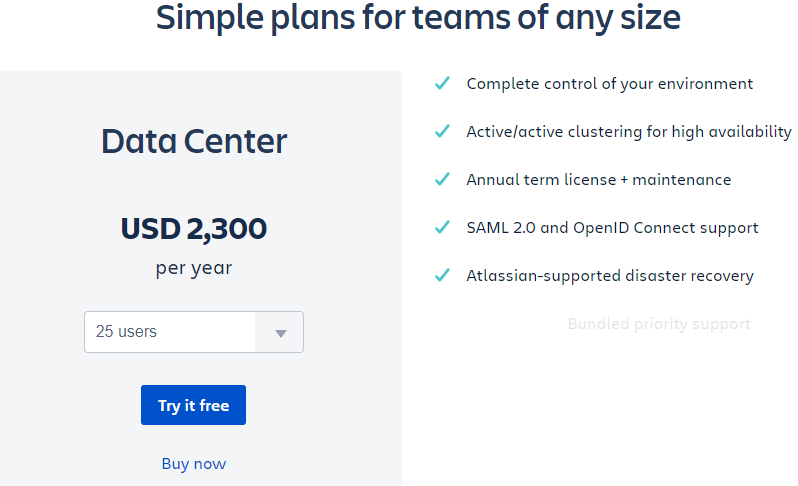
However, with Bitbucket Server, you purchase a license to use the product. You’ll have a license to use Bitbucket Server indefinitely after paying the annual fee. Also, you’ll get license support from Atlassian for one year. You have the option to extend this support at a cost. Finally, the actual license cost depends on the number of users on the platform. For example, you’ll pay $2,300 for up to 25 users and $4,200 per user for a team of 50 people.
Pricing structure aside, there are practical differences between Bitbucket Cloud and the Server alternative.
Bitbucket Cloud is the cheaper option for most individuals and organizations. Everything associated with Bitbucket Cloud happens on Atlassian servers, with the software giant keeping a close eye. Otherwise, you’d need server hardware and the extra space to house the hardware.
Furthermore, the Cloud option also means you don’t need to pay IT staff to maintain your environment and additional costs for experts if you need support. You also don’t have to account for utilities and other overheads associated with an on-site solution. You can avoid all these costs simply by signing up for the cloud version.
Moreover, Bitbucket Cloud allows you to get started immediately after signing up. You can create your first repository and even invite collaborators within minutes of paying your subscription. With the Server option, you’ll need to wait until the new hosting environment is initiated before you can start using the code-hosting platform. This factor alone is enough to drive most users to the Cloud option.
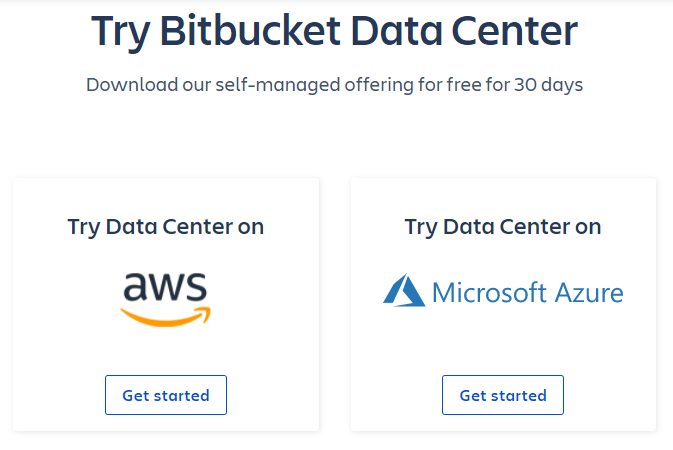
There’s even a free Cloud version for up to five users. On the contrary, Bitbucket Server doesn’t have a free version. However, you do get a 30-day free trial. Even the free trial may not be worth it if you don’t have the infrastructure to support self-hosting in the first place. This is particularly true if you don’t plan to use a third-party hosting service like Microsoft Azure.
Another practical advantage includes Bitbucket Cloud updates. With this version, the platform automatically updates the latest features and upgrades. On the other hand, the self-hosted platform means that you manually update your software. This can cause security issues as the platform quickly becomes outdated. You’ll also need extra resources to keep track of and support security and performance updates.
Lastly, Bitbucket Cloud offers certain security assurances. Atlassian uses real-time security updates to protect your infrastructure. In addition, using Bitbucket to host your code translates to SOC 2 Type II compliance. All Bitbucket cloud plans come with this compliance guarantee. You can even request an audit and a Soc 2 Type II certificate if you ever need one.
You won’t have to worry about getting an external auditor to review your compliance. Furthermore, these certificates can take up to two years to acquire. You may lose credibility with clients, while your competitors easily guarantee compliance with hosted Git.
Lastly, organizations concerned about security compliance can sign up for the Bitbucket Cloud Premium package. This package comes with enterprise-grade security features and guaranteed Soc 3, PCI DSS, GDPR, and ISO/IEC 27018 compliance. In short, you don’t have to worry about compliance if you let Atlassian host your source code.
Example 1: Get Your Code Available Any Time
This factor may not be crucial for solo developers and internal teams. But if you are collaborating with other developers or third parties, the source code must be available to all team members at all times. This is particularly true if team members are located in different time zones.
With Bitbucket Cloud, the source code is hosted on a virtual server rather than an on-premise server. This means developers with the proper permissions have access to the code regardless of their location or time of day.
Furthermore, access control is straightforward to set up. This way, you can alleviate most of the concerns with hosting source code for private projects on the cloud. Atlassian also has a well-developed security infrastructure, including security key support, enforced 2FA, IP allowlisting, data encryption, and SAML SSO.
Plus, with enterprise-grade security features for the Premium plan, you can host your code even more securely. So, if your main reason for self-hosting Git is security, the tradeoff may not be worth it, considering the accessibility and flexibility you’ll be providing your development teams.
Example #2: Simplify Git Workflow With Sourcetree
It’s worth noting that you still need the Git platform on your local computer to use Bitbucket Cloud. You’ll work on your local Git and then merge those changes to your central repository on Bitbucket Cloud. However, people new to Git may have a steep learning curve. This case is especially true when you start using command lines.
To counter this challenge, Atlassian provides its own neat Git-based tool called Sourcetree. The desktop client comes with all the Git functionality you need. Except, you don’t need to use the command line to perform most actions. For example, you can clone your repository to the local system without entering a single command line.
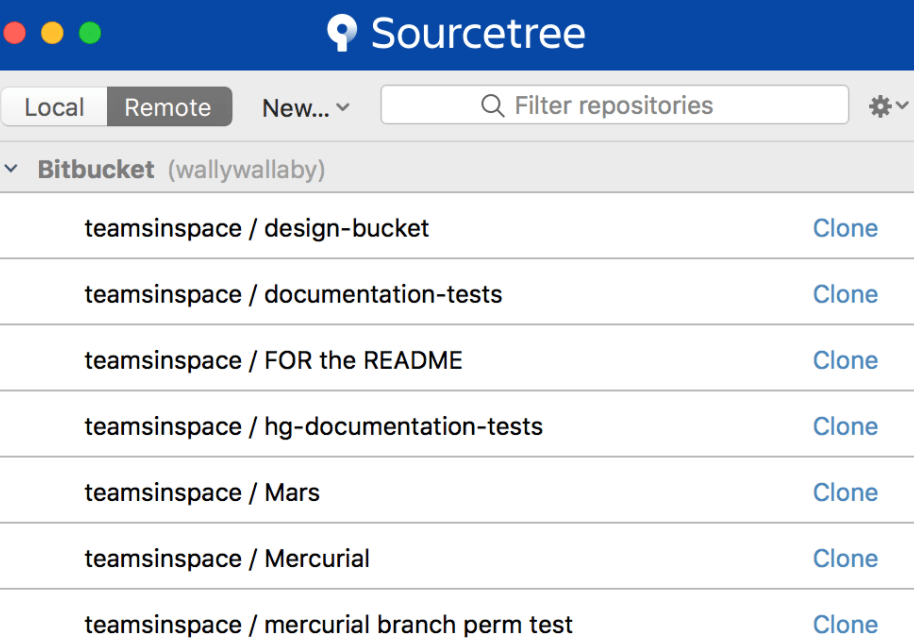
In this case, you only need to go to your Bitbucket account. Then, navigate to the repository you want to clone. Next, click Clone > Clone this repository > Clone in Sourcetree. Finally, specify the destination path and the repository name. You can clone your repository to your local system in just a few clicks.
Similarly, you can stage, commit, and push files by clicking buttons rather than using the command line. Again, this option is convenient for people who don’t want to memorize common Git commands. It’s also fast and simplifies workflow, particularly for first-time Git users.
Sourcetree will undoubtedly help to smoothen the learning curve. It comes with detailed tutorials to make it even easier to use. Now, you can execute all your commands in just one click. Distributed version control has never been easier with a graphical user interface (GUI).
It’s worth mentioning that Sourcetree is also available for Bitbucket server users. Regardless, Bitbucket Cloud is even simpler with this desktop client. You can also perform similar actions from your Sourcetree UI on your desktop when you need to update your cloud repository.
How to Get Started With Bitbucket Cloud
Bitbucket Cloud is affordable, instantly accessible, and convenient. If you are sold on the benefits of this Bitbucket version, here’s how to get started:
Step 1 – Decide if Bitbucket Cloud Is Right for You
Bitbucket Cloud is the right option for most individuals and developer teams. But, it is not always the right option. For example, there are instances where it makes more sense to opt for Bitbucket Server or Data Center.
For example, you may require advanced control and customization that Bitbucket Cloud doesn’t offer. So, if you prioritize making changes on demand, self-hosting may be the ideal option.
Similarly, the server solution is better for companies with stringent data hosting and localization requirements. Finally, self-hosting may be ideal for organizations with the necessary capability and bandwidth. It is worth speaking to your team and exploring the alternatives before settling on the cloud service.
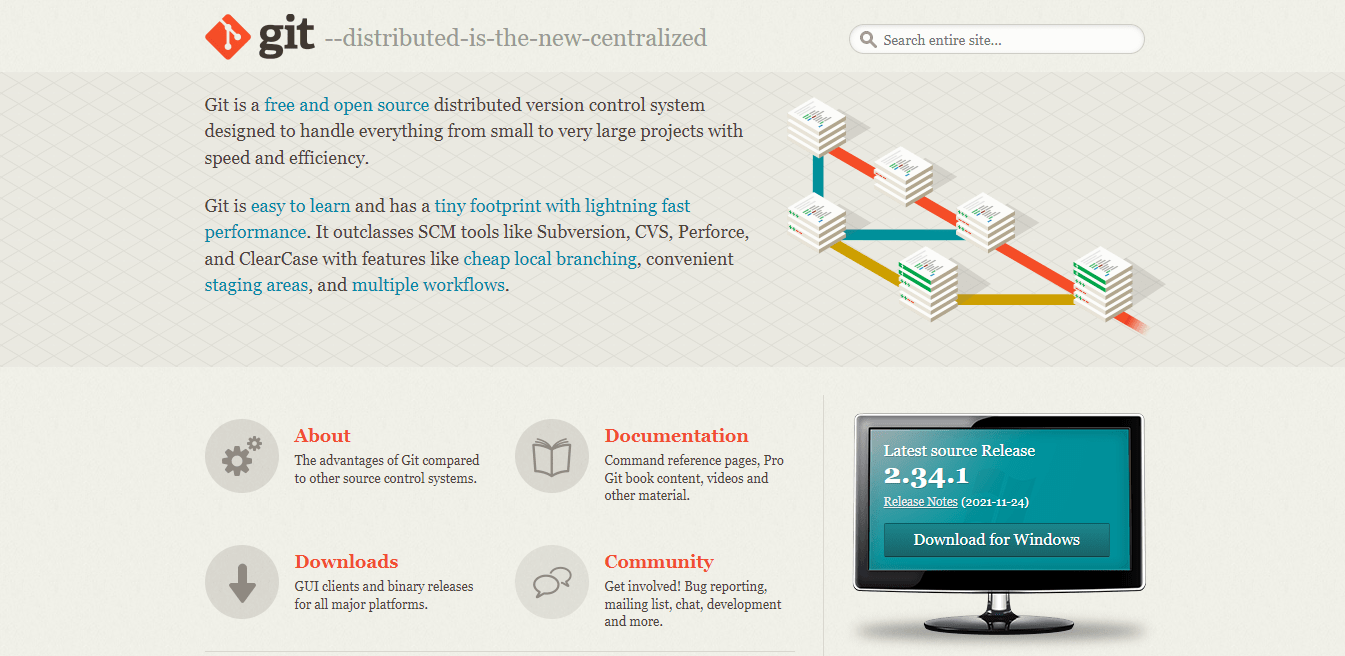
Step 2 – Install Git
You’ll need to install Git locally on your computer to use Bitbucket. It’s free, and it should only take a couple of minutes to install and set up. The exact steps may vary slightly depending on your operating system.
The main thing is to work with the default settings during setup. You’ll be prompted throughout the setup. The default options work well for most people. This is especially true if you are new to Git.
Also, remember to configure your username and email address. These details show up when you create commits to keep track of changes.
Alternatively, you can use the Atlassian Sourcetree for Windows, Mac, or Linux I talked about previously. I highly recommend taking this route. The desktop client already has a bundled version of Git. Plus, it works flawlessly with Bitbucket.
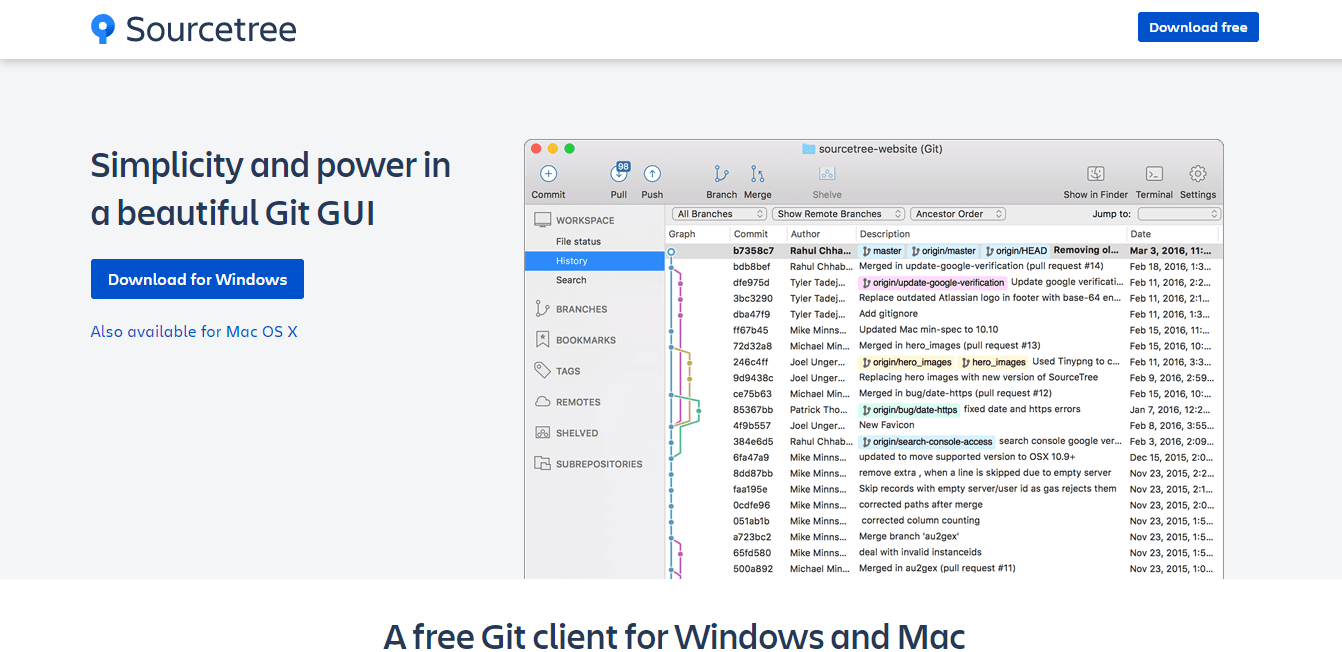
To set up Sourcetree:
Visit the Sourcetree website.
Double-click on the Sourcetree version you want. Bitbucket offers a desktop client for Windows and Mac OS X.
Next, install the Git client. Again, the process is similar to any other desktop installation.
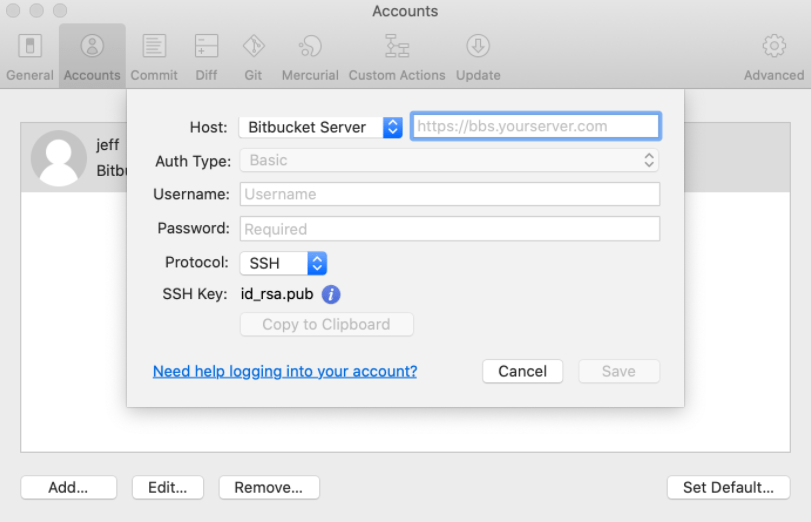
Finally, set up the installation. This involves entering your hosting details and connecting the client to your Bitbucket account. Connecting to Bitbucket is as simple as entering your account credentials in the required field.
You’ll be able to clone your first repo as soon as you create it in your Bitbucket account. Then, you can start using Sourcetree to work on code on your local machine.
Step 3 – Sign Up for Bitbucket Cloud
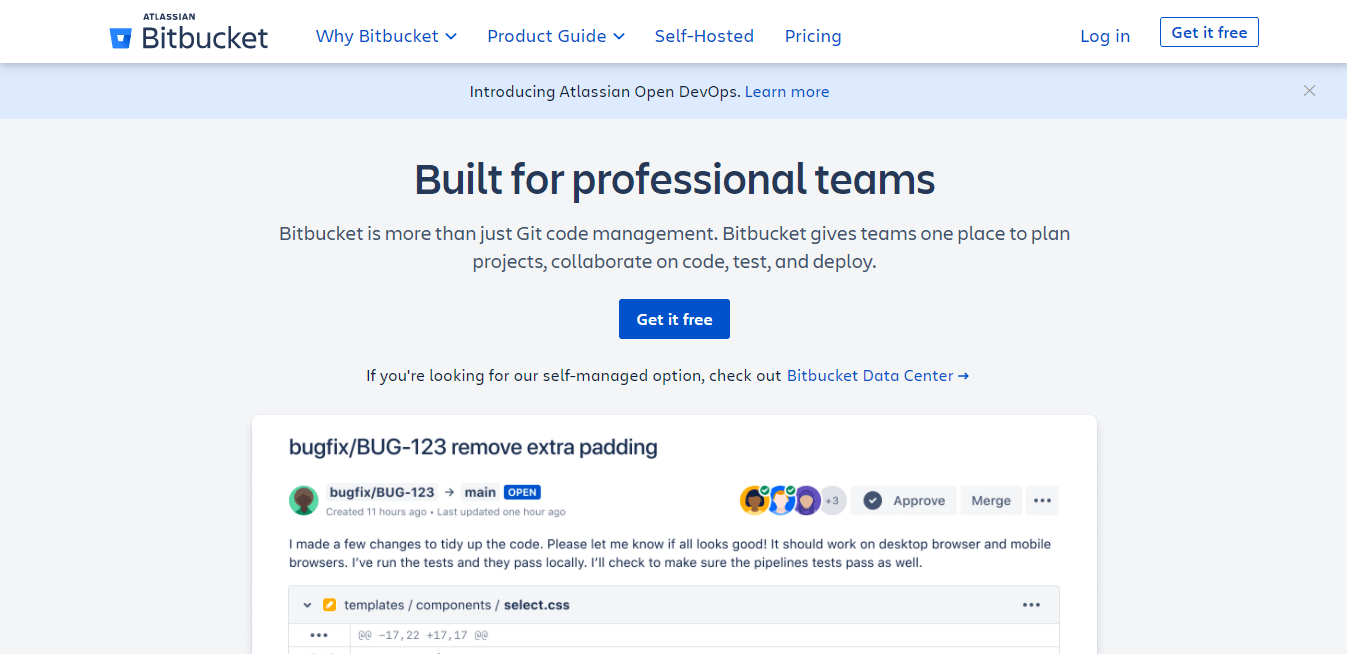
Once you’ve decided that Bitbucket Cloud is the best option, you can go ahead and create an account. Head over to the Bitbucket website to sign up. The platform is free for up to five users. The free version is an excellent choice for individuals and small teams.
Simply click Get it free to create your free account.
You also have the option to add Jira for free when signing up. Lastly, you don’t need to enter any payment information to get the free version, such as a credit card number.
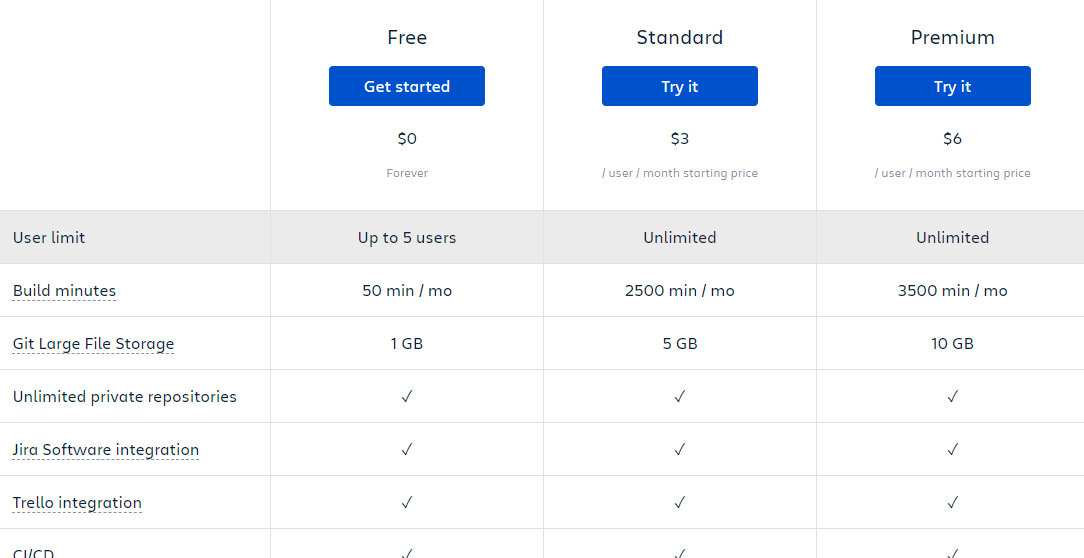
Alternatively, you can scroll to the bottom of the home page to choose a paid plan. Or, navigate to the pricing page to select your plan. For example, you have the Standard Plan option, which costs $3 per user per month, or the Premium Plan for $6 per user per month.
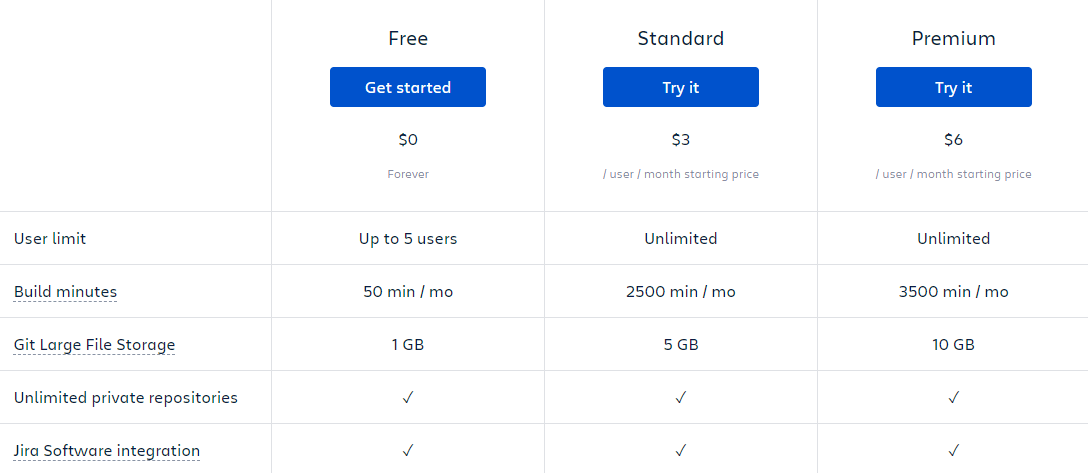
The standard plan is good enough for most teams. But if you require granular security and control, the Premium plan is the best choice. This plan also includes additional features such as enforced merge checks, greater access control, and advanced deployment permissions.
Step 4 – Set Up Your First Repository
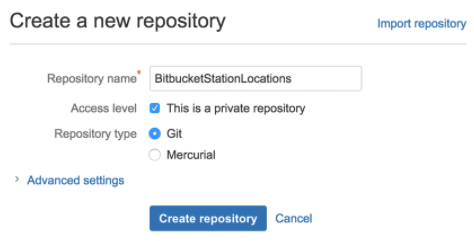
You can get started using Bitbucket immediately after signing up. But first, you’ll need to create a repository. To do this:
- Navigate to the global sidebar and click +.
- Under Create, select Repository.
- Choose a Workplace. A workplace is where the repository will be located.
- Click Create new project at the bottom of the Project dropdown menu. The project is where you’ll collaborate with others on your repository.
- Type in a Repository name. The repository name will also appear in your repository URL.
- Click Create.
You can now start working on your first project and invite others to collaborate on your repository.

