The Complete Guide to Slack Channels
Slack is an excellent instant messaging tool.
Precisely why it’s the top choice for companies around the world. And now, with the ongoing pandemic, it’s become an even bigger part of everyone’s life thanks to remote workforces.
But despite its popularity, there are still many questions on everyone’s mind about Slack.
In this guide, we’ll focus on Slack channels and how you can use them effectively to organize your work and ensure better collaboration.
Ready? Let’s get started!
What Is a Slack Channel Anyway?
If you open Slack, you’ll find that all the collaboration, teamwork, and communication take place in channels.
A channel is a single place for a team to share messages, tools, and files. You can create channels for teams, projects, or whatever else you find relevant. Inside a Slack channel, you’ll find message threads that allow for organized and focused side conversations within each one.
You can invite specific team members to these channels, with the members having the power to join and leave the channels as needed.
How Does a Slack Channel Work?
You can use Slack channels to make your teammates’ life simpler and more productive by adding channels for functions, teams, and projects. You’ll find two channels—#general and #random—for every workspace. You can then continue adding channels to improve work organization, discoverability, and transparency.
Starting a conversation in Slack allows you to do several things, including:
- Sending a direct message to a single person
- Creating a group direct message to up to nine people
- Creating a public channel
- Creating a private channel
While there are situations for which private communication via direct messages or private channels would be preferable, we recommend setting your default to public channels so that anyone in your organization can find the information they need when looking for it in the future.
There’s no need for you to launch dozens of channels right away, though. On the contrary, it’s much preferable you only add them when there’s a real need. For instance, you can have a channel for a specific team’s conversations and updates, or you can have a channel to start a new project with a new client.
Several companies also create machine-generated or automated channels populated by apps and services that your company typically uses. This can include #slack-twitter, #slack-instagram, and so on.
This is also where you have to understand the different types of Slack channels you can create.
Slack channels can be organized around anything, and a workspace can have as many as they need. There really is no limit, no matter which subscription you choose: Free, Standard, Plus, and Enterprise Grid.
Below are a few examples of Slack channels.
Example #1: Public Slack Channels
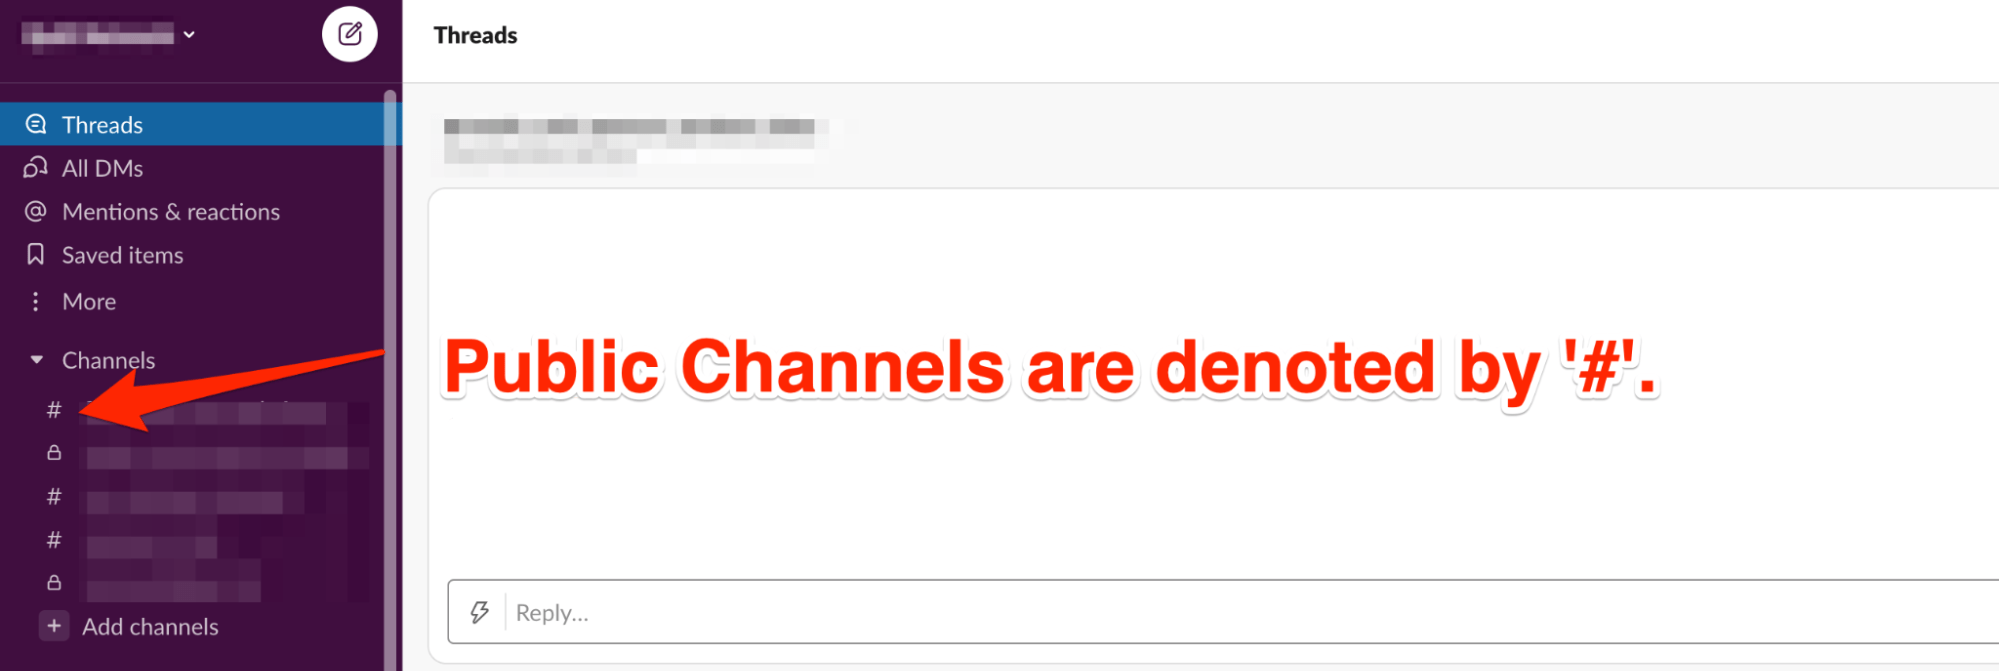
As the name suggests, public channels are open for all members to join. Also, anything that is posted on these channels can easily be searched by other members. The most common examples of public channels include #announcements or #general, where critical information that everyone in the company should know is posted.
Although members of a workspace (not guests) can create new public channels, you can change the permission for channel creation to specific roles if needed.
Is there an office party this Saturday? Do you have an important client meeting for which everyone has to be present? Is there a specific time to RSVP for the orientation?
Stuff like this gets posted on the public channels. You can also have a #watercooler to let employees blow off some steam and make small talk.
Example #2: Private Slack Channels
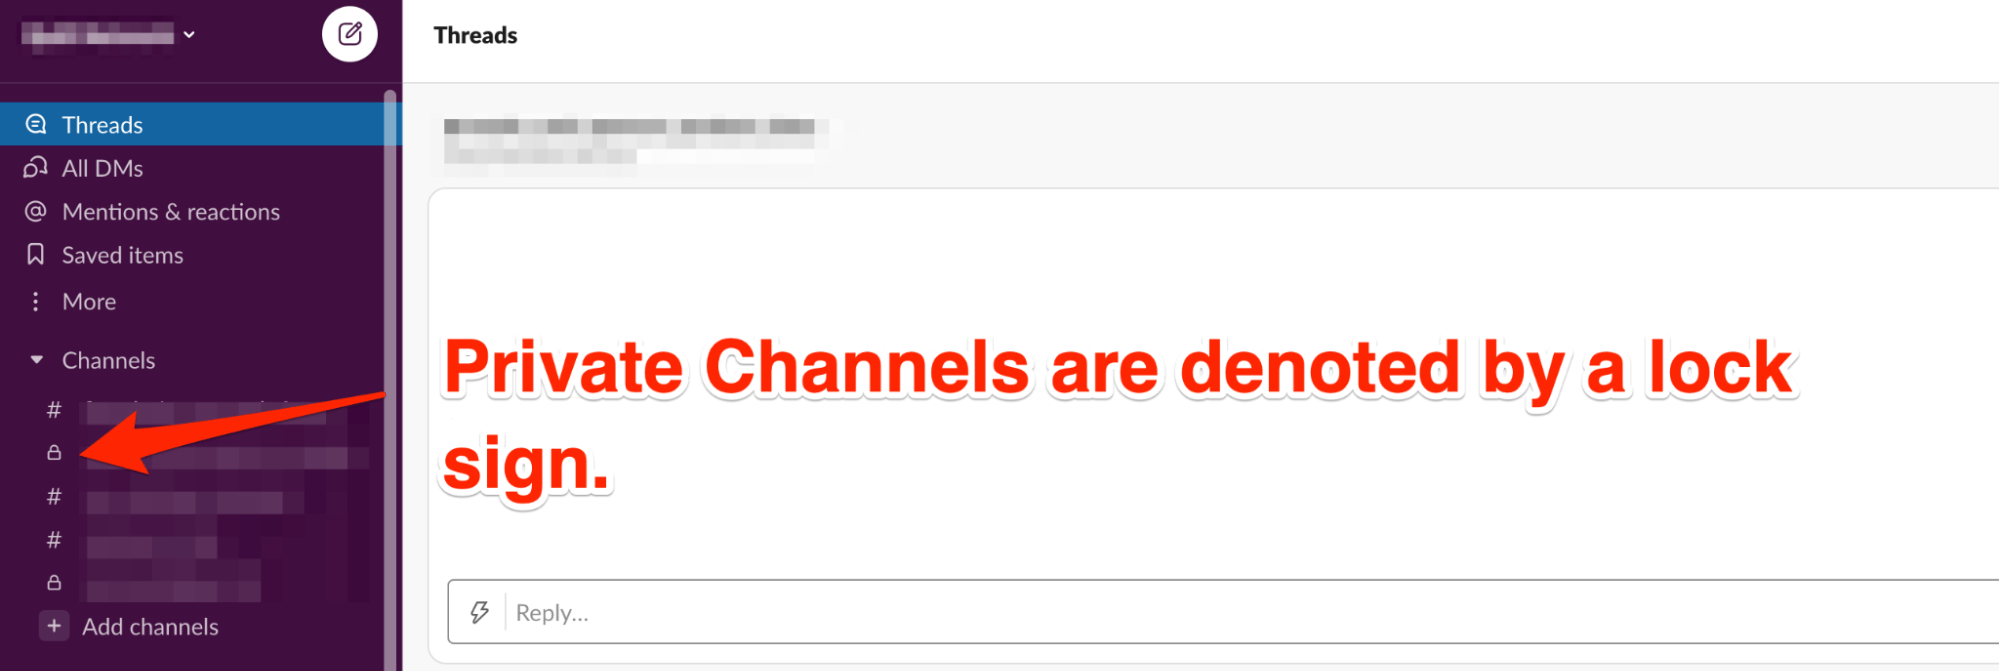
You can create private channels for discussions that you want to keep secret. Anything discussed here isn’t open to all members and can only be viewed by people you invite to join. Private channels can be with just two people or large groups.
Slack offers a default setting where all workspace members, including a few guests, can create private channels. Again, workspace owners can change this permission and limit channel creation to specific roles.
#project-newwebsite, #project-2021-conference, and #project-SLS, #team-marketing, and so on are common examples of private channels.
Here, the invited team members can post status updates, share important calendar reminders, and have discussions related to their responsibilities. All private channels are meant for the eyes of the invited people only, so make sure nobody shares anything that goes on here with non-invited team members.
Example #3: Shared Slack Channels

Shared channels let separate teams or organizations work together in a single channel—each from their own Slack workspace. However, this is a premium feature available only for Standard, Plus, and Enterprise Grid subscriptions.
This feature can come in handy for organizations that choose to collaborate or join forces for a specific project. Organizations can decide if they would like a shared channel to be public or private for their workspace.
Additionally, every member of a shared channel (except guests) can send and accept invites to share a channel. This will also depend on your workspace settings as the accepted invitations might need approval from an owner or admin before the sharing.
You can have a shared channel like #accounts-megacorp or #project-abc.
Example #4: Multi-Workspace Slack Channels
Multi-workspace channels were created to connect separate workspaces within an enterprise grid organization. In other words, different departments can set up different workspaces. As a few of you may have realized, this feature is only available for people who subscribe to the Enterprise Grid plan.
Just like shared channels, it’s up to you to make a multi-workspace channel public or private. Organization owners and admins can create multi-workspace channels within the organization or give or permit members to do this.
How to Get Started With a Slack Channel
Keep reading as we discuss how to create a Slack channel to optimize your workforce.
Step #1: Get the Slack App

You should already have a Slack account at this point, considering you’re searching how to create a Slack channel. However, if you haven’t, don’t be afraid. It’s very easy!
Sign up for an account on https://Slack.com/. You can download their desktop app (Slack for Mac or Slack for Windows) and the free mobile app (Slack for iOS or Slack for Android).
Step #2: Verify Your Slack Account
Once you have a Slack account set up, you’ll have to verify your email address and workspace. Then you can send out invites to your team members to join your workspace.
All you have to do is enter your email address and follow the prompts displayed on your screen through a confirmation email that will arrive in your inbox. This email will contain a code that you have to enter before you can send out invites.
The prompts will mainly ask you to choose a username, password, and team name.
Step #3: Send Out Invites to Team Members
Go to the Invitations page. Click on your Team Name to open the menu.
Select the option to Invite people, and then type in the email addresses of the people you want to send an invite to. Fill in their first and last names, too.
If you want to invite more than one person at a time, click on Add another, or invite team members in bulk by selecting Invite many people at once. Every invited team member will receive an email validation link to verify their identity before they can create a Slack account.
New team members will receive a clickable invite in their inbox, after which all the members can sign up or join the conversation using their work email address.
You can also click on edit/add to manually adjust the channels your team members will automatically join when opening Slack for the first time.
Besides sending out invites, you can approve specific email domains so your teammates can easily join your Slack workspace as long as they sign up with the approved email address.
Step #4: Set up Your Slack Channels
All your team conversations can be grouped by the channels you create. You can have channels for different topics, functional teams, and projects to organize everything in ways that fit your team best.
How to create a Slack channel:
-
- On the top left-hand column, click on the triangle to the left of “Channels” to show all channels. Depending on your version of Slack, you’ll click on the plus sign (+) next to either Create a channel or Add channels from the dropdown menu, or the Create a channel pop-up box will flash immediately on your screen.
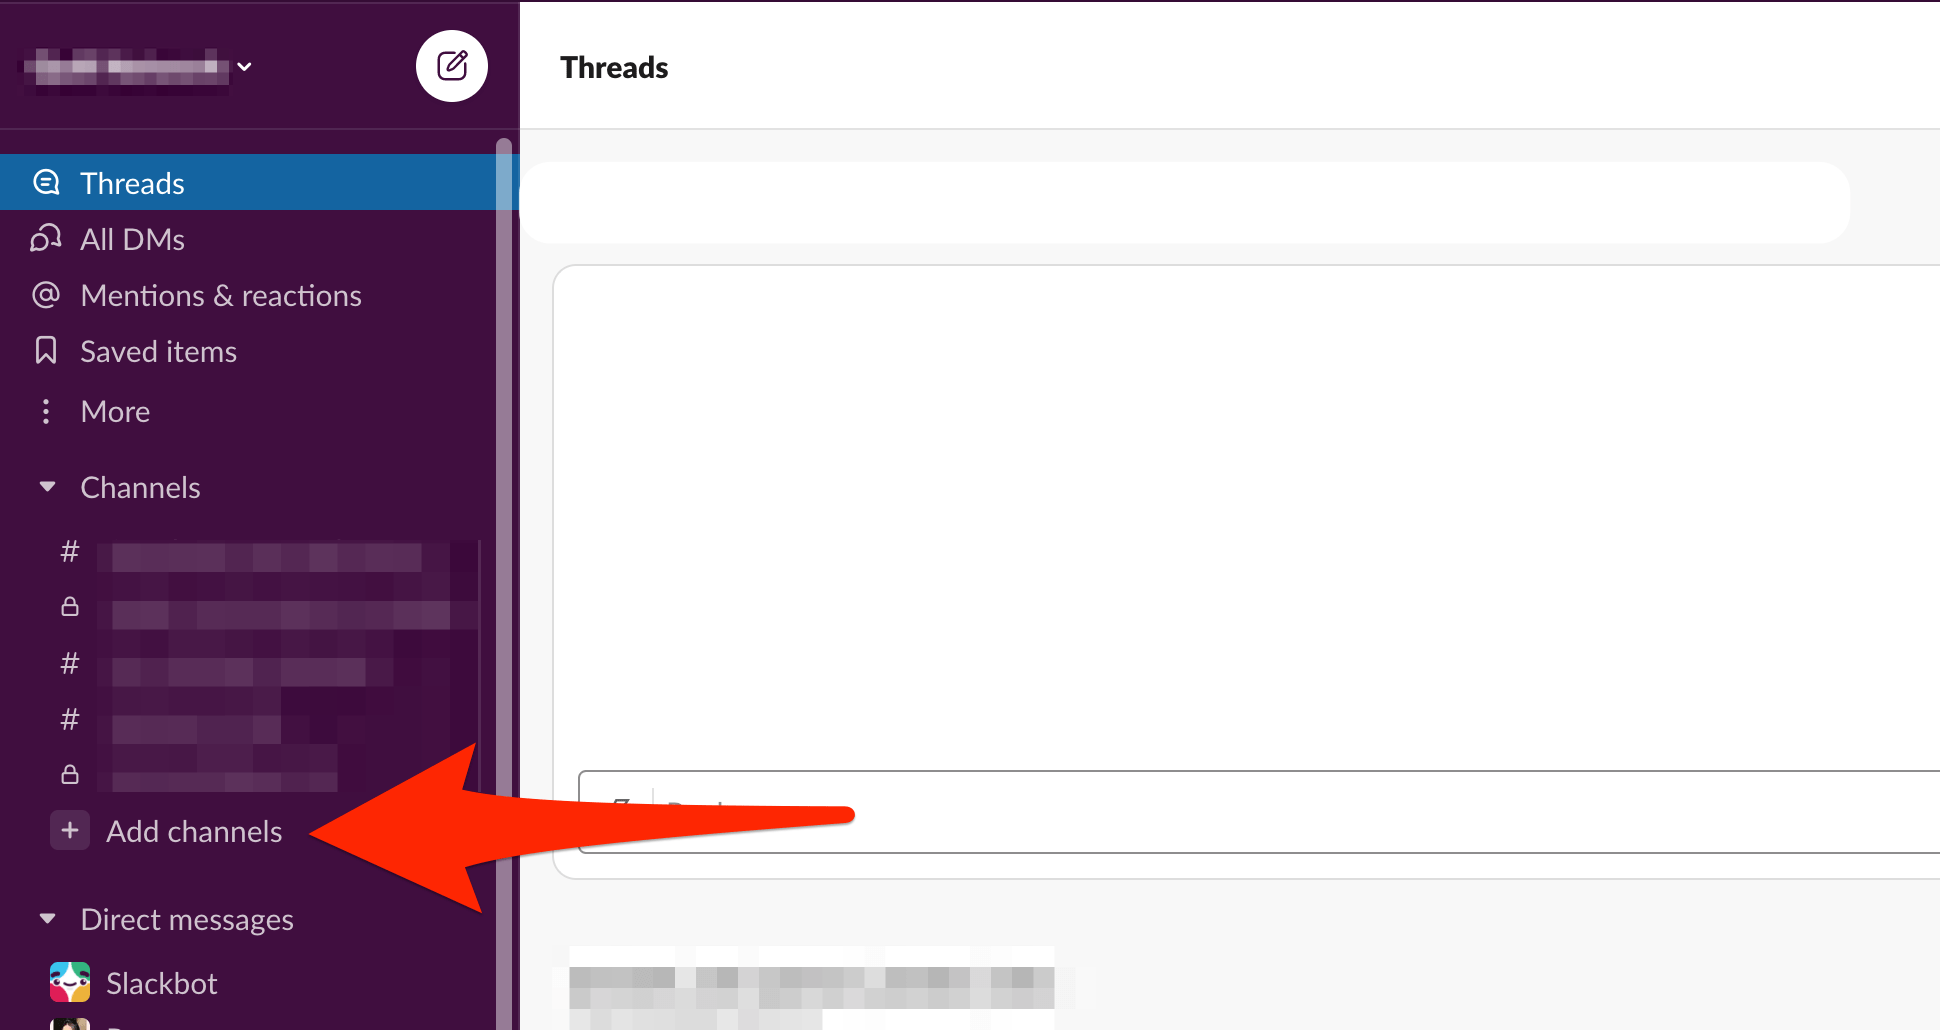
- Type in the name of the channel you want to create. You can also add a description. You’ll also see the option to make the channel private. Remember, once you make a channel private, you can’t make it public again.
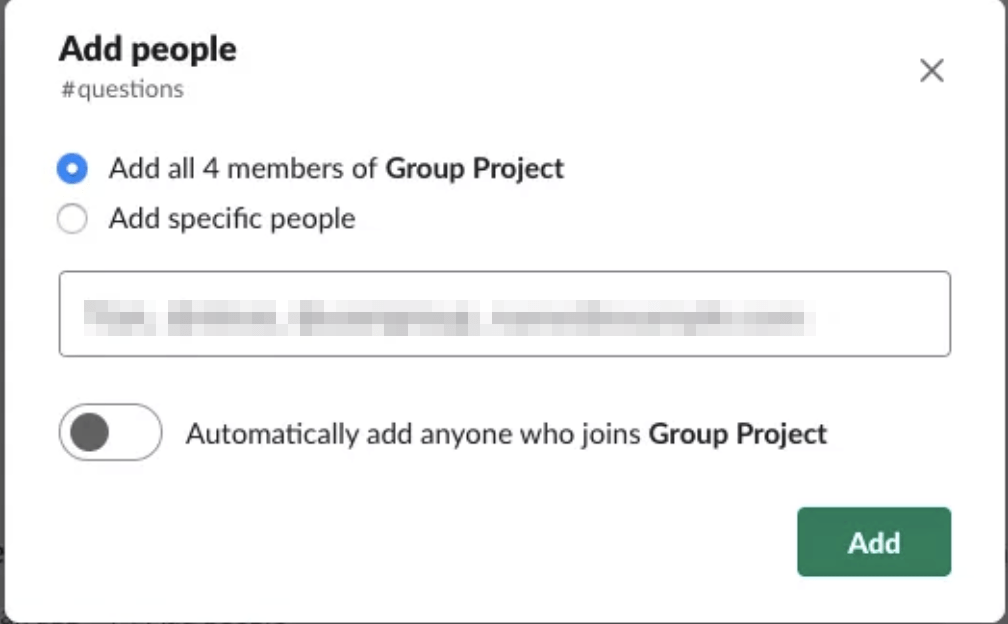
- Click on Create. An Add people pop-up will come up on your screen.
- Type the names of people you want to add to this channel, and then click on Add. If you want, you can skip adding people for now.
While there’s no limit on the number of Slack channels you can create, don’t create a new channel just for the sake of it. Everyone should know which channel to use when sharing information, which is why it’s best to keep the number of channels relevant and to the point.
Setting Up Naming Conventions for Your Slack Channels
Since the whole point here is to remain organized, you should set up rules on naming conventions when creating a Slack channel. Let’s look at a few examples.
- You can use #company as a prefix for channels that all the teammates should pay attention to. For instance, you can have #company-announcements, #company-competitors, etc.
- You can use #team as a prefix for channels created for every internal functional team. For instance, #team-engineering, #team-marketing, #team-product, and so on.
- You can use #proj as a prefix to group projects for a cross-team squad. For instance, #proj-affiliate-program, #proj-websitedevelopment, etc.
- You can use #random or #fun prefixes to group channels for social purposes. This can include #fun-music, #fun-sports, #fun-tv, and so on.
- You can use #[team name] as a prefix for specific projects within teams. For instance, #marketing-new-product, #sales-q2-goals, etc.
You can even set up your channel prefix guidelines in Slack by following the steps below:
- Go to Settings & administration, and click on Workspace Settings.
- Select Menu, followed by Customize. Click on Channel Prefixes to set your guidelines.
And that’s it! Your brand new Slack channel is now ready!

